
It's the middle of our second Indian Summer of the month, and as much as I would like to be sharing a new bread recipe, I just couldn't bring myself to turn on the oven to try it again with another tweak or two. There have been two attempts thus far- one was pretty much a fail, and the second loaf tasted good but was rather more...dense...that I was aiming for.
However, I've had homemade sugar cubes in the back of my mind for a very long while, and it seemed like a good time to get them out in the real world.
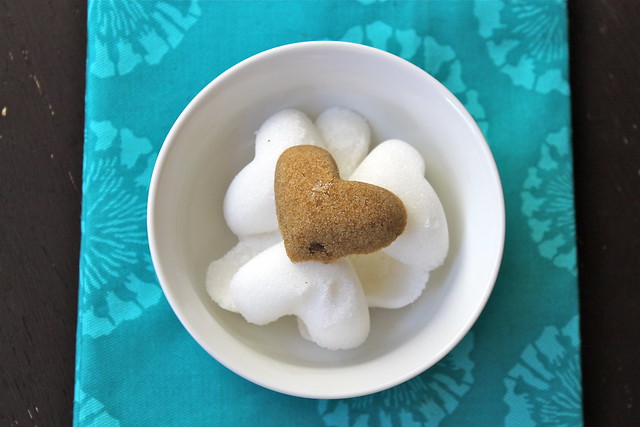
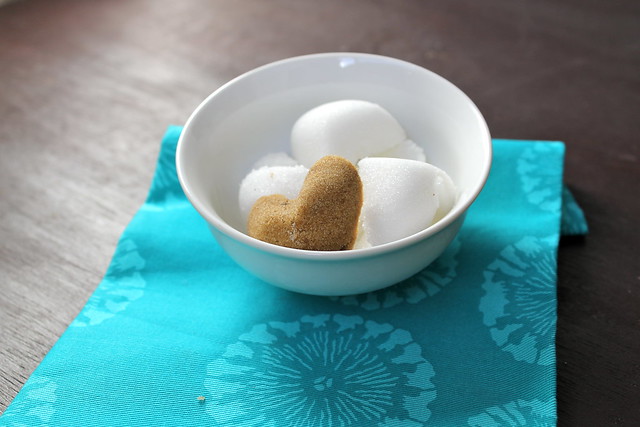
They are super simple and these oh-so-cute gems are sure to make your morning mug of tea or coffee more cheery. They are so simple, there's not really a recipe, but rather a two step process that you can customize to your heart's content.
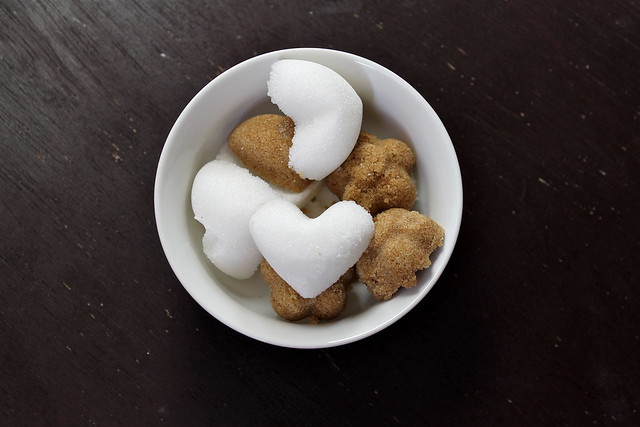
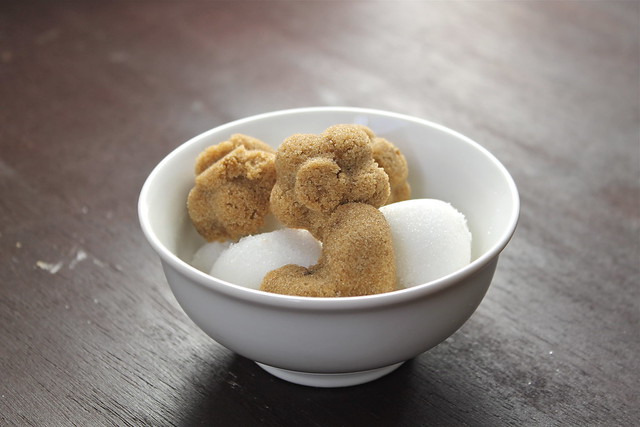
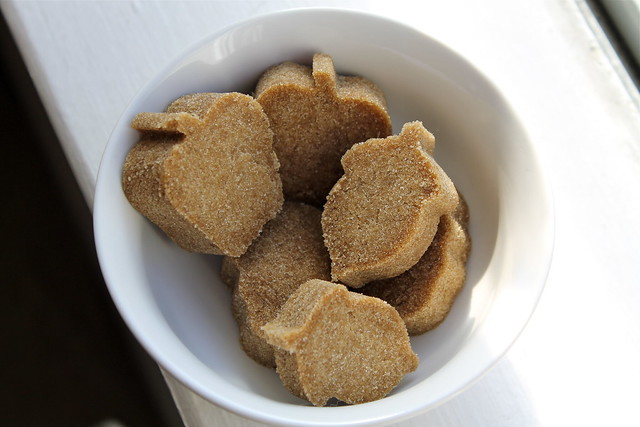
I experimented with regular, white granulated sugar, light brown sugar, and Sucanat sugar. The Sucanat was definitely the loser. It held together fine, but because it's so much coarser than regular sugar, the resulting flower shapes just weren't very cute. Actually, they were pretty ugly, so I don't recommend repeating that particular trial. The white sugar worked better than the brown sugar; the white "cubes" dried nice and hard, while the brown sugar shapes were softer. Not surprising given brown sugar's texture straight out of the box.
I just made a small batch with each kind of sugar, but you could certainly scale this recipe up and make a larger batch all at once. I think these could be charming gifts. They are vegan, vegetarian, gluten free and free of everything but sugar, so you could probably give these to just about everyone on your list if you want.
So.
Scoop some of your sugar of choice into a bowl. Very, very slowly add water. With a very small amount of sugar, add it in drops. With a larger amount, you might be able to add a teaspoon at a time. Mix in the water well, a little bit at a time. It's a similar motion as cutting butter into flour for a pastry dough. You want to break up any clumps of wet sugar and evenly distribute the moisture. You don't want wet sugar. Instead, you want your sugar to be somewhat clumpy. It should hold together when you squeeze some together with your fingers.
When you get the sugar to a good moisture level, I suggest two methods for shaping it.
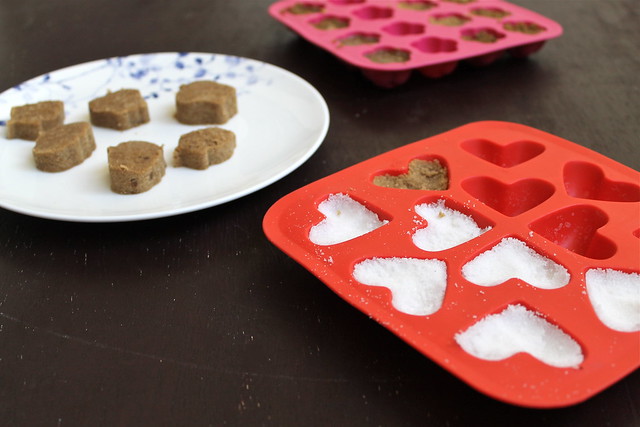
- Scoop into molds. I used silicon ice cube trays from IKEA, and they worked very well. Really pack the sugar in, and use the back of a spoon or your finger to level each cube as much as possible. Allow to dry completely, then turn out of molds.
- On a flat surface, turn out all of your sugar from the bowl. Use your hands to form it into a mound, and then flatten it so that it's somewhere between half an inch and an inch thick. (Thinking of it as very fragile cookie or maybe scone dough might help) Keep it packed as tightly as possible. Use mini cookie or pie cutters create the shapes that you want. I found it best to stamp as many shapes as possible at once, and then move away the leftover sugar with my fingers and gently transfer the shapes to a clean plate to dry.
Silicon ice cube or candy molds come in a ton of shapes and sizes (obviously, so do cookie cutters). I've seen everything from hearts to baby shower themes to dreidels to mini candy canes and Santas, so you could make these for whatever season you're celebrating. A fun variation might be to use a liquid food coloring instead of or in addition to water. That way I could have made yellow flowers, pink hearts, or orange leaves. Just be aware that colored sugar will change the color of your tea!
Last year at this time: Coconut Butter

Love this idea! Especially a bowl full of sugar snowmen for the Christmas morning breakfast table :)
ReplyDeleteHannah, that sounds adorable!! They dry pretty hard, so you could certainly make them ahead of time to spread out the Christmas prep.
Delete