It's the season for hibernating around here. It's the season when we bundle up - I wear a minimum of 3 layers these days - and wear galoshes with knee socks. It's the season when it's dark when we wake up and dark by tea time. It's the season when couch blankets are
always in use.
It's also the season when I want to cook and bake and store my concoctions for winter. You know, in case of Snowpocalypse 2012. I've got a freezer with shelves of homemade tomato sauce and gnocchi and
pumpkin bread. So chili is a logical step to me. It's warm, comforting, freezable, and stick-to-your-ribs.
This recipe turned out really well. It sounds like a lot of chili powder, and it is, but it's not spicy, unless you choose hot chili powder. The chili+cocoa add depth and the vinegar takes away some of the sweetness of the tomatoes.
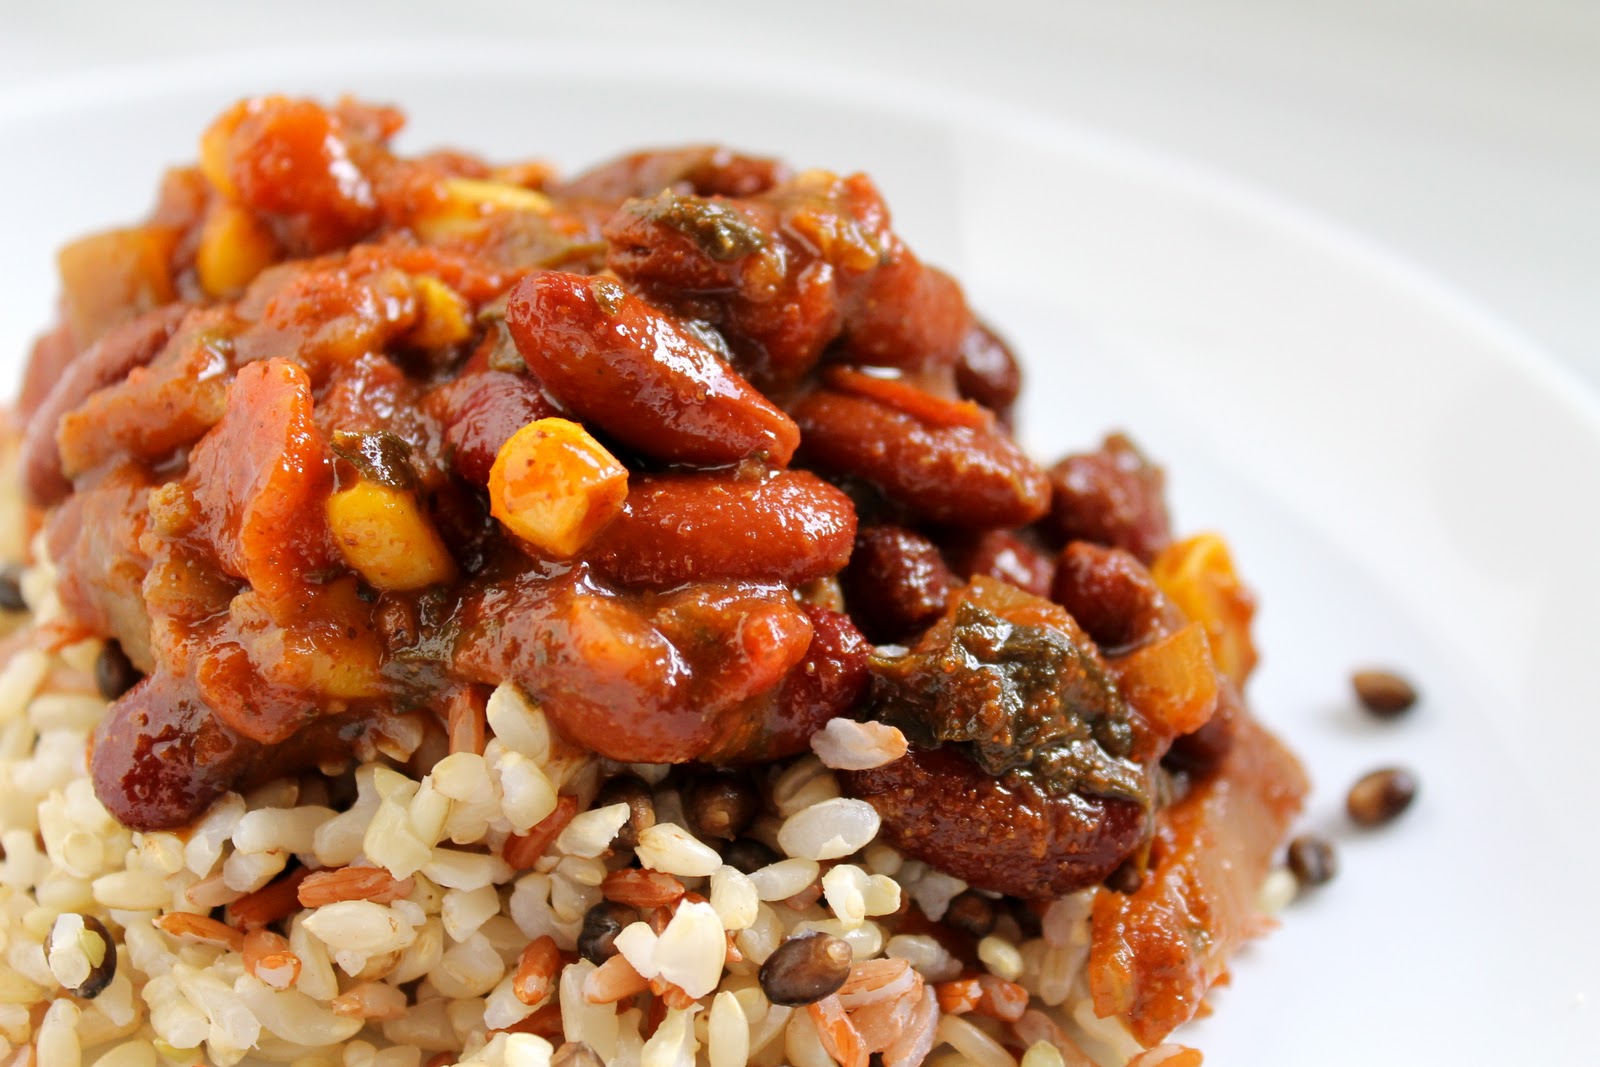
Red Bean Chili - vegan & gluten free
adapted from Smitten Kitchen and my mom
1 or 2 large onions, diced
6 or so cloves of garlic, minced
2 cans dark red kidney beans, drained and rinsed (most recipes don't say to do this, but my mom does. so I do)
2 cans light red kidney beans, drained and rinsed
1 28oz can diced tomatoes
1 14.5oz can stewed tomatoes
1/3 C chili powder
1 Tbsp ground cumin
1 Tbsp unsweetened cocoa
1-2 tsp salt, to taste
1 Tbsp apple cider vinegar
1 1/2 C frozen corn
1 C chopped frozen spinach
In a large dutch oven or other heavy pan, cook chopped onion in a small amount of olive oil over medium heat until the onion starts to become translucent (approx. 5 min). Stir periodically. Add minced garlic, and cook another minute or two. Stir a few times. Stir in beans, tomatoes, spices, cocoa, and vinegar. Bring to a boil, then reduce heat to let it simmer.
At this point, add in the corn and spinach if using (I know spinach isn't very chili-y, but it's good for you and whatnot), and bring the whole thing to a boil, stirring occasionally. Lower the heat, cover, and allow to simmer for at least 30 minutes. Even better would be to simmer it for about 1 1/4 hours until it reaches a desired consistency, stirring occasionally. If it is too thin, take off the lid for a while to allow evaporation.
It always tastes better the next day, so if you cook it the day you eat it, let it sit for a few hours and reheat it; the chili will be better than right out of the pot.
Serve over rice, potatoes, squash, or right in a bowl. Top with shredded cheese, diced onion, sour cream, jalapeno, salsa, etc. to dress it up. A green salad is a good accompaniment, as is good bread or cornbread.