Showing posts with label preserving. Show all posts

Tuesday, August 12, 2014

Easiest Ever Homemade Tomato Paste

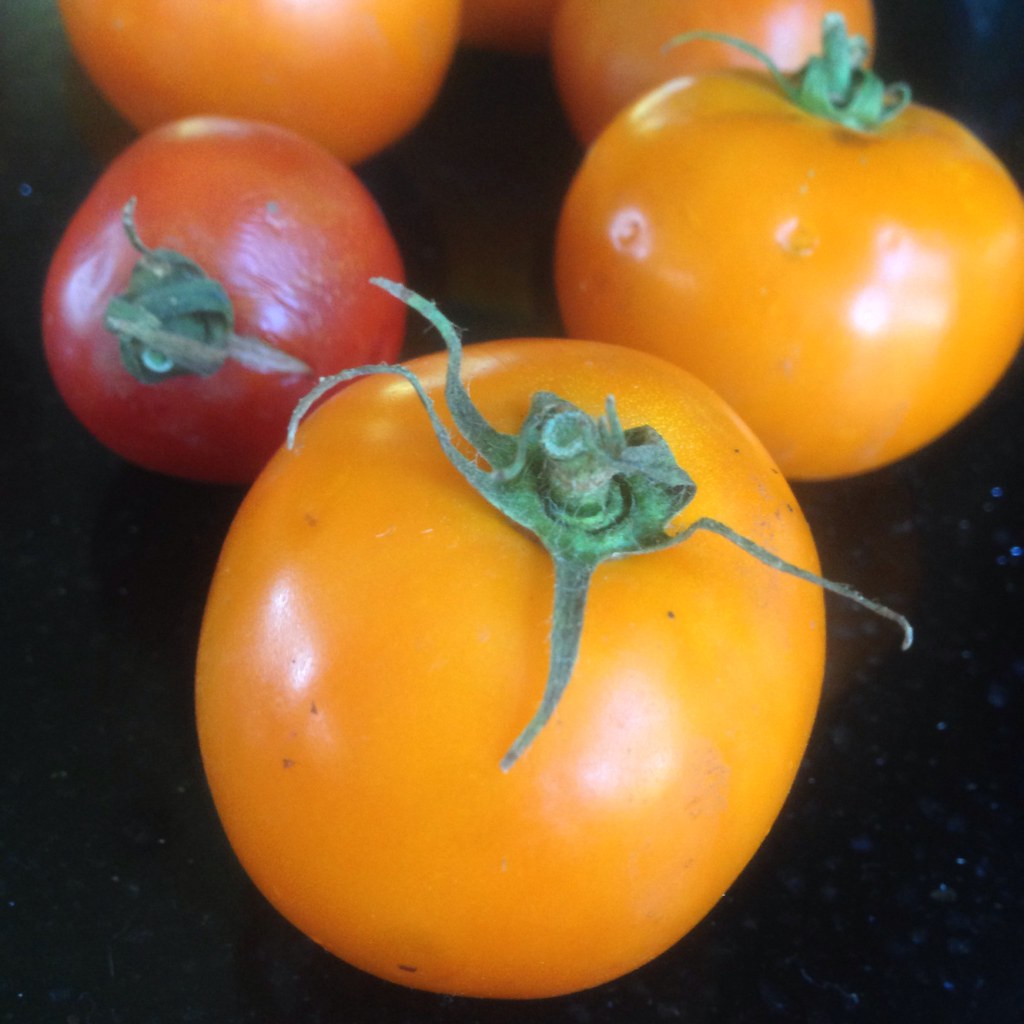
Beautiful yellow tomato, destined for paste


Well this is embarrassing. It turns out that iPhone cameras aren't great for all purposes. Apologies for the terrible photos, folks, but I am overcoming my chagrin because this recipe is worth it. Well, maybe "recipe" is too strong of a term. It's more of a set of directions and (bad) photos to go encourage you to take yourself to a farmers' market this week, ask a farmer with delicious tomatoes if they have any ugly or overripe ones, and load up. That's what I did last Thursday. I ended up getting about 10.5 lbs for $10. Luckily for me, these orange beauties happened to be Romas, which is handy since they're fleshier and less waterier that some varieties. Here is a short article listing the the best tomatoes for canning (just ignore the author's generalizations about heirlooms). As you can see, even though most of my batch was orange, the paste itself turned out surprisingly red. Not as deep of a red as in years past, but much redder than I anticipated.

The reasons to make your own are endless:
-Flavor. You simply can't compare homemade and store bought. You may not believe me now, but once you try your own, you will be a convert.
-Flavor Part 2. Adding a couple tablespoons of paste to your pastas, sauces, chilis, soups, stews, risottos, and anything else you can think of will make them have a better, richer, deeper flavor. In fact, tomato paste is a great source of the much sought after umami magic.
-Economics. Those cans of paste are relatively inexpensive at the store, right? They're generally in the $1-$2 range. I don't know about you, but whenever I bought one of those, I never used the whole can up at once, and I usually forgot about the leftovers until they were growing fuzzy mold in the back of the fridge. So really, I used maybe thirty cents worth of the can and had to toss the rest. That suddenly makes every tablespoon of paste cost $1.50. The great thing about this technique is that I freeze my homemade tomato paste in 1-2 tablespoon size portions, so I can just grab what I need and stick the rest back in the freezer. Et voila. No more waste.
-Just like all the other food you make at home, you know exactly what's in your paste (and what isn't). What's more, by talking to the farmer, you'll actually be meeting the person who grew part of you dinner. Sweet. Do you have a bumper crop of your own tomatoes this year? a) I'm jealous and b) even better!

So. Tomato paste.

Until a couple of years ago, I thought that making tomato paste would be a pain in the neck. It turns out that is not true. The article that originally set me straight is no longer available, but the moral of the story is that homemade tomato paste is one of the easiest things you can make. Yes, it takes time (many hours), but that's really all it takes. If you can boil water and remember to stir occasionally, you're all set.

So. You have your tomatoes. It doesn't matter how many you start with, the process is the same. The only variables here are the juiciness of your tomatoes and time. Find yourself a large, wide pot, a sturdy spoon, and an afternoon. Let's make tomato paste!
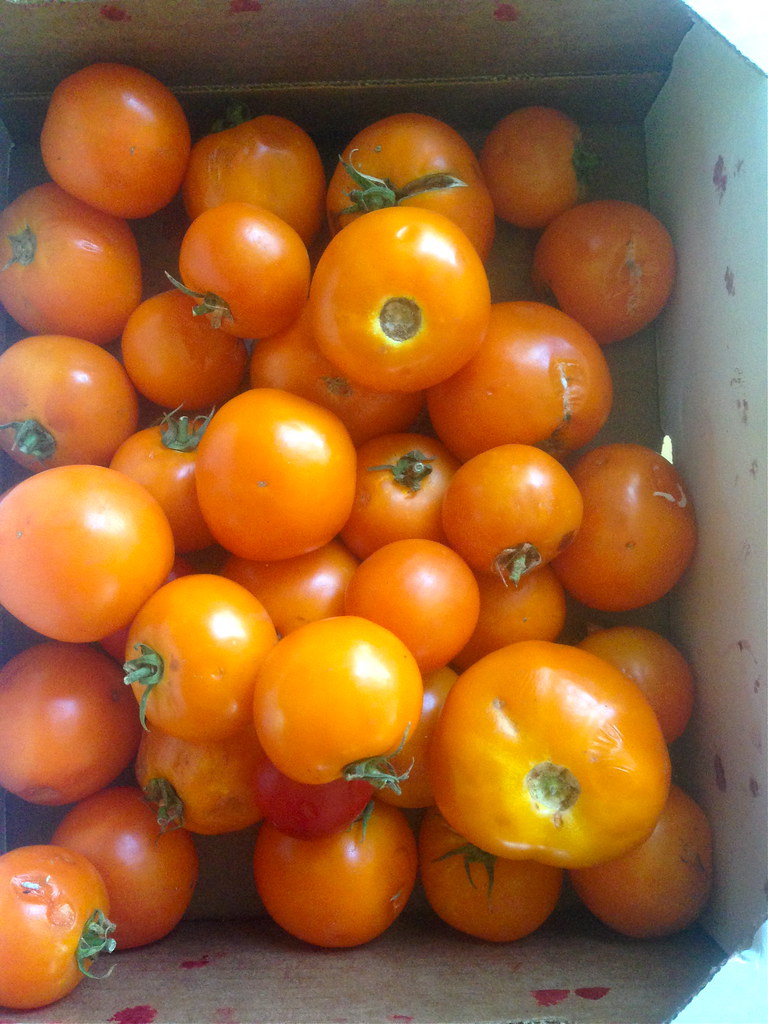
photo 2

Begin by washing them (yes, even if they're organic. My mom says so). Remove any stems and bad bits. Bruised, over ripe, mushy spots are fine, but cut off the mold. You don't need to peel or seed them. Cut them into halves (or smaller if they are large).
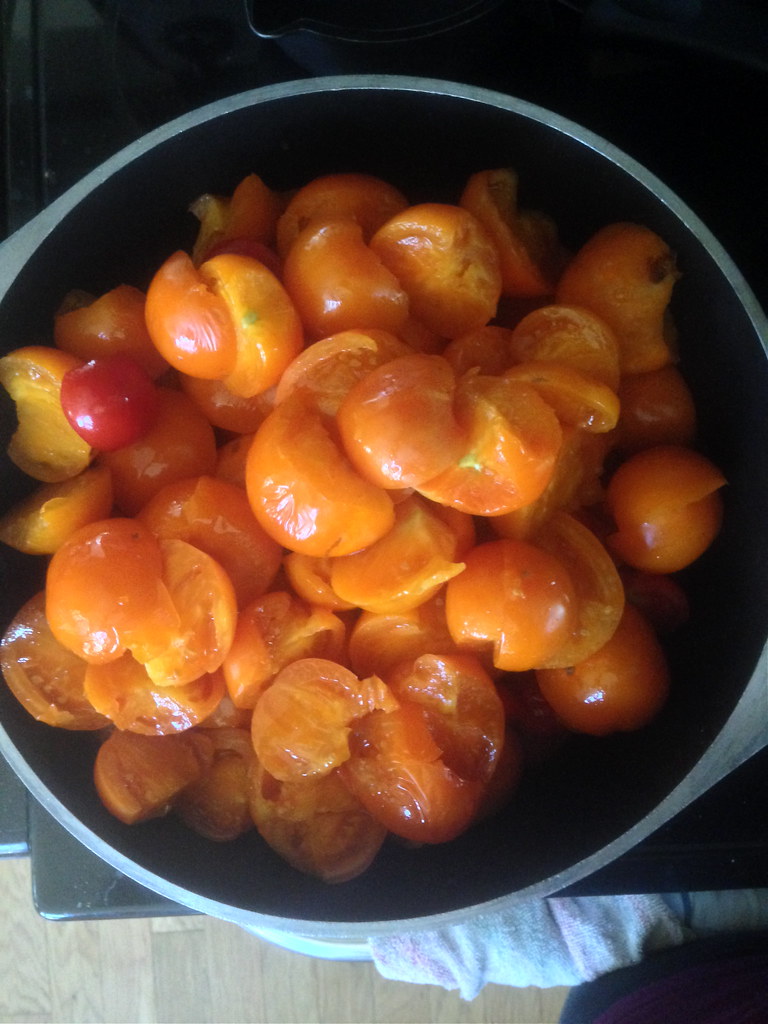
10 lbs of tomatoes in a big pot

Put the prepared tomatoes into a large pot. Wider is better, because the greater the surface area, the faster the evaporation. You'll need a sturdy spoon, too. 
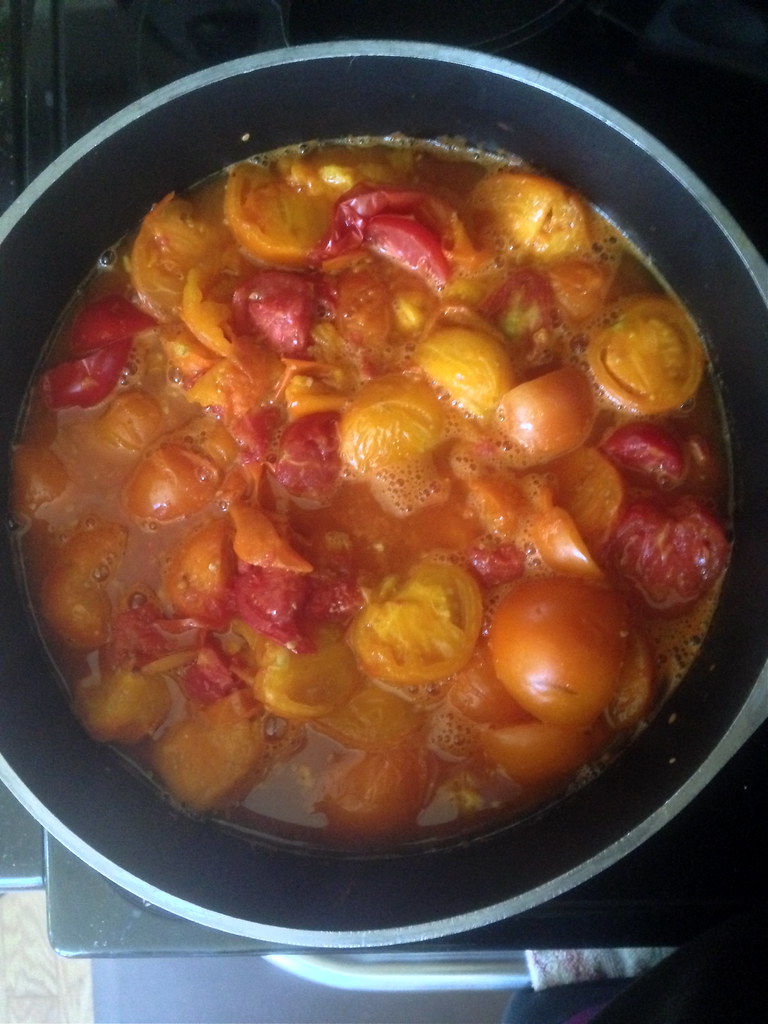
starting to cook

Heat them over medium, stirring occasionally. If you're super worried about sticking, you can add a smidge of water to help prevent that, but I've found the tomatoes own juices and a stir now and then are enough. 
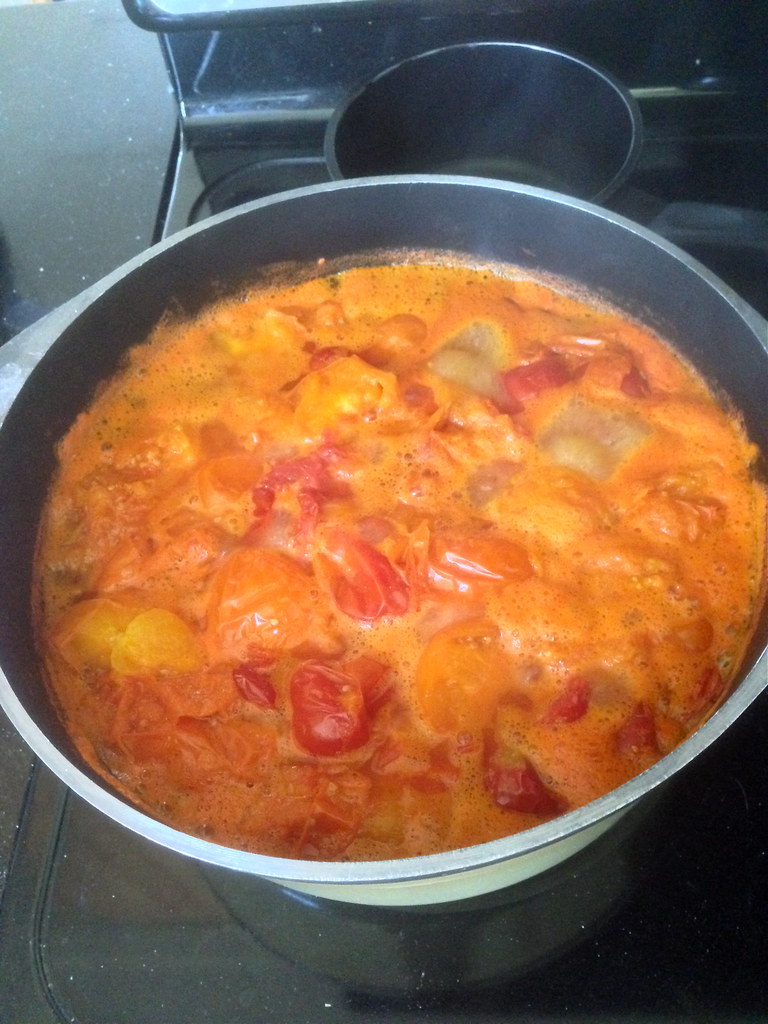
boiling

Bring them to a boil, still stirring once in a while to ensure there's no sticking. You can boil them pretty hard for a while, because that's going to be the fastest way to evaporate all that water. 
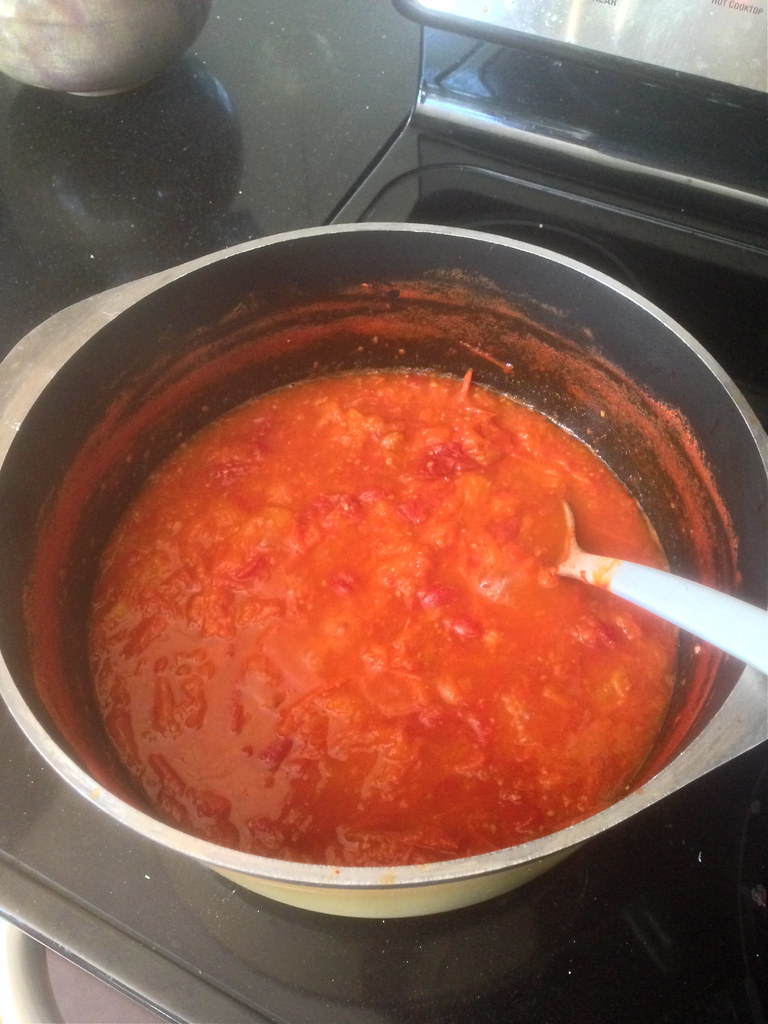
reducing

It may not seem like it at first, but your tomatoes will begin to cook down. Promise. Stir occasionally, and lower the heat as the level of water in the pot goes down. Scrape the sides down once in a while to make sure you're not missing any tomatoey goodness.
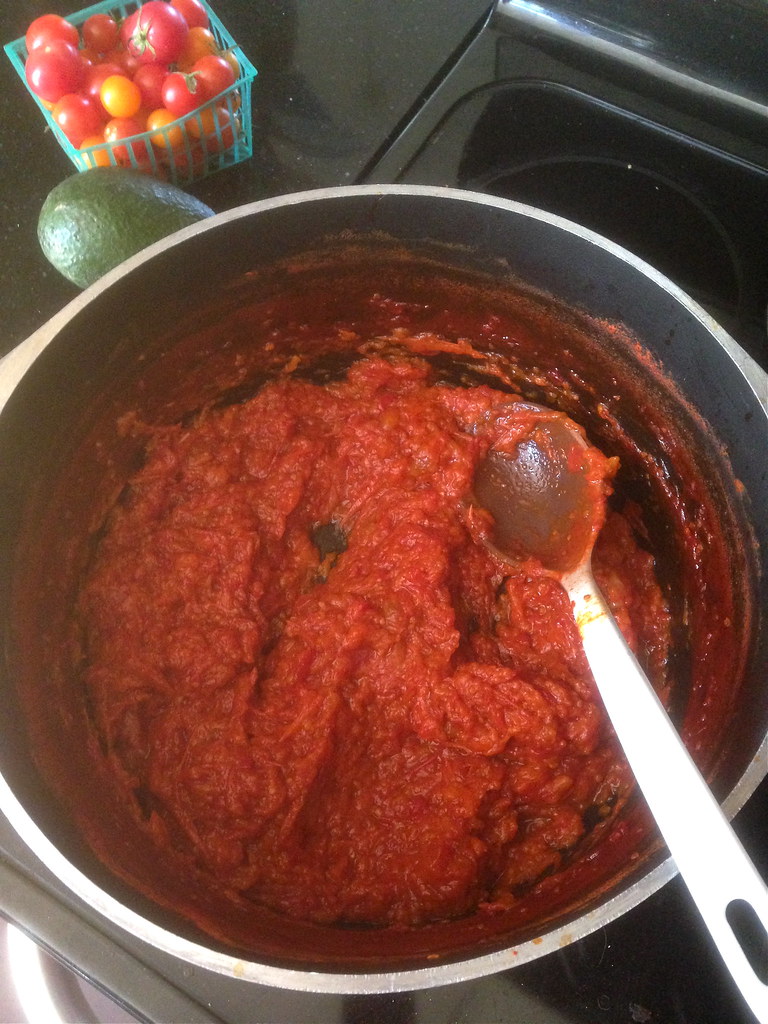
nearly there

(please ignore the jam-stained spoon) 
Eventually, it will begin to look like tomato paste. It will darken and become quite thick. But don't give in or give up! You're not quite there. Stir more frequently to prevent scorching. If you have one, and feel so inclined, this might be a good time to use your immersion blender. I don't mind the not-perfectly-smooth texture, but you might. 
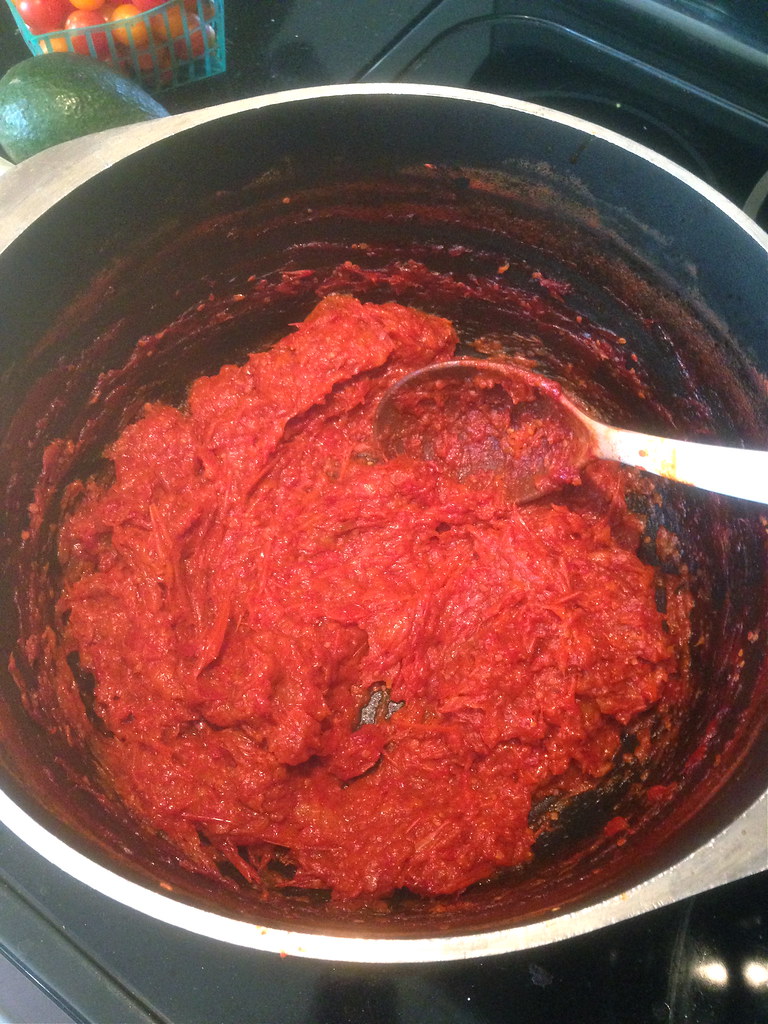
easy homemade tomato paste

You want to keep cooking it down until there's not really enough water left to evaporate. Between the last photo and this one, mine stopped bubbling because there wasn't enough water left to boil. When it's done, or nearly there, your tomato paste will also become shiny. Weird, but true. 
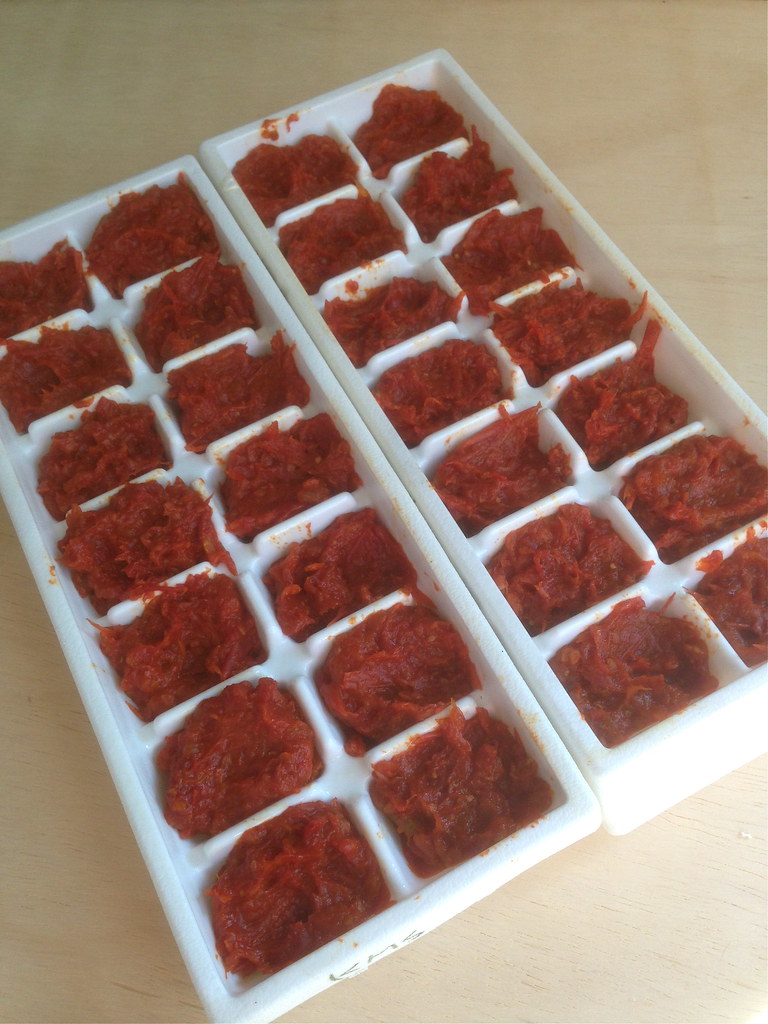
easiest ever homemade tomato paste

My easy freezer method involves filling the compartments of a couple ice cube trays with 1-2 tablespoons of paste. I couldn't remember if I greased the trays in years past or not, but this year I did to ensure my tomato cubes would pop out easily. I bet if you use a silicon mold you can skip the cooking spray. This 10 pound batch of tomatoes yielded 24 cubes of 1-2 tablespoons each. 


Once they are fully frozen, remove cubes from tray, place in zip top freezer bag, squeeze the air out, and stash in your freezer. Homemade tomato paste is a great addition to paella, casseroles, stew,  chili, sauce, or risotto, whether or not the recipe actually calls for it. 

Have you ever made your own tomato paste? Any tips? Did you fall as hard in love with it as I did?

Wednesday, July 23, 2014

Jams, and Printable Recipe Cards for Summer

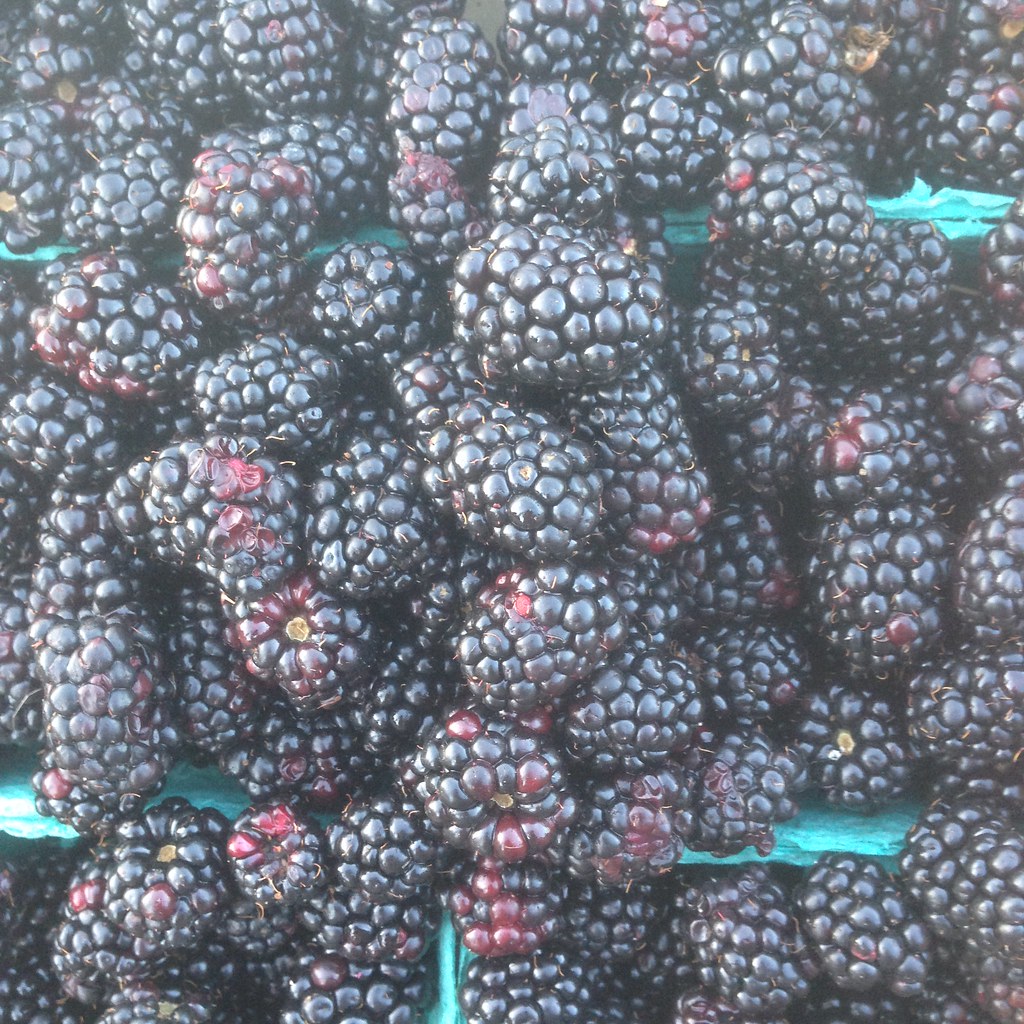
blackberries

We are in the thick of summer and the food bounty that goes along with that. We have been eating tons and tons of fruit, and I've also dried some and turned more into various jams. I can't keep up here with what I've been making, but I wanted to share with you a) so that I remember and b) so that perhaps you'll be inspired and go create something fabulous.

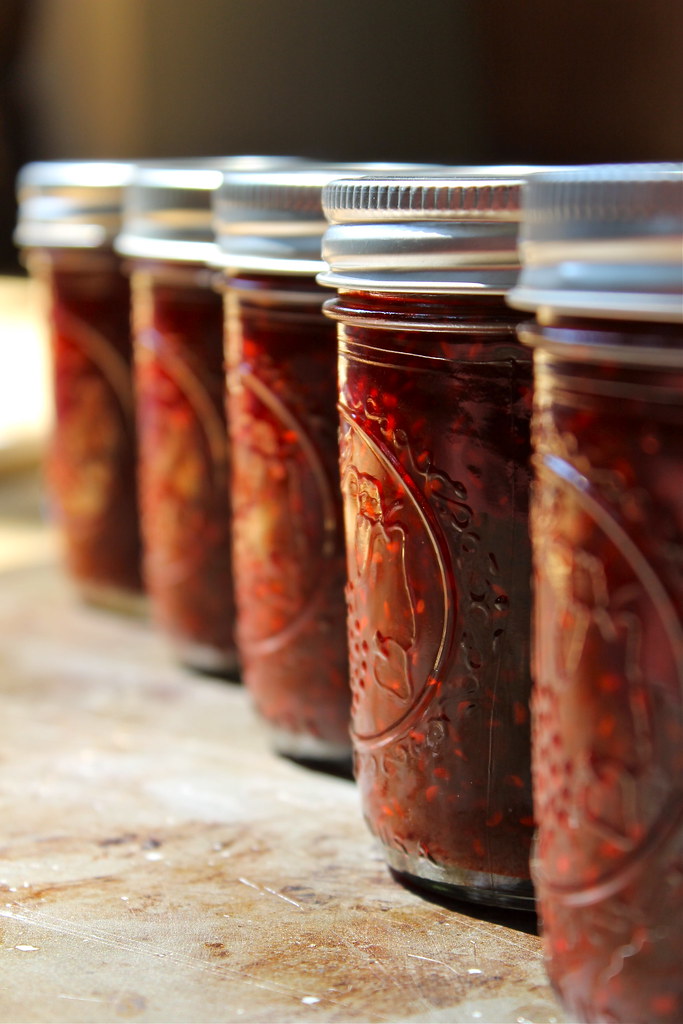
Raspberry Honey & Lemon Jam at attention

I shared my small batch strawberry jam and my strawberry margarita jam, but, for the record, I've also preserved
  • Apricot Jam
  • Apricot Sucanat Jam (no white sugar at all)
  • Strawberry Sucanat Jam (ditto)
  • Blackberry Jam (with even less sugar than last year's batch)
  • Blackberry Vanilla Jam (OMG it's AMAZEBALLS)
I find this post from Northwest Edible Life to be extremely helpful, and I keep thinking up new and delicious sounding flavors. I definitely want to do more with vanilla, and I've started a canister of vanilla sugar with the (now empty) pods.

What have you been up to?

Now, onto the printable. These lovely, summery recipe cards from Lia Griffith are perfect for sharing recipes at summer parties or with a batch of jam.


Whether you share the jam recipe, or suggest a way to use the jam (brownies, ice cream, bars, etc), these cards will make your ideas even prettier. 

Thursday, July 3, 2014

Strawberry Margarita Jam - vegan & gluten free

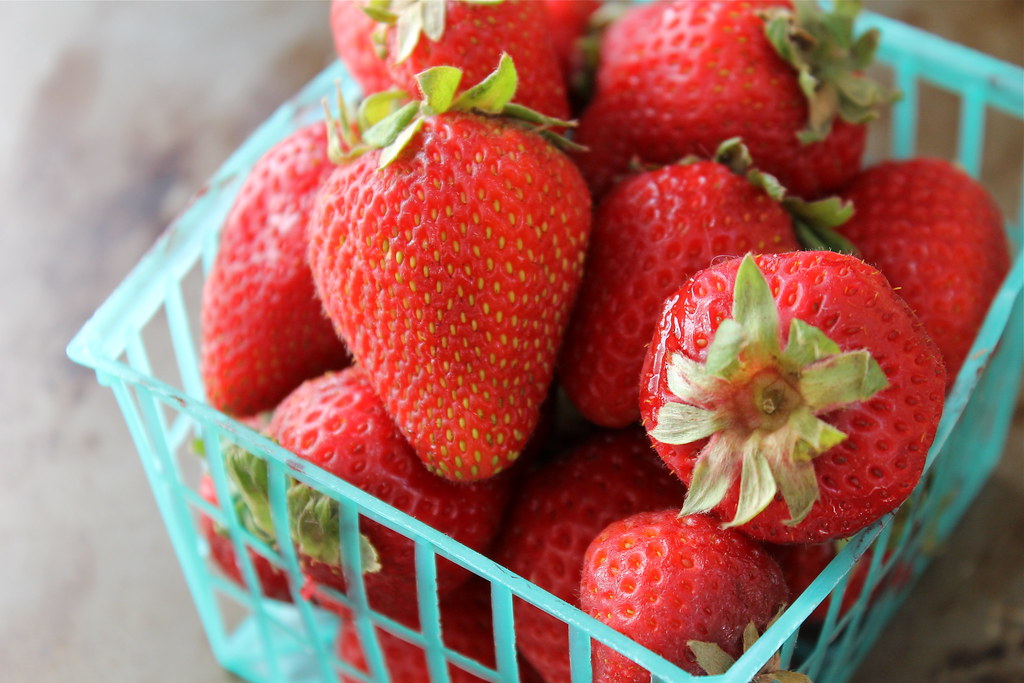
farm fresh strawberries http://www.katesshortandsweets.com

I know it's well and truly summer because stone fruits and tomatoes are in. And if it's summer, it's hammer time preservation time. My dehydrator has been humming merrily along (should I post about that? Is anyone interested? comment here or on Facebook), and I've been making batches of jam here and there. We ran out of jam I canned last summer in March or April of this year, so I know I need to increase production this summer. I did give away a lot as presents, and I'm planning on doing the same this year (so get your special requests in early, people).

strawberry http://www.katesshortandsweets.com

Each summer that I've made jam, I've gotten a little more adventurous, and this year I'm actively trying new flavor combinations. This was my first really fun one, and it's a winner. 

I've been studying Northwest Edible's flavor chart and thinking up ways of combining fruit with other flavors I like. If you aren't already familiar with Erica's site, I recommend you give it a shot. She has lots to say and to teach, she's often humorous, and never preachy. 

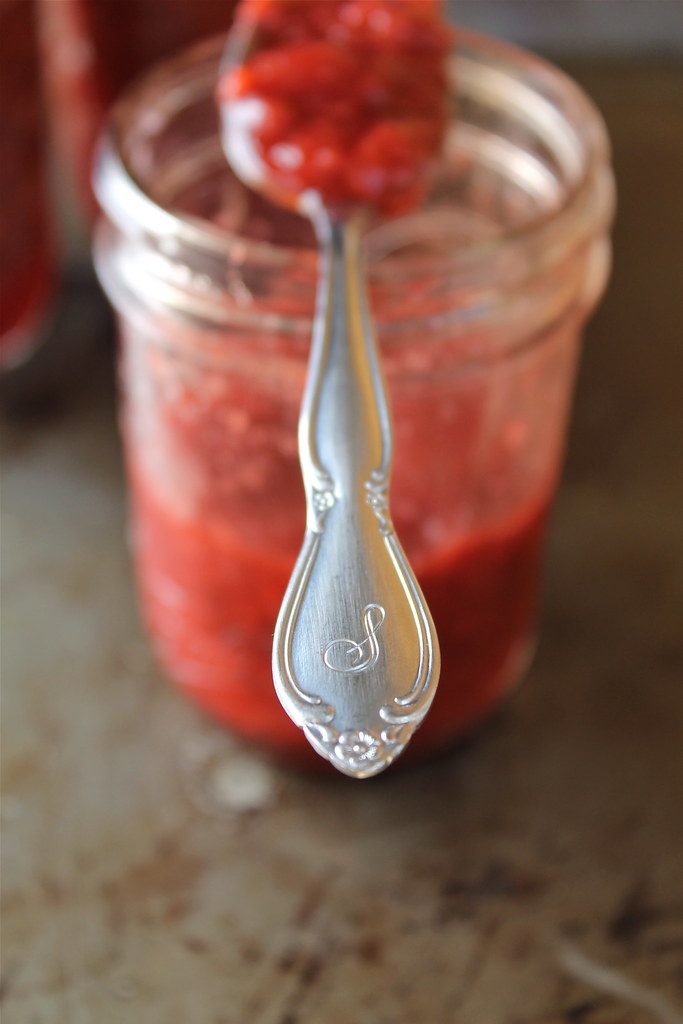
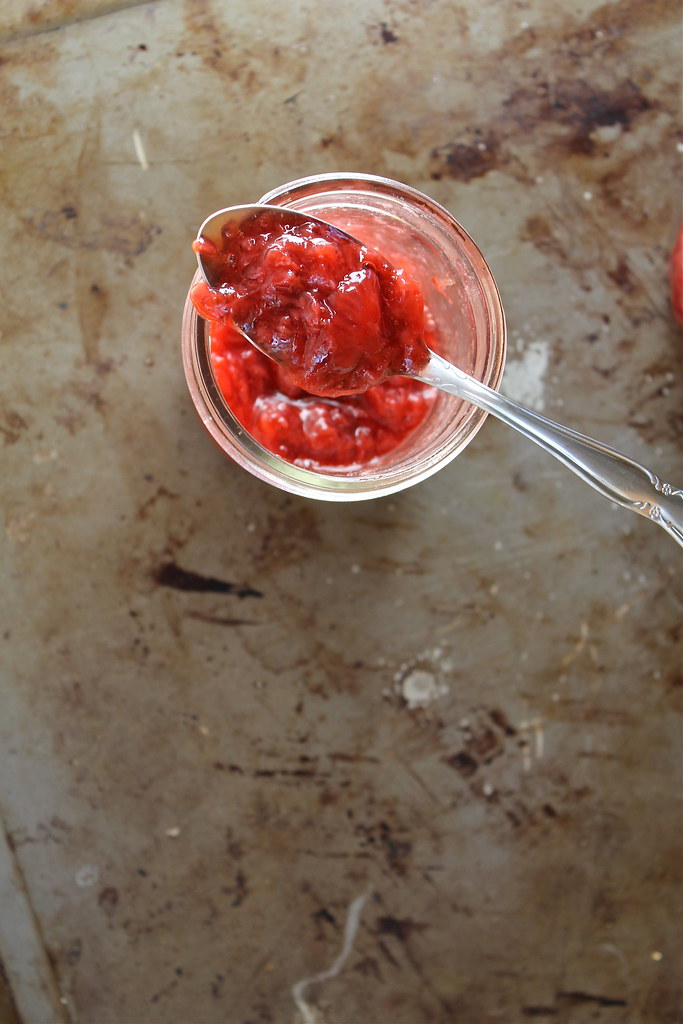
strawberry jam http://www.katesshortandsweets.com

Like all of my other jams, this one is pectin free. It relies on the fruit's natural pectin, sugar, and cooking out the juices to firm it up. Keep in mind that if you like really firm jam, you will probably prefer jams made with pectin, but you won't be able to experiment as much, and you also won't be able to use less sugar than what the box tells you. For more information, check out this post by Erica.


Strawberry Margarita Jam - vegan & gluten free
inspired by Northwest Edible Life

Depending on how much you cook it down, you should get about 4 half-pint (8 ounce) jars using the measurements below. I always like to prepare a 4oz jar as well, so if there's a little left at the end I can preserve it along with the half-pint jars. If you're swimming in strawberries (or tequila), feel free to double, or even triple the recipe, but this is a nice manageable size.  You’ll notice that I don’t give a cooking time. That’s because cooking times can vary greatly depending on the width of your pot, the power of your stove, the amount of humidity in the air and even how much rain fell in the days before your fruit was picked. Stay close to the stove as you cook your jam and watch closely for changes. Besides putting it on toast, jam makes a great cake filling and fabulous ice cream. 

Just like with any other jam, you can of course skip the processing and just store the jam in the fridge and eat within a month or so.

2 pounds washed and chopped strawberries (weigh after preparing)
4 to 8 oz (a gently rounded ½ to 1 cup) sugar
1 Tbsp freshly squeezed lime juice (required) + 1 tsp or more for extra flavor
¼ tsp – 1 tsp lime zest
1-3 tsp tequila

In a large pot (with only 2lbs of fruit, I was able to use my large saucepan), gently mash berries and 4 oz sugar together. Cover and let stand for 1 hour or more. If I'm cooking it right away, I like to use this time to prepare my jars, lids & tools, get my giant pot of water heating up, clean up and clear off my (very limited) counter space, etc. You're going to be doing a lot of tasting, so make sure you have a bunch of clean spoons ready. If you'd prefer to break up the jam making, you can refrigerate the pot (or a bowl of the fruit+sugar) for up to 24 hours or so. The fruit will just keep releasing its juices, which is what you want anyway.

Prepare jars and lids for standard water bath canning. I don't pretend to be an expert, so if you're new to this, please do your homework! Read this, and also possibly this and many of these. Knowledge is power (botulism free canning for the win!). 

If you macerated your fruit in a bowl, pour it into a large pot or large saucepan (the wider the better for faster evaporation). 

Bring everything to a simmer. Stir frequently to avoid scorched jam. As your fruit begins to soften, add lime juice (1 tablespoon for every 2 lbs of fruit). Stir in lime zest. 

At this point, if you like smoother jams, you'll want to use an immersion blender to break up fruit. I don't have one, so I just use a potato masher/spoon to break up the fruit as much as I feel like. You can make it as chunky or as smooth as you'd like. 

With a clean spoon, taste your jam (without burning your tongue, please). Decide if it's sweet enough, and add more sugar if you like. You should also decide if it's lime-y enough. Add in more zest and/or juice if you'd like. Trust your taste buds. If you think it's too tart, add sugar. If not, wonderful, you can move along. Keep tasting until it's the right sweetness for you, but be sure to use a clean spoon every time. Remember that the longer your jam cooks, the more concentrated the flavors will become. Keep stirring frequently. 

You can test for set (lots of info here) quite easily- when your preserve is "glossy, a bit darkened and looks slightly thickened"scoop a small amount onto a plate (even better if it's been chilled). Run your finger through the jam. If the finger swipe remains visible or only fills in very slowly, the preserve as reached a soft, spoonable set. If you're good with that (I am) you can move on. If you like a firmer jam, keep cooking down your fruit and keep testing for set (clean spoons!!!). 

Stir in tequila. Start with 1 teaspoon (you can always add more). Taste. Add in more if you'd like. In this final tasting, make sure the jam is sweet enough, and the whole thing tastes good. Add more of one or more components if needed. 

Now it's time to fill your jars! Skim off the foam if necessary, ladle jam into hot, sterilized jars, leaving a 1/4-inch (6mm) head space. Wipe the rims clean and apply lids. Process the jars in a boiling water bath for 10 minutes (full-on boil! simmering doesn't count). Remove jars, and allow to cool on a wire cooling rack or a folded kitchen towel. Listen for the "ping!" of success. When jars are cool enough to touch, check seals. Jam is ready to eat as soon as it is cooled but can also be stored in a cool, dark place for up to a year.
Related Posts Plugin for WordPress, Blogger...