Showing posts with label peanut free. Show all posts

Thursday, October 30, 2014

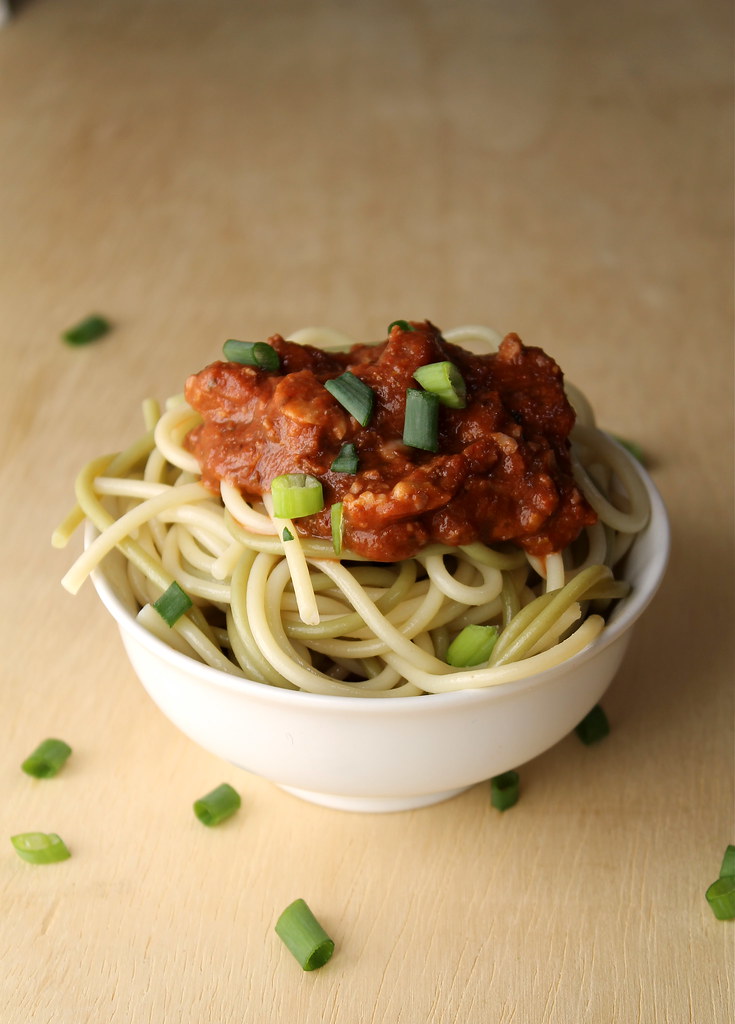
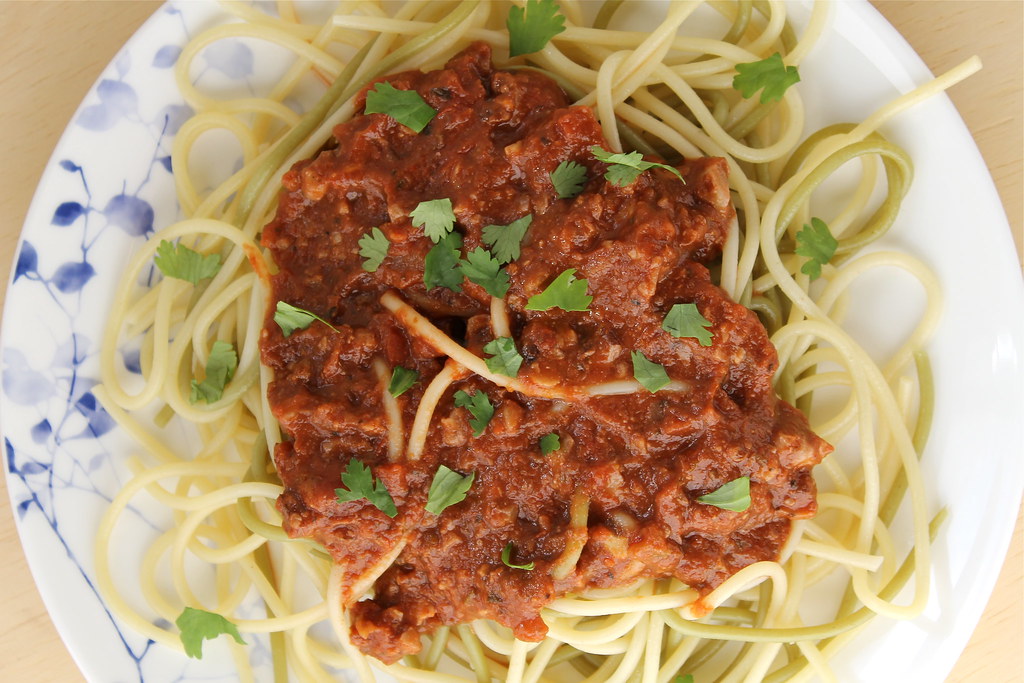
Vegetarian Walnut ‘Bolognese’ Spaghetti Sauce – Vegan & Gluten Free

Vegetarian Walnut ‘Bolognese’ Spaghetti Sauce | http://www.katesshortandsweets.com

There comes a time in every cook's life when sparks of inspiration are very few and far between. When all you want to make is pizza. Or cereal. Or a pb&j. We've all been there. Don't be ashamed; there is hope for all of us.

First, embrace the laze. It's really ok to eat cereal or pizza or burritos or grilled cheese for dinner. Pancakes are also completely acceptable. No one - not you, not your loved ones - is going to become malnourished by eating boring, pedestrian, unoriginal, or otherwise repetitive and redundant dinners. Also, please note that if you're making dinner, boring or no, you're way ahead of the curve.

Next, accept that you will once again be making Pinterest-worthy dinners again.

Vegetarian Walnut ‘Bolognese’ Spaghetti Sauce – Vegan & Gluten Free | http://www.katesshortandsweets.com

Finally, when you're ready for your first baby step, make this sauce. It's a fabulous because all you need are some walnuts and a jar of tomato sauce. When you're tired of plain sauce, this is a lifesaver. And while that might be hyperbole, it is a nice change. It's not as good on pizza, but it's really yummy on all shapes and varieties of pasta. Best of all, make it once and you'll know the recipe by heart.

Vegetarian Walnut ‘Bolognese’ Spaghetti Sauce – Vegan & Gluten Free
adapted from The Honour System

You can either use a food processor or a regular old knife and cutting board. I've used both methods, and I say use whichever you feel like. Or produces less dishes. You know, the usual reasons. I will say that if you use a food processor, be sure not to over process the walnuts or you'll end up with flour, then butter. 

1 C walnuts, chopped
3 C (or 1 jar) tomato sauce

In a medium sauce pot, set your sauce over medium heat, add the crumbles to the sauce, and stir well. Alternately, add nuts to your pot first. Stir often while you toast the nuts a bit to add extra flavor. Add sauce to toasted nuts (be careful of spatters). Stir well. 

Serve warm sauce over pasta. 

Monday, October 20, 2014

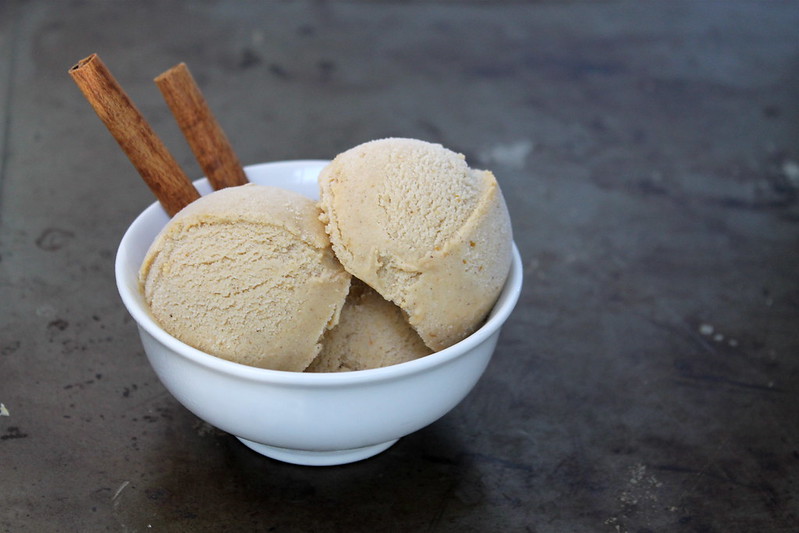
5 Ingredient Pumpkin Ice Cream - vegan & gluten free

5 Ingredient Pumpkin Ice Cream - vegan & gluten free | http://www.katesshortandsweets.com

Less than two weeks till Halloween! Do you have your costume figured out? I think I'll go crazy and wear a fancy shirt. I don't expect any trick-or-treaters for either candy or Unicef in my neighborhood, but that doesn't mean we won't want pumpkiny goodness.

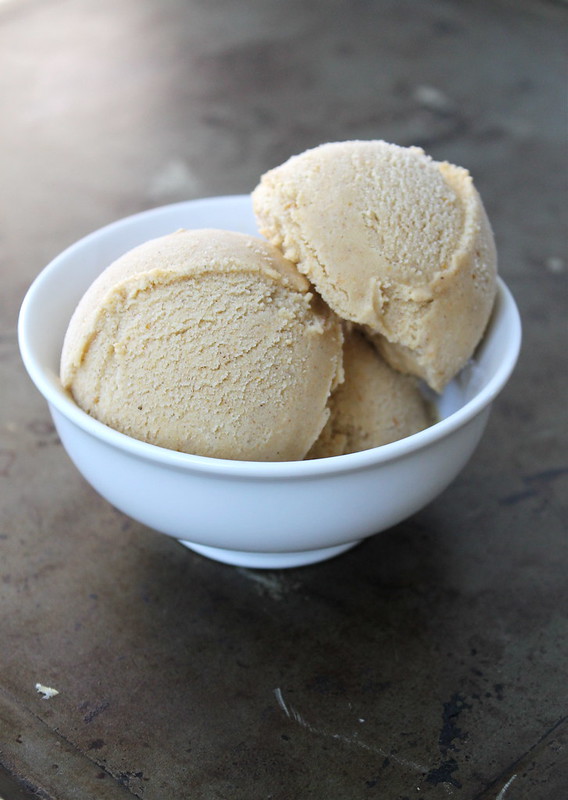
And this ice cream? It definitely qualifies as pumpkiny goodness. The fact that real, actual, honest-to-goodness pumpkin, rather than just pumpkin spices, means you can really taste the pumpkin. Does that also mean we can count it as a vegetable course? hmmm. I'm leaning toward "yes."

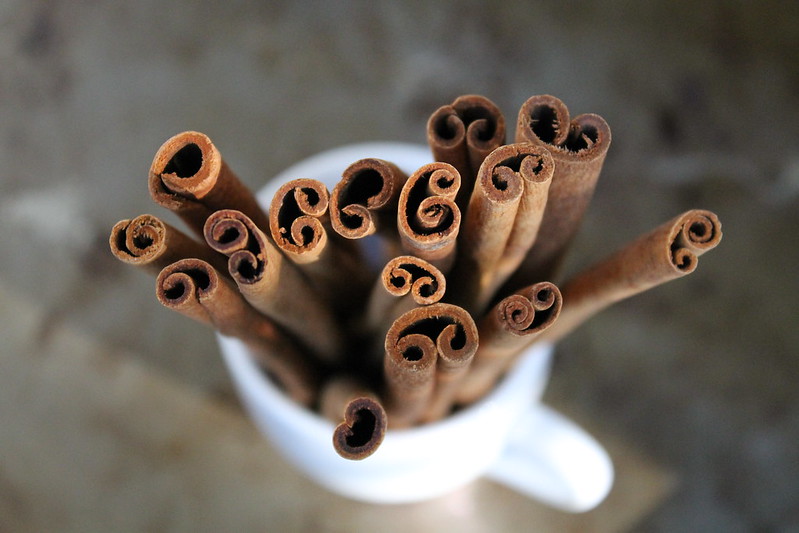
cinnamon sticks | http://www.katesshortandsweets.com

For the first time I experimented with using one can of full-fat coconut milk and one can of light coconut milk. It's good! It might not be quite as creamy as using only full-fat, but Mr Official Taster hasn't noticed, and I think it's dreamy delicious. Lower fat + pumpkin? I think that equals a firm "yes" on the vegetable question. Sweet.

5 Ingredient Pumpkin Ice Cream - vegan, gluten free | http://www.katesshortandsweets.com

5 Ingredient Pumpkin Ice Cream - vegan & gluten free
adapted from MindBodyGreen


As I mentioned above, you can use either two cans of full fat coconut milk OR one can full fat + one can light coconut milk.  Do you have a good spice cabinet but no pumpkin pie spice? Make your own

2 15-ounce cans of coconut milk, well shaken (see note)
1 C pumpkin puree (either canned or fresh)
1/2 C maple syrup
2 tsp pumpkin pie spice
1 tsp vanilla extract

and a bonus, "optional" ingredient
splash of bourbon

Add the first five ingredients to a medium saucepan over medium heat. Stir occasionally, and then whisk more frequently as the mixture warms up until it's fully combined and no lumps remain (a boil isn't necessary). Transfer to a bowl and refrigerate at least a few hours or overnight. 

Transfer chilled mix (plus a splash or two of bourbon, if using) to your ice cream machine and freeze according to the manufacturer's instructions.

Tuesday, October 14, 2014

Lunchbox Multigrain Apple Crisps - vegan & gluten free

vegan, gluten free Lunchbox Multigrain Apple Crisps | http://www.katesshortandsweets.com

There's been a revolution in lunches here at Chez Sweets. 

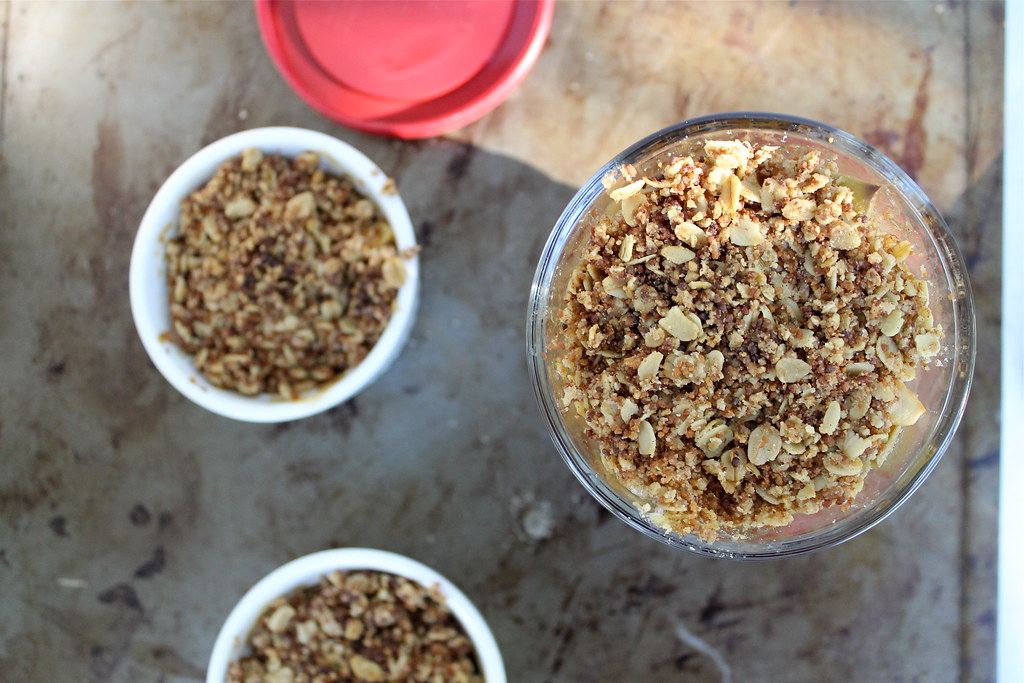
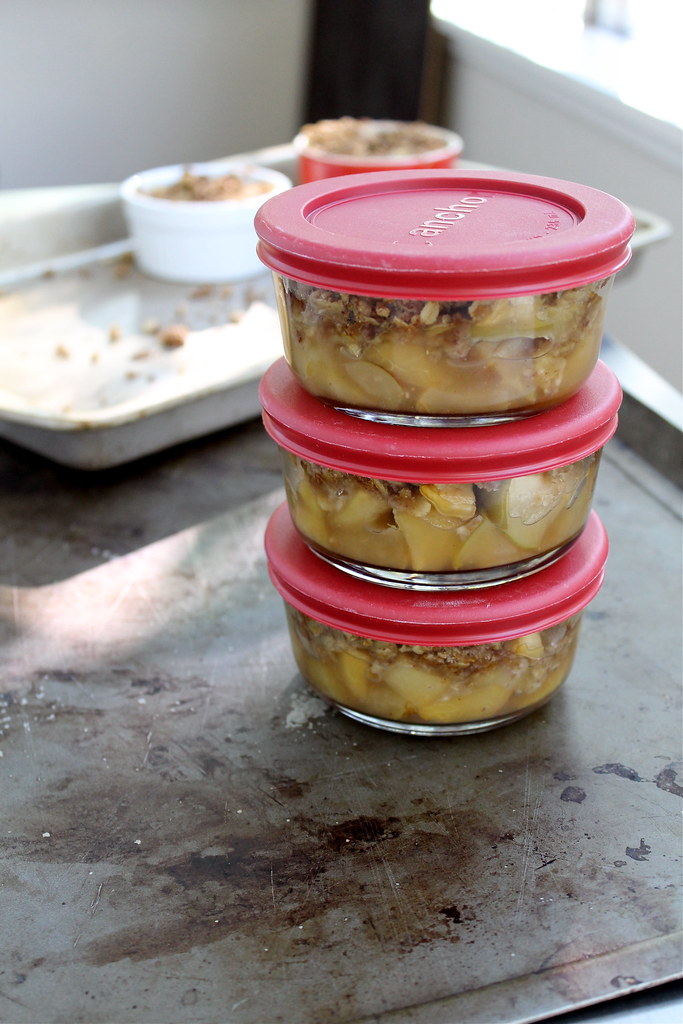
I started playing with this idea over the summer, and I'm really happy about it. There are actually a couple of ideas at play, but the main one is that you can bake individual desserts - the kind that don't travel as well as a brownie or a cookie - in the relatively recent generation of storage containers. These are glass containers that are labeled as oven safe and come with tightly fitting lids. All parts are dishwasher safe, which is an excellent quality in any lunch container. 

Lunchbox Multigrain Apple Crisps - vegan, gluten free | http://www.katesshortandsweets.com

My mom found these glass Anchor containers for me when I first started wondering out loud about the concept, and they are pretty great. They're a nice size (1 cup), sturdy, and very packable (and not just with crisp). Full disclosure - Anchor has no idea who I am or that I am writing about their product. I just like them. 

One of the other ideas at play is that of trying to make lunches more exciting/more delicious/something to look forward to. I am happy to say that a cinnamon spiced sweet apple crisp is a sure-fire way to do so. My lunch mates this week have been happy to help themselves to a bite or two. I am dreaming of translating other recipes the same way. 

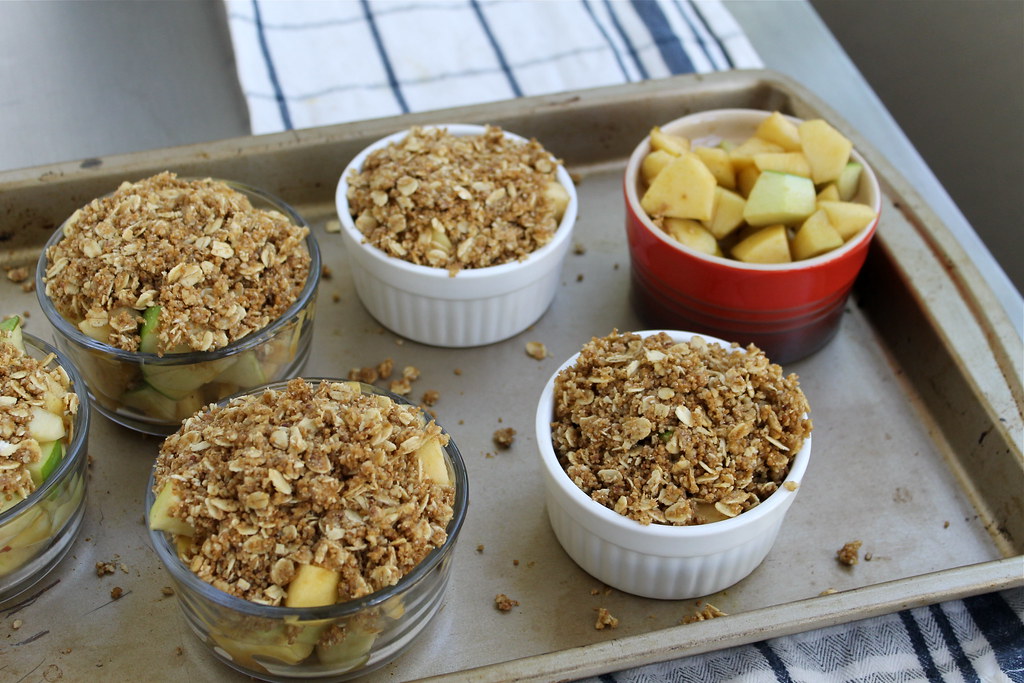
unbaked | http://www.katesshortandsweets.com

You don't have to make this for your lunchbox, of course. Make them in small ramekins, and voila, you have individual desserts. Serve them for guests with a dollop of whipped cream (and perhaps a decorative sprinkling of cinnamon?) for instant accolades. They are also totally healthy enough to have for breakfast. 

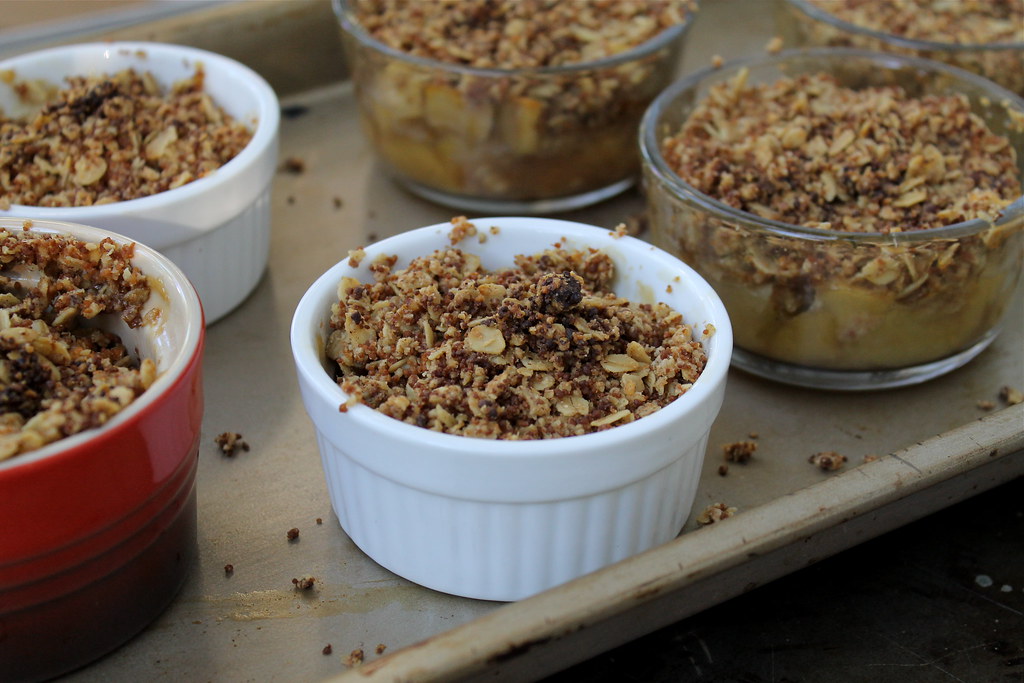
I've already waxed on about the portability concept, but I don't want to neglect the crisps themselves (it's bad for their self esteem). These multigrain apple crisps are super yummy! The apples are soft and sweet, and the crisp provides great contrast, not only in terms of texture, but also in flavor. The nutty and cinnamony crunch is delightful. So go forth and bake! You probably already have all the ingredients on hand. Just think how much better your brown bag lunch will look.

Multigrain Apple Crisps - vegan, gluten free | http://www.katesshortandsweets.com

Lunchbox Multigrain Apple Crisps - vegan & gluten free
adapted from Smitten Kitchen

For the nuts - any will work. Pick your favorite! For the pictured batch, I used pecans, but it was a tough internal struggle deciding between those and walnuts. Almonds or hazelnuts would also work well, as would an equal volume of a nut meal or flour. If you have oat flour on hand, substitute a quarter-cup of that for the first quarter-cup of rolled oats.

For the flour - again, any will work. Crisps are wonderfully forgiving in that way. The flour doesn't really bind things together with gluten here, so you can use your favorite regular, wheat, white whole wheat, nut, gluten free, or any other flour of choice. I'm thinking that rye flour might be a fun option next time. 

For the oil - I used olive oil, but you could certainly use any other vegetable oil, melted butter, melted coconut butter, or some combination thereof. I haven't tried it, but I suspect something like walnut oil would also be a yummy choice. 

Makes 8 small crisps

4 large or 5 small-medium apples (about 2 pounds)
1 Tbsp cornstarch
3 Tbsp plus 1/4 C raw, Turbinado (often sold as Sugar in the Raw) sugar, or Sucanat
1/4 C plus 3/4 C rolled oats (be sure to use certified gluten free if making for gf folks)
1/4 C sliced or slivered nuts of your choice (see note)
1/2 C whole wheat flour (or a mix; see note)
1/4 C light or dark brown sugar (I used Sucanat)
1/4 tsp ground cinnamon
pinch or two of nutmeg
Two pinches sea salt
1/2 tsp baking powder
1/4 C plus 1 Tbsp olive oil (see note)

Preheat oven to 350 degrees. Arrange either eight 6-ounce or six 8-ounce ramekins or oven-safe food storage containers (I love these) on a baking tray. Peel, halve and core apples. Dice them into somewhat small pieces - about .5-inches. Smaller pieces have several advantages; you can squish more fruit into each container, they will bake faster, and they will deflate or sink less as they cool. Toss apples with 1 tablespoon cornstarch and 3 tablespoons raw sugar or Sucanat until evenly coated. Divide apples evenly between baking dishes.

Grind 1/4 cup oats with nuts in a food processor until powdery. In a medium bowl, us a fork to whisk oat/almond mixture with remaining rolled oats, wheat flour, remaining 1/4 cup raw sugar, brown sugar, cinnamon, nutmeg, sea salt and baking powder. Keep using the fork to stir in olive oil until crumbly. Divide crumbs over each dish of apples, packing them on with your palms if needed to get them all on (don’t worry, the apples will deflate a bit when they bake- see photos). If you use fewer than eight containers, you will probably have extra topping. Not to worry - save it in the freezer, and pull out anytime you want to make a couple of individual crisps with whatever leftover fruit you have on hand.

Bake apple crisps for about 30 to 40 minutes, or until you can see the juices from the apples bubbling up around the crumbs. If you start to worry about the over browning of the top, put a sheet of foil over the whole tray for remaining baking time. Let cool on rack and serve when lukewarm. Store remaining crisps in fridge. Enjoy at room temperature, or give them a quick blast in the microwave to serve warm. 

Tuesday, September 30, 2014

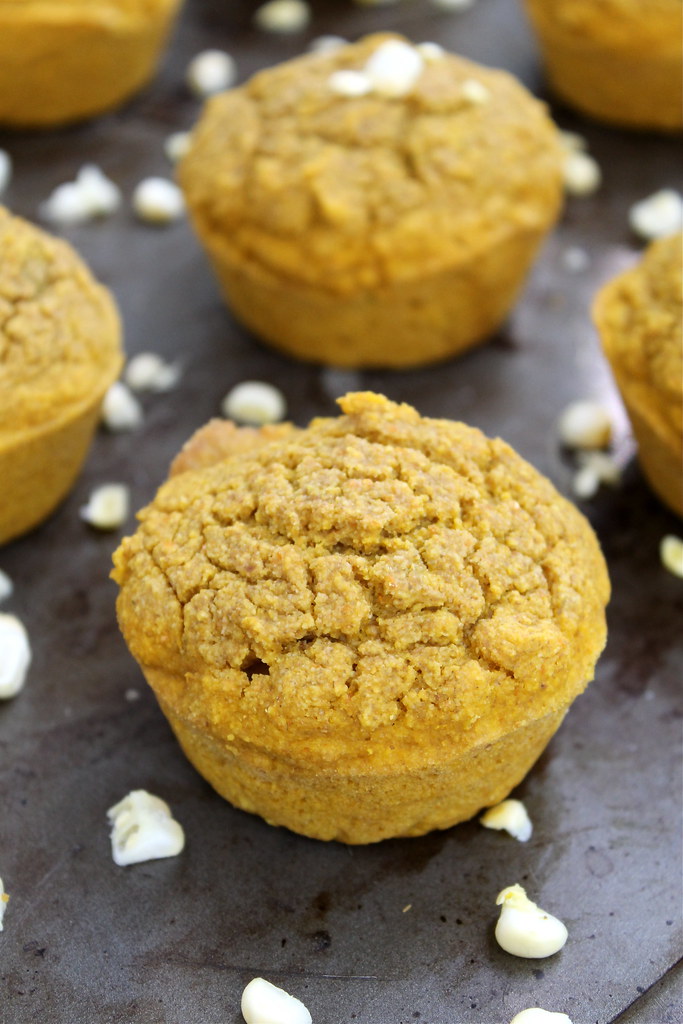
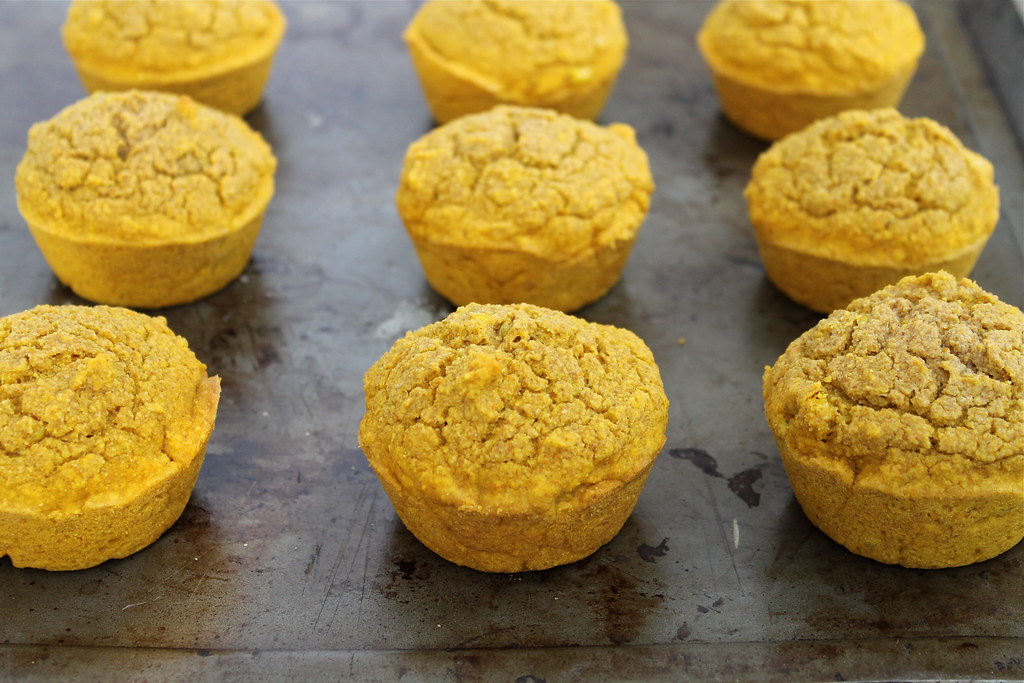
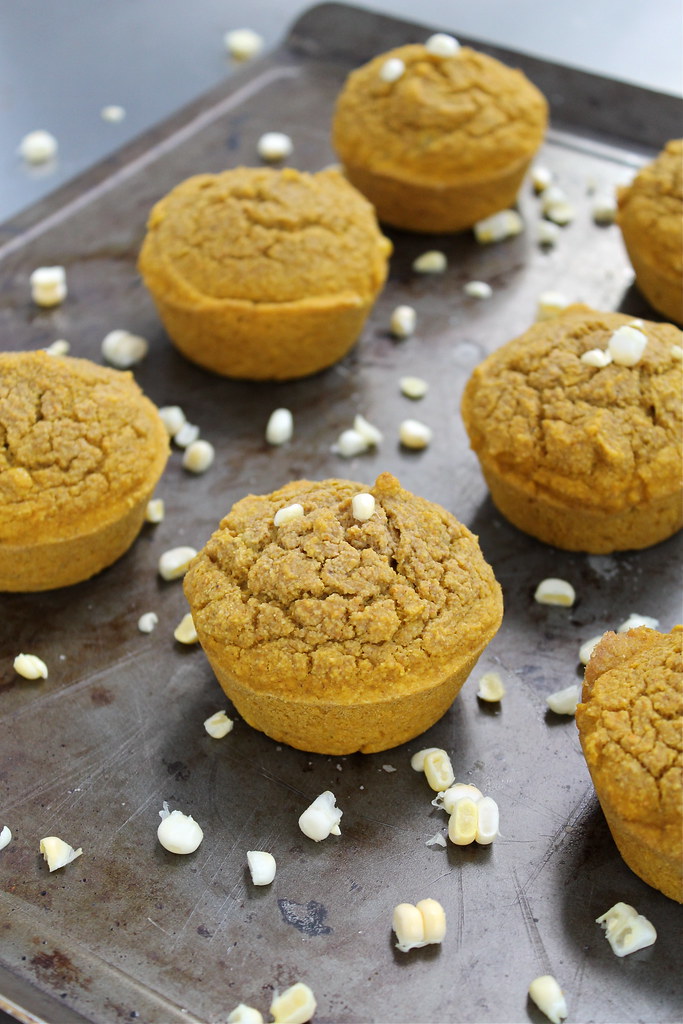
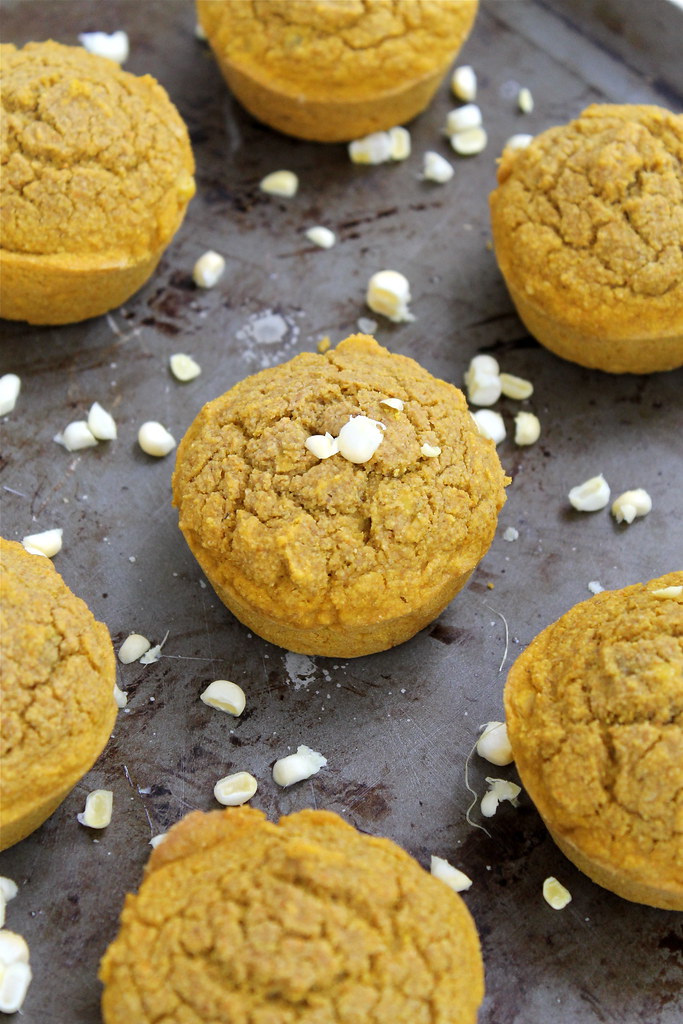
Pumpkin Cornbread - vegan

Pumpkin Cornbread

A few weeks ago, I boldly promised to keep this a "pumpkin-spice-anything-free zone," and I'm proud to say that's still true. I will admit, however, that I noticed a loophole and decided to take advantage of it. You see, I didn't outlaw actual pumpkin. Sneaky, you accuse? Yep. But, in my defense, loopholes are a proud American tradition, and it is technically fall now, so pumpkin is actually appropriate.

Pumpkin Cornbread, vegan

I came across a recipe for a honey pumpkin cornbread, started making it, realized my cornmeal was not-so-good, ran and got a new bag, finished the recipe, and after all of that, was supremely disappointed. It was dry. It was boring. It tasted like pumpkin but not at all like cornbread. Or honey, particularly, come to think of it. I knew I liked the idea in general, so I basically tore the recipe up (well, virtually tore it up. and by "tore it up" I mean I no longer have it Pinned) and started all over.

Pumpkin Cornbread - vegan

I switched from honey to maple syrup and reduced the volume. I got rid of an egg and some pumpkin-y spices. I introduced creamed corn to the ingredient list and reduced the milk. A few other tweaks, and I was ready to try again.

vegan Pumpkin Cornbread

Ladies and gentlemen, we have a winner. This pumpkin cornbread blends and balances both flavors so that you can really tell each is there. It's moist (even the next day) and not too sweet. In short, it's all the good things that cornbread should be.


Pumpkin Cornbread - vegan
a Short & Sweets original


If you make this when there is still fresh corn available, I think a handful of fresh kernels would be a tasty addition. I see no reason why you couldn't make either mini or jumbo muffins and adjust the bake time accordingly. Also, I haven't tried myself, but they should freeze just fine if well-wrapped.

If you are looking for a breakfast treat, drizzle some maple syrup over a warm muffin. It's fabulous on a fall morning. Otherwise, I recommend pairing these with black bean sweet potato chili or red bean chili. Or, if you want to go pumpkin-crazy, pumpkin chili

3/4 C non-dairy milk
1 Tbsp apple cider vinegar
1 1/4 C yellow cornmeal
1 C whole wheat pastry flour
2 tsp baking powder
1 tsp baking soda
1/2 tsp salt
2 Tbsp vegetable oil (or melted coconut oil or vegan butter)
3/4 C canned pumpkin
3/4 C creamed corn
1/4 C maple syrup (or other liquid sweetener)


In a medium-sized non-reactive bowl or large glass measuring cup, combine non-dairy milk and vinegar. Set aside for at least 10 minutes.

Preheat oven to 400F. Grease a standard, 12 cup muffin tin with nonstick cooking spray or line with paper liners. 

In a large bowl, stir flour, cornmeal, baking powder, and salt together. Whisk oil, pumpkin, creamed corn, and maple syrup into the milk+vinegar mixture. Add wet ingredients to dry ingredients and stir until just combined. Divide batter evenly among muffin tins. Bake for 15-18 minutes or until a toothpick comes out clean or with just a few crumbs attached.

Cool for 5 or 10 minutes in the pan, then remove and serve immediately or allow to cool completely on a wire rack. In an airtight container, muffins stay moist for 3-4 days. 

Monday, September 22, 2014

Build a Better PB&J - free of everything you want

Build a Better PB&J | http://www.katesshortandsweets.com

 
I can't take any credit for this one. My friend S nearly always packs her lunch, and it always looks super yummy and super healthy. I first noticed these sandwiches a while back; it took me a long time to give it a try. I'm SO GLAD I did. 

Here's the thing: I've never liked PB&Js. I like bread. I like peanut butter. I like jam. I like bread with peanut butter. I like bread with jam. But I don't like all three all together. I know. I'm kind of a weirdo. Even my mom thinks so. 

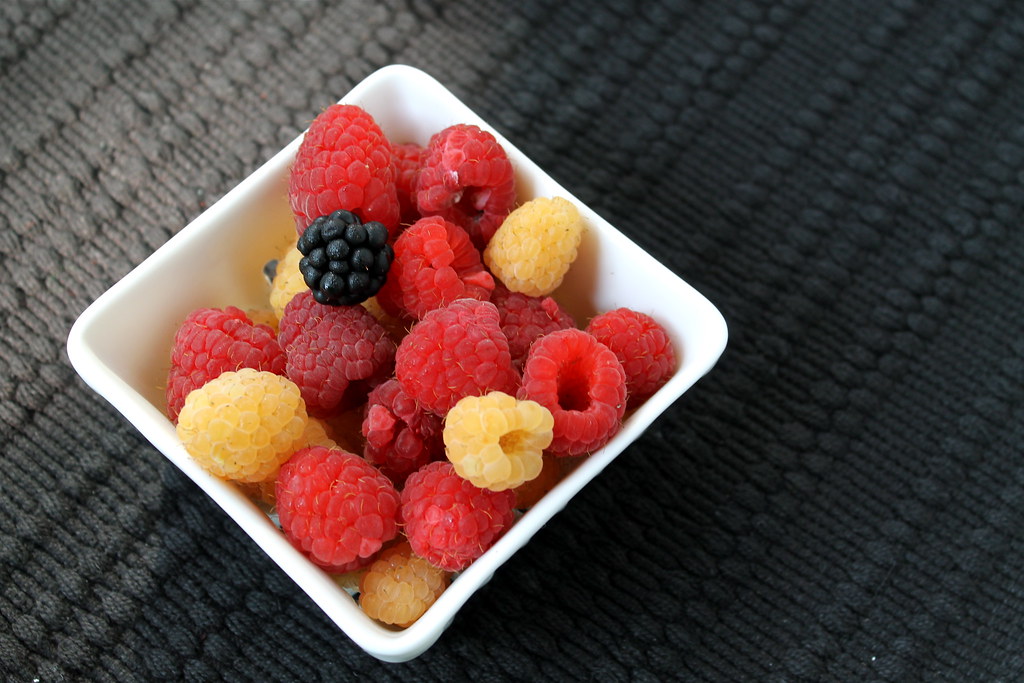
farmers' market raspberries | http://www.katesshortandsweets.com

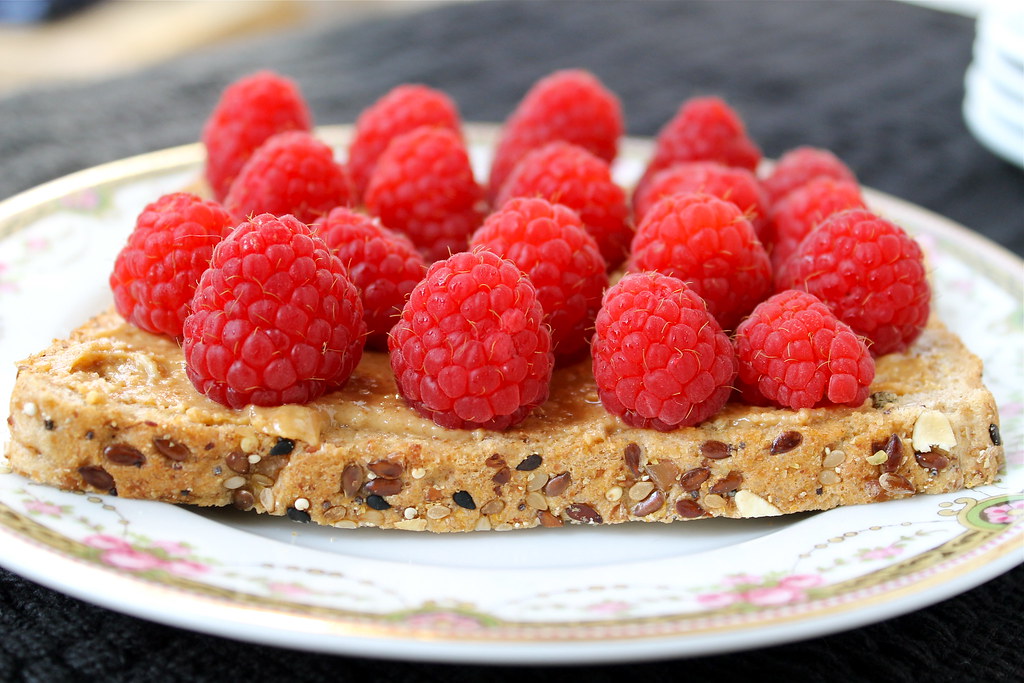
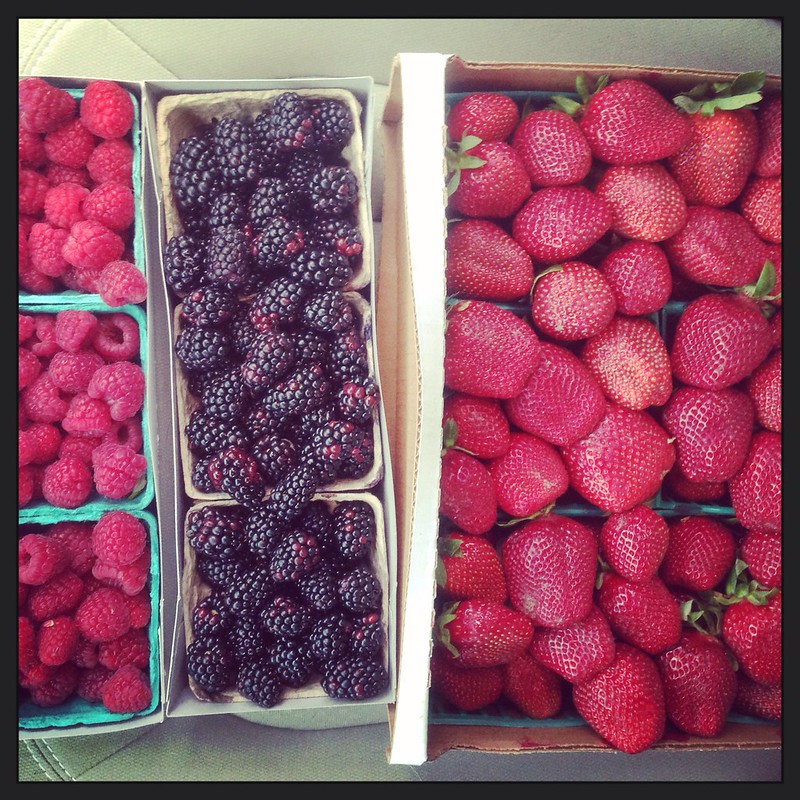
But it turns out that I do like peanut butter and fruit. A lot. And just about any fruit will work here. While visiting, my mom made a peanut butter and nectarine sandwich she was quite happy with. Fresh blackberries are excellent. Sliced strawberries, sliced apples, and sliced bananas are all good. 

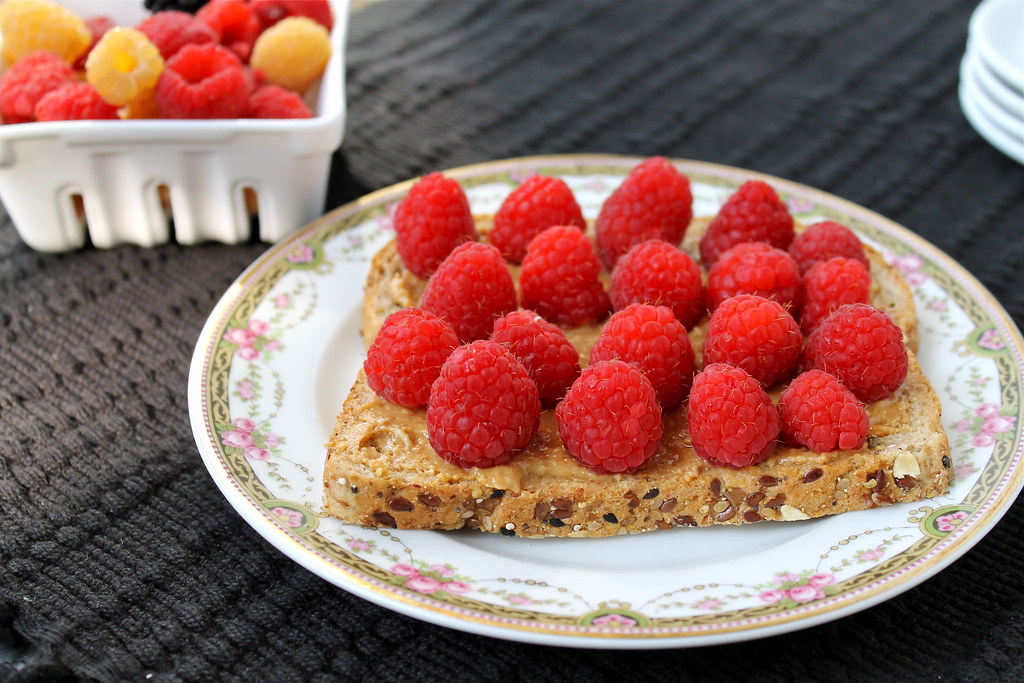
Besides the obvious benefit of no added sugar, you can make this breakfast/snack/lunch-if-you-add-another-piece-of-bread-and-pack-it-safely free of whatever allergen you need to. Regular or gluten free bread, any nut butter or sun butter, fruit of choice. It's that easy. 

build a better Peanut Butter Sandwich | http://www.katesshortandsweets.com

 
For those of you who like instruction to come with your food photos, here goes:
  1. Spread nut or non-nut butter of your choice on a favorite slice of bread.
  2. Arrange fruit or slices of fruit (if large, like strawberries, bananas, apples, peaches, etc) on top in rows, or however the fruit is telling you to do so. 
  3. If you're extra hungry, spread another piece of bread with nut/non-nut butter and place, sticky side down, on top of fruit. 
  4. Eat. Enjoy. nom nom nom
I especially like this in the morning with a hot cup of tea. 

Have you tried this before? What are your favorite combinations?

Wednesday, September 17, 2014

Fruit Topped Citrus Olive Oil Muffins - dairy free

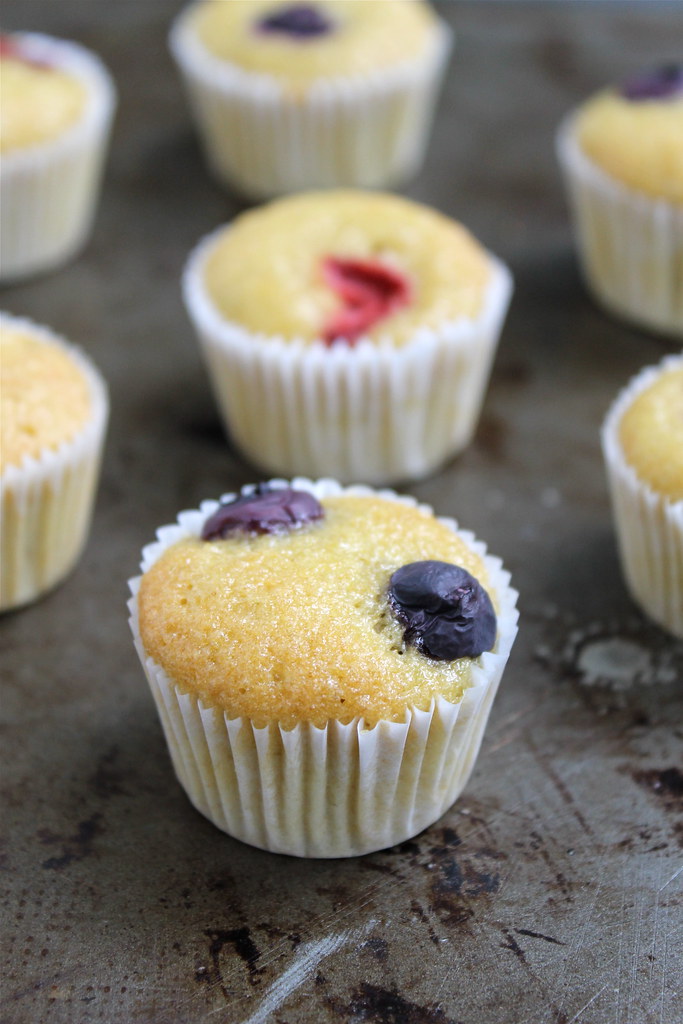
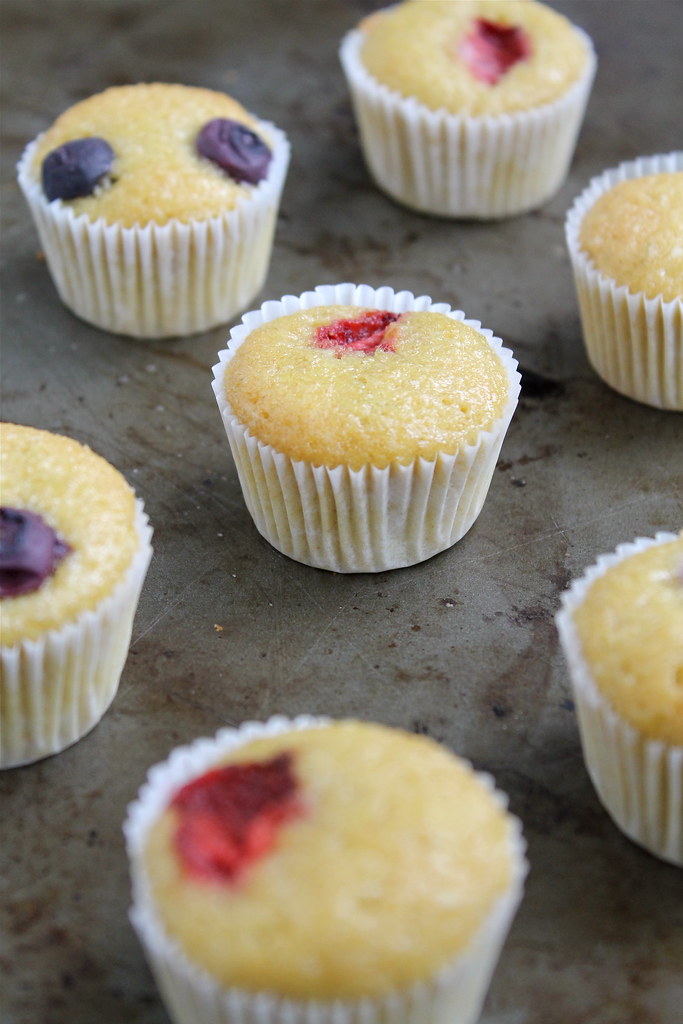
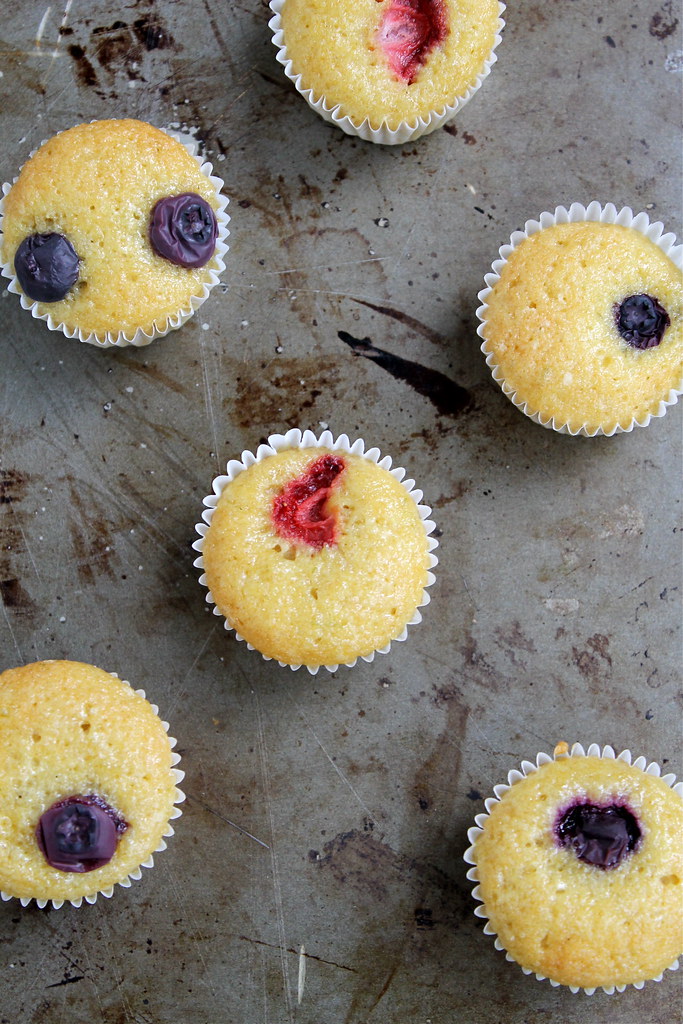
Blueberry Topped Citrus Olive Oil Muffins | http://www.katesshortandsweets.com

Can we take a minute and just appreciate the cuteness of mini things? They're just better.

That's right, take a moment. Enjoy the cuteness.

Now that we've got that (mostly) out of the way, let's talk about how delicious they are. Because they are. They're perfect little sweet morsels for parties, for lunch boxes, for a breakfast treat. And the other great thing about them is that they are relatively healthy. Heart healthy olive oil, fruit, and not an overwhelming amount of sugar means you can feel good ok about stuffing twelve into your mouth. Not that I've ever tried anything like that.

Fruit Topped Citrus Olive Oil Muffins, dairy free | http://www.katesshortandsweets.com

These (cute) little bite sized treats were very popular party treats last month. They're nice and light, sweet, and the fruit pieces give nice juicy bursts. Olive oil is one of those ingredients that people (ahem. Mr Official Taster) think sounds odd as part of a baked good, but, invariably, if they try it, they like it. Olive oil pairs especially well with citrus or rosemary, which makes sense given their shared growing region (like how tomatoes and basil go together).

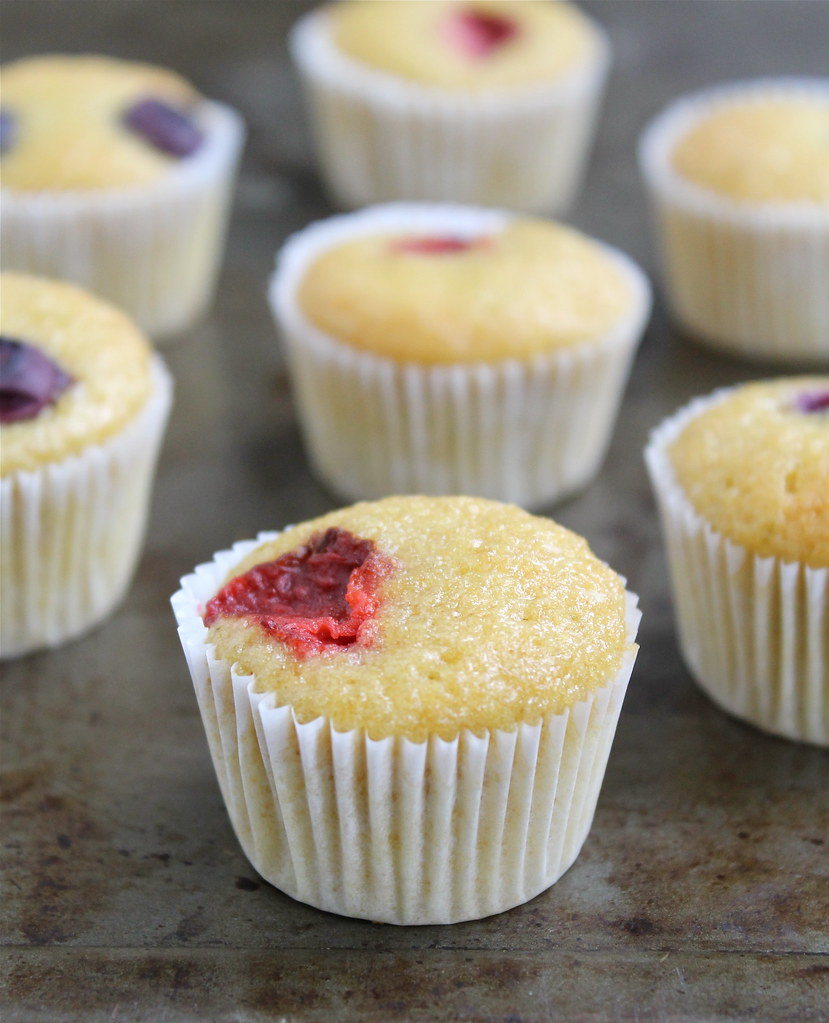
Fruit Topped Citrus Olive Oil Muffins - dairy free | http://www.katesshortandsweets.com

You might look at the written recipe and think it's too fussy. Think again. Although these yummies are not one-bowl wonders, they're really pretty easy, hard to mess up, and worth a couple dirty bowls. Additionally, you could definitely make a batch and freeze some for later. Put them in your freezer, label them, and forget about them. That way, you will be rooting around looking for some corn for chili one day and come across your stash. It'll be on par with finding a $5 in your jeans.

But way cuter.

Strawberry Topped Citrus Olive Oil Muffins, dairy free | http://www.katesshortandsweets.com


Fruit Topped Citrus Olive Oil Muffins - dairy free
adapted from How to Cook Everything

The fruit topping is completely adaptable to what you like, what allergies you may be dealing with, or even what colors you want. Red and blue are great for July 4th or Memorial Day parties. How about star fruit? Red and green (kiwis, perhaps?) for Christmas. Or pink raspberries for a little kid's birthday party. You get the idea- have fun! 

cooking spray (or liners) for pan
4 eggs, separated and room temperature
1/2 C extra virgin olive oil
1/4 + 3/4 C sugar
2 C flour
1 1/2 tsp baking powder
1/4 tsp salt
1/3 C orange juice
zest of one lemon, orange, or lime (grapefruit should be yummy too)
chopped or whole berries (or other fruit)

Separate your eggs when you first take them out of the refrigerator because it's easier when they are cold. Then allow them to come to room temperature for 30 min or so.

Preheat the oven to 350 degrees F. Spray or line muffin or mini muffin trays.

Using an electric mixer, beat the eggs whites in a small bowl until they foam. Then sprinkle in 1/4 C sugar while still beating the whites. Continue beating until the whites hold soft peaks.

In a large bowl, add the olive oil and 3/4 C sugar and beat together. Add the egg yolks and beat until thick and fluffy (5-7 minutes). Mix in the flour, baking powder, and salt. Next, mix in the orange juice and zest. The mixture will be very thick and/or crumbly. If it's crumbly, add in a splash more of juice. Don't despair.

Add the beaten egg whites to this thick mixture. As gently as possible, thoroughly fold together the batter and egg whites. You may think they will never combine, but they will.

Spoon batter into cupcake pans. I used minis and topped each muffin with a couple blueberries or a slice or two of strawberry. Do what makes you happy.

Turn the mixture into your prepared pan and bake for 15-20 minutes (or until a toothpick inserted into the center comes out clean), depending on muffin size. Obviously, mini muffins will cook a few minutes faster than standard size ones. (15ish for minis, 18-20 for standards) Let the muffins cool in the pan for 10 minutes or so, then remove and allow to cool completely on a wire rack. 

Tuesday, August 12, 2014

Easiest Ever Homemade Tomato Paste

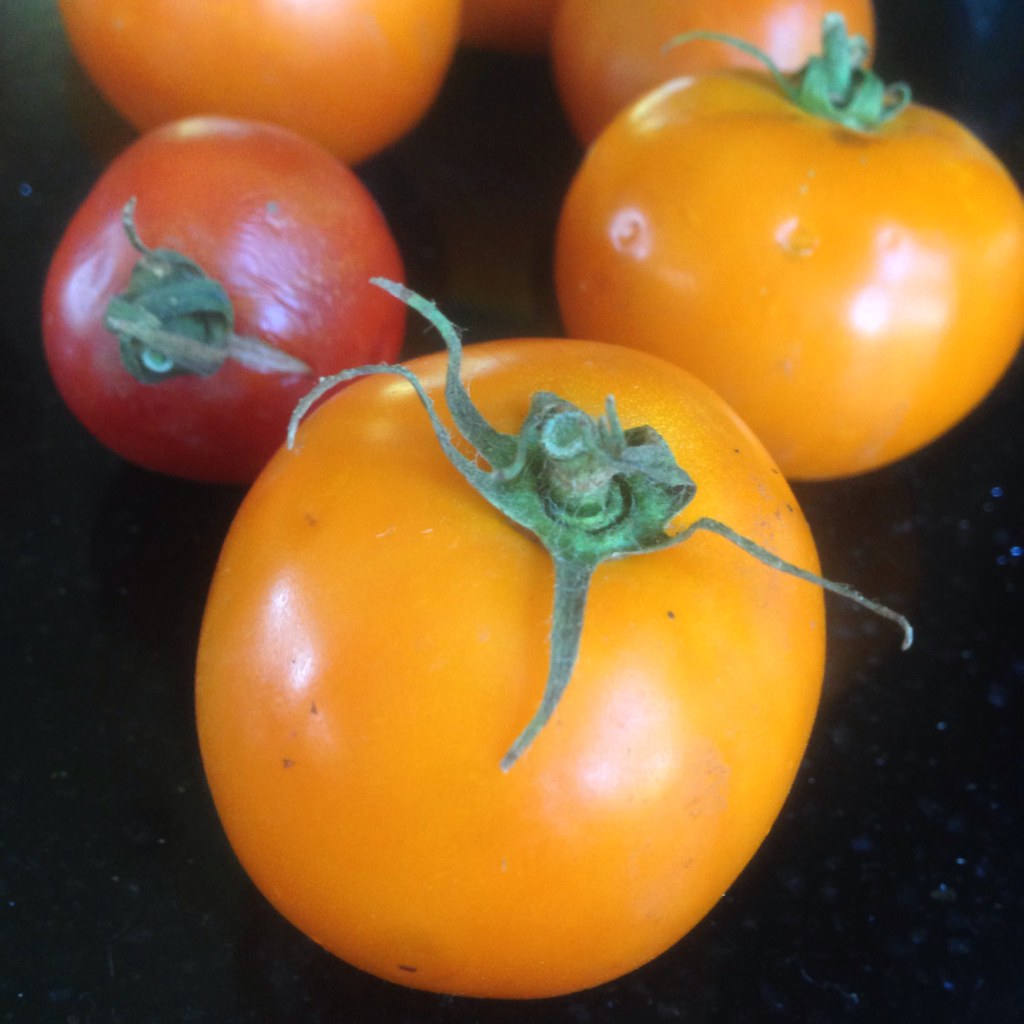
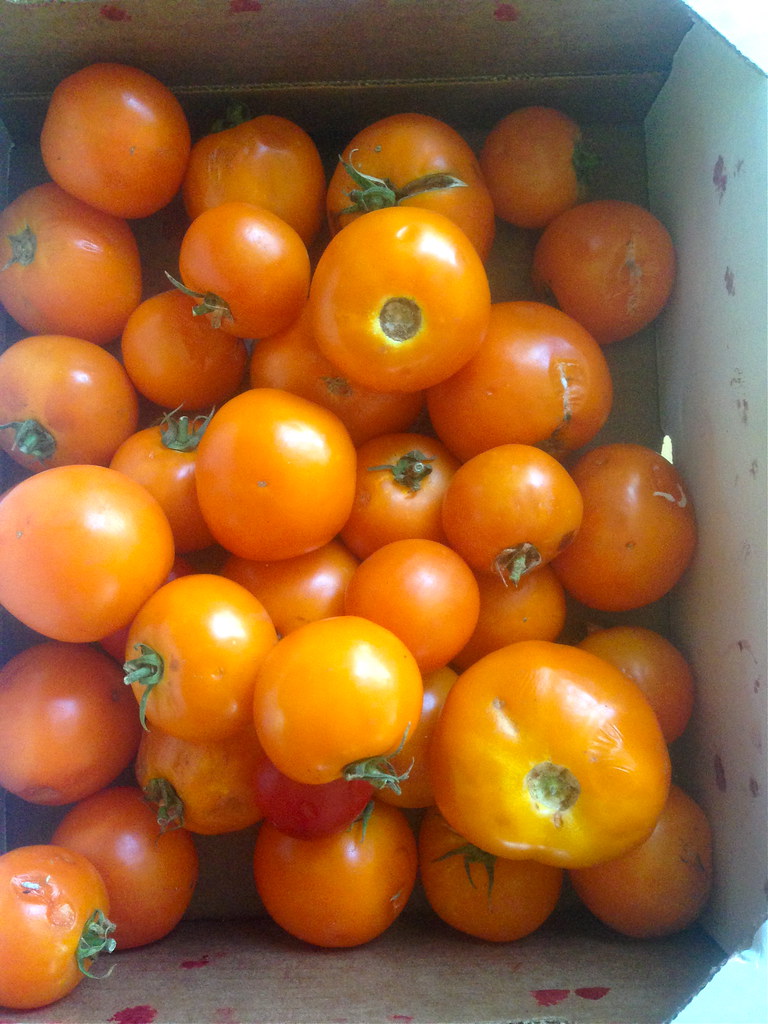
Beautiful yellow tomato, destined for paste


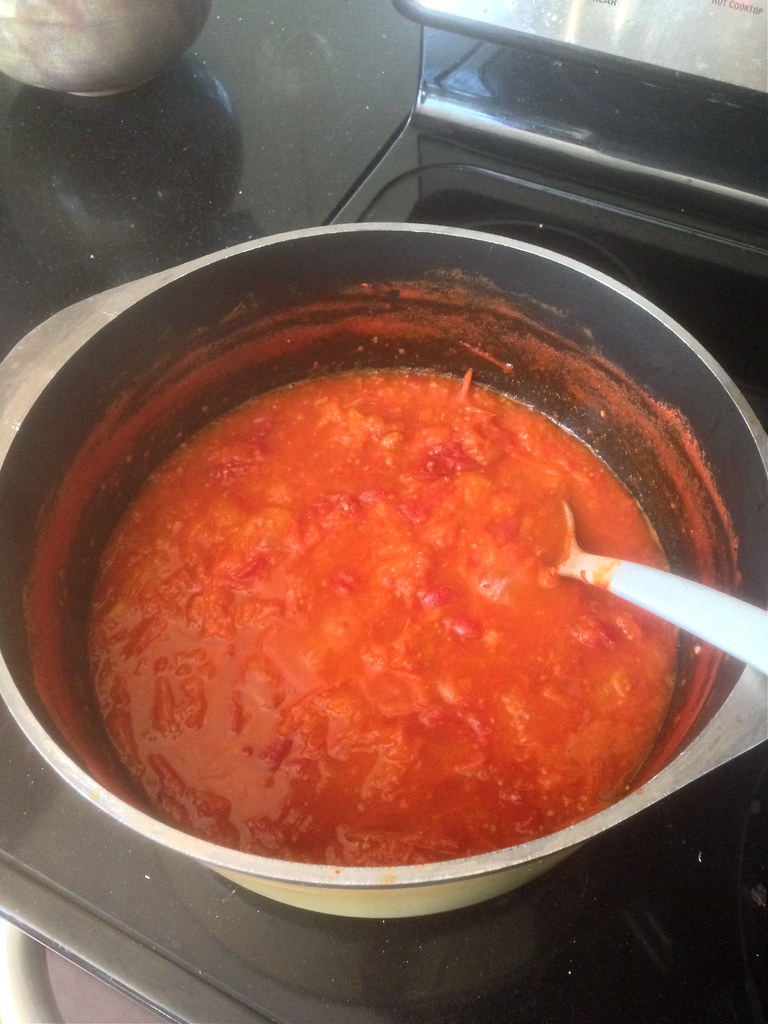
Well this is embarrassing. It turns out that iPhone cameras aren't great for all purposes. Apologies for the terrible photos, folks, but I am overcoming my chagrin because this recipe is worth it. Well, maybe "recipe" is too strong of a term. It's more of a set of directions and (bad) photos to go encourage you to take yourself to a farmers' market this week, ask a farmer with delicious tomatoes if they have any ugly or overripe ones, and load up. That's what I did last Thursday. I ended up getting about 10.5 lbs for $10. Luckily for me, these orange beauties happened to be Romas, which is handy since they're fleshier and less waterier that some varieties. Here is a short article listing the the best tomatoes for canning (just ignore the author's generalizations about heirlooms). As you can see, even though most of my batch was orange, the paste itself turned out surprisingly red. Not as deep of a red as in years past, but much redder than I anticipated.

The reasons to make your own are endless:
-Flavor. You simply can't compare homemade and store bought. You may not believe me now, but once you try your own, you will be a convert.
-Flavor Part 2. Adding a couple tablespoons of paste to your pastas, sauces, chilis, soups, stews, risottos, and anything else you can think of will make them have a better, richer, deeper flavor. In fact, tomato paste is a great source of the much sought after umami magic.
-Economics. Those cans of paste are relatively inexpensive at the store, right? They're generally in the $1-$2 range. I don't know about you, but whenever I bought one of those, I never used the whole can up at once, and I usually forgot about the leftovers until they were growing fuzzy mold in the back of the fridge. So really, I used maybe thirty cents worth of the can and had to toss the rest. That suddenly makes every tablespoon of paste cost $1.50. The great thing about this technique is that I freeze my homemade tomato paste in 1-2 tablespoon size portions, so I can just grab what I need and stick the rest back in the freezer. Et voila. No more waste.
-Just like all the other food you make at home, you know exactly what's in your paste (and what isn't). What's more, by talking to the farmer, you'll actually be meeting the person who grew part of you dinner. Sweet. Do you have a bumper crop of your own tomatoes this year? a) I'm jealous and b) even better!

So. Tomato paste.

Until a couple of years ago, I thought that making tomato paste would be a pain in the neck. It turns out that is not true. The article that originally set me straight is no longer available, but the moral of the story is that homemade tomato paste is one of the easiest things you can make. Yes, it takes time (many hours), but that's really all it takes. If you can boil water and remember to stir occasionally, you're all set.

So. You have your tomatoes. It doesn't matter how many you start with, the process is the same. The only variables here are the juiciness of your tomatoes and time. Find yourself a large, wide pot, a sturdy spoon, and an afternoon. Let's make tomato paste!

photo 2

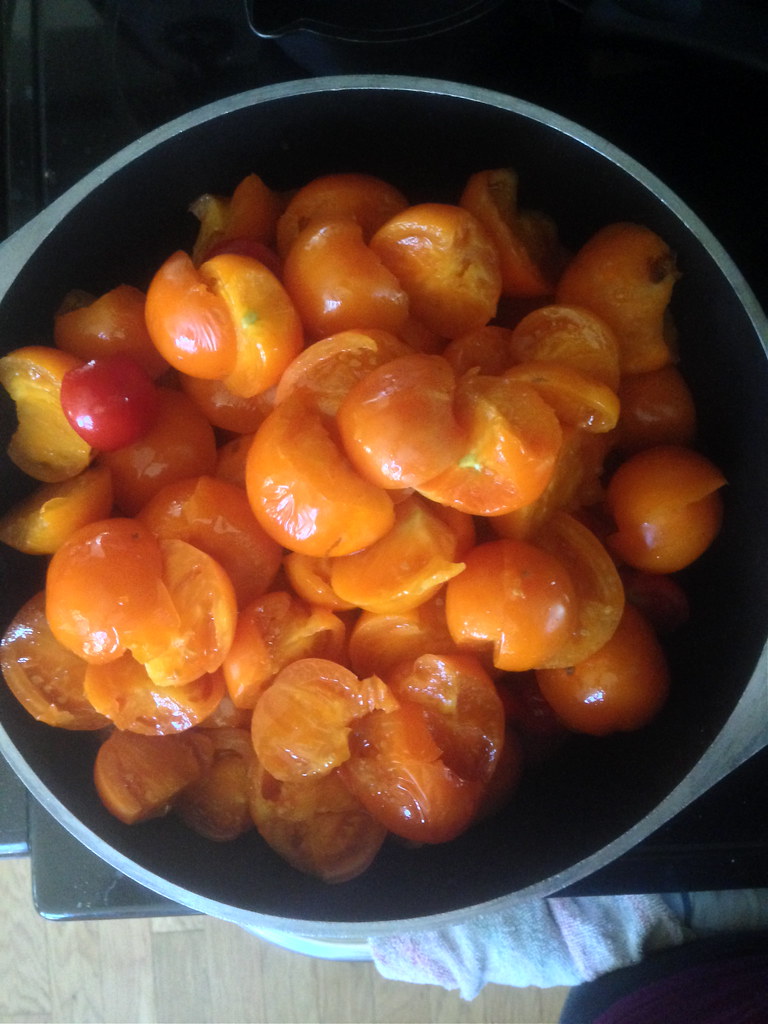
Begin by washing them (yes, even if they're organic. My mom says so). Remove any stems and bad bits. Bruised, over ripe, mushy spots are fine, but cut off the mold. You don't need to peel or seed them. Cut them into halves (or smaller if they are large).

10 lbs of tomatoes in a big pot

Put the prepared tomatoes into a large pot. Wider is better, because the greater the surface area, the faster the evaporation. You'll need a sturdy spoon, too. 

starting to cook

Heat them over medium, stirring occasionally. If you're super worried about sticking, you can add a smidge of water to help prevent that, but I've found the tomatoes own juices and a stir now and then are enough. 

boiling

Bring them to a boil, still stirring once in a while to ensure there's no sticking. You can boil them pretty hard for a while, because that's going to be the fastest way to evaporate all that water. 

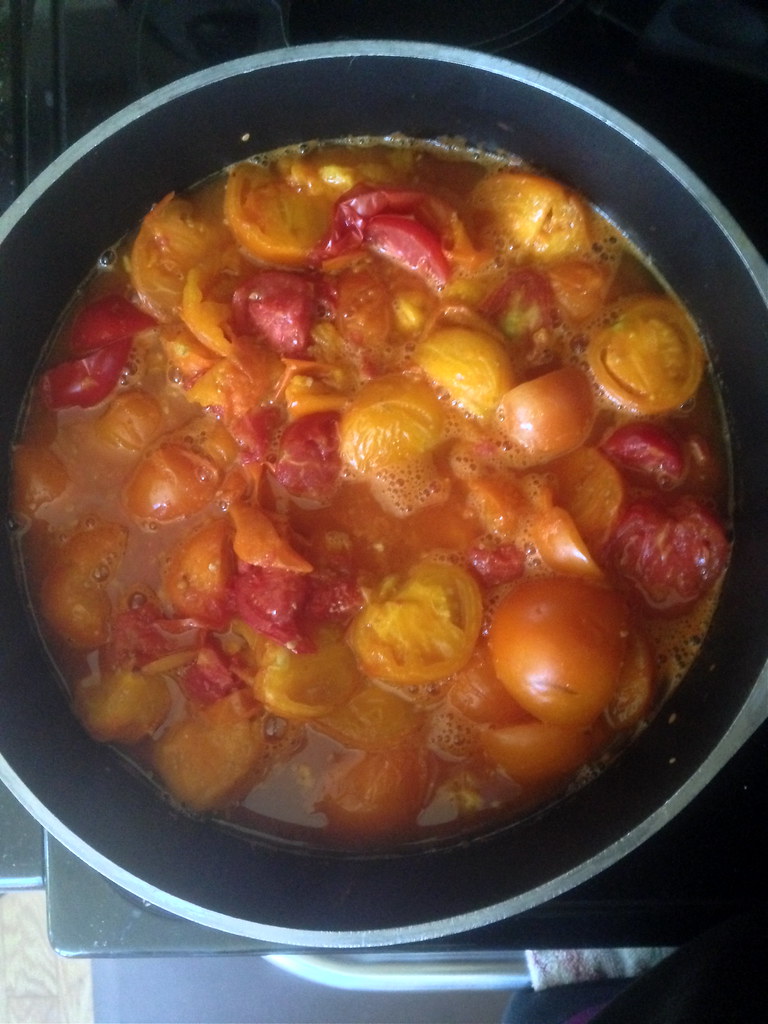
reducing

It may not seem like it at first, but your tomatoes will begin to cook down. Promise. Stir occasionally, and lower the heat as the level of water in the pot goes down. Scrape the sides down once in a while to make sure you're not missing any tomatoey goodness.

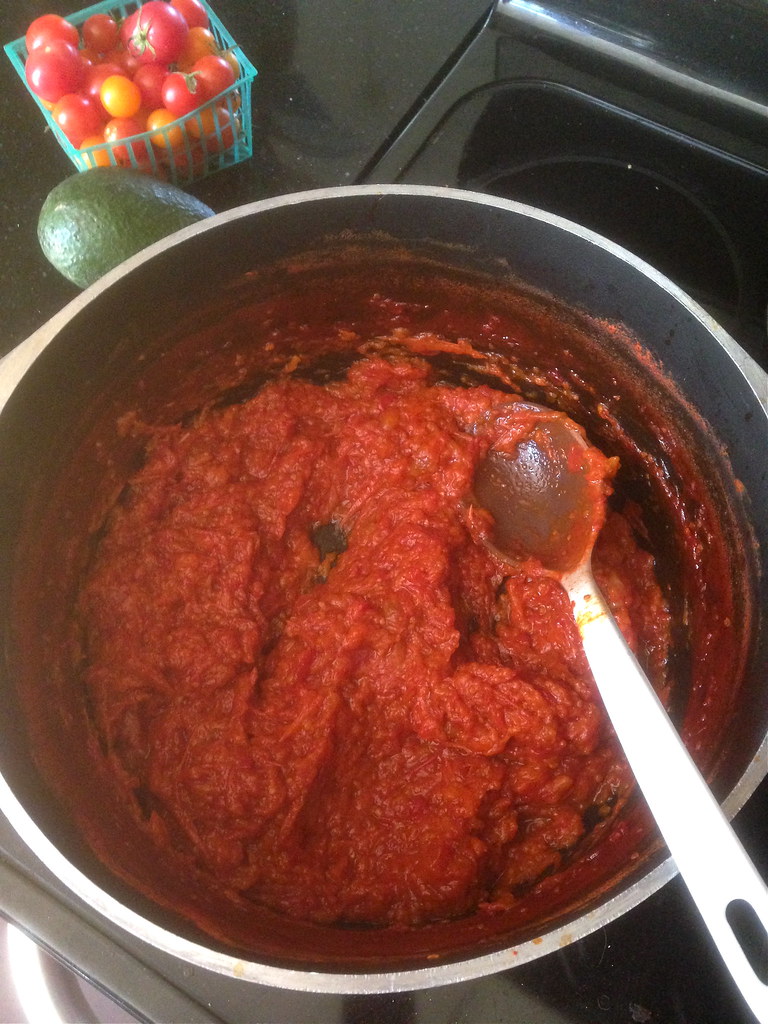
nearly there

(please ignore the jam-stained spoon) 
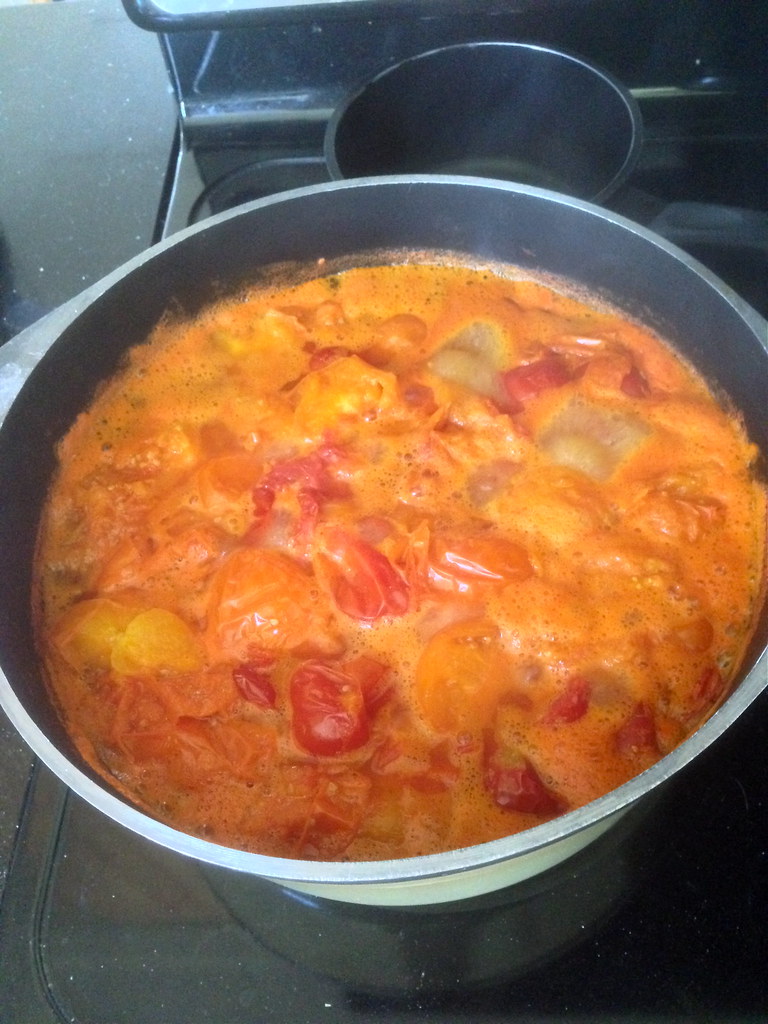
Eventually, it will begin to look like tomato paste. It will darken and become quite thick. But don't give in or give up! You're not quite there. Stir more frequently to prevent scorching. If you have one, and feel so inclined, this might be a good time to use your immersion blender. I don't mind the not-perfectly-smooth texture, but you might. 

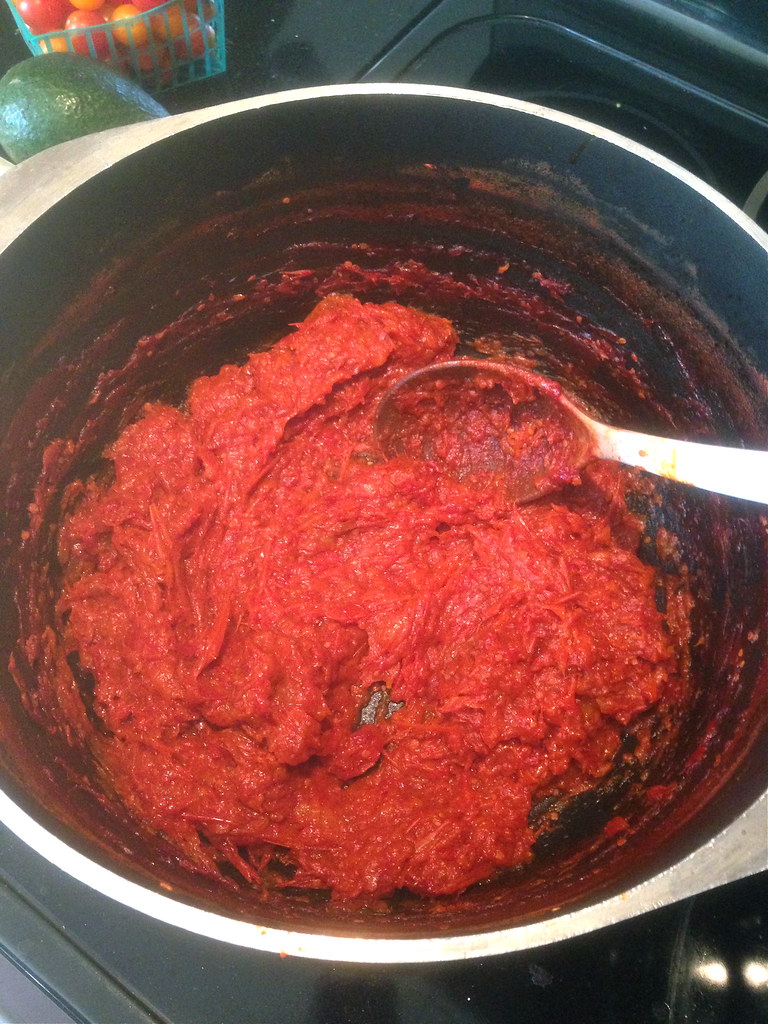
easy homemade tomato paste

You want to keep cooking it down until there's not really enough water left to evaporate. Between the last photo and this one, mine stopped bubbling because there wasn't enough water left to boil. When it's done, or nearly there, your tomato paste will also become shiny. Weird, but true. 

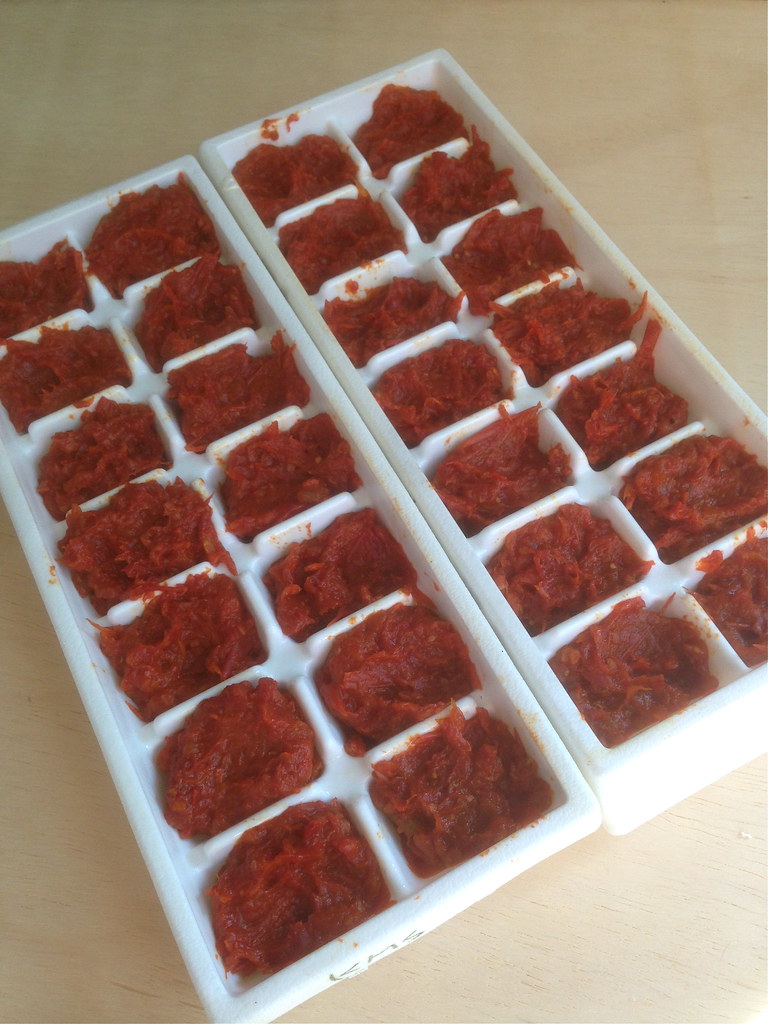
easiest ever homemade tomato paste

My easy freezer method involves filling the compartments of a couple ice cube trays with 1-2 tablespoons of paste. I couldn't remember if I greased the trays in years past or not, but this year I did to ensure my tomato cubes would pop out easily. I bet if you use a silicon mold you can skip the cooking spray. This 10 pound batch of tomatoes yielded 24 cubes of 1-2 tablespoons each. 


Once they are fully frozen, remove cubes from tray, place in zip top freezer bag, squeeze the air out, and stash in your freezer. Homemade tomato paste is a great addition to paella, casseroles, stew,  chili, sauce, or risotto, whether or not the recipe actually calls for it. 

Have you ever made your own tomato paste? Any tips? Did you fall as hard in love with it as I did?

Tuesday, July 8, 2014

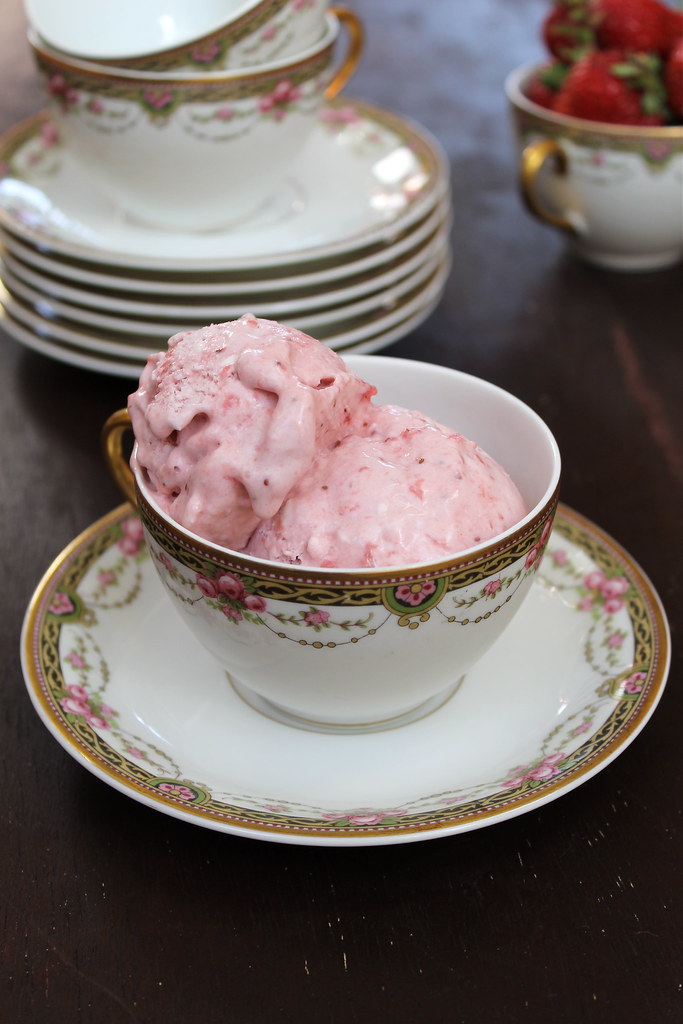
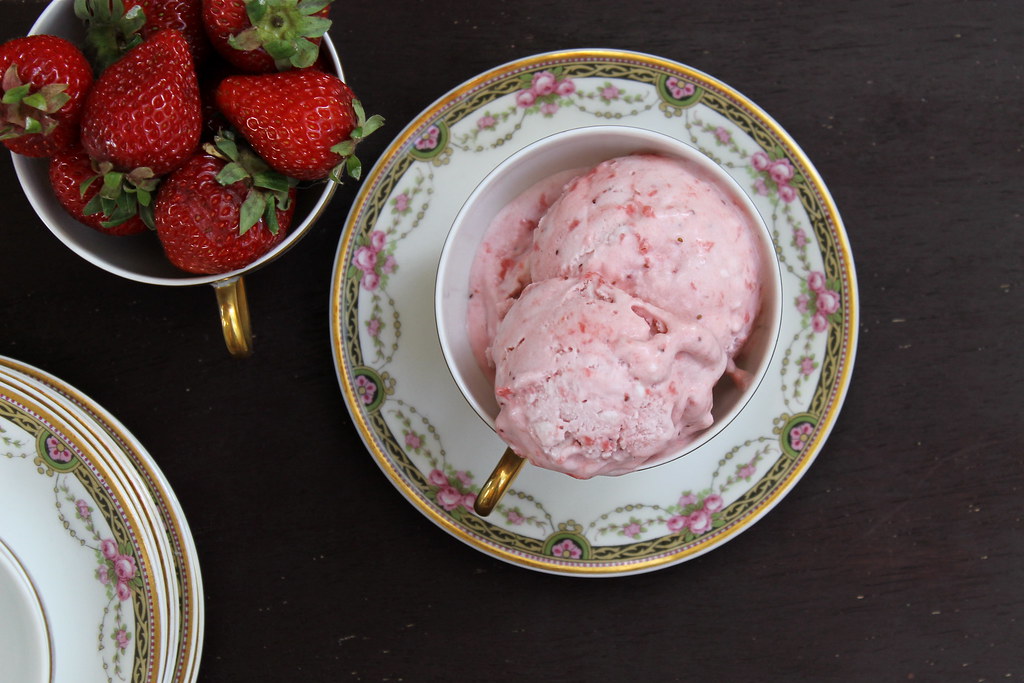
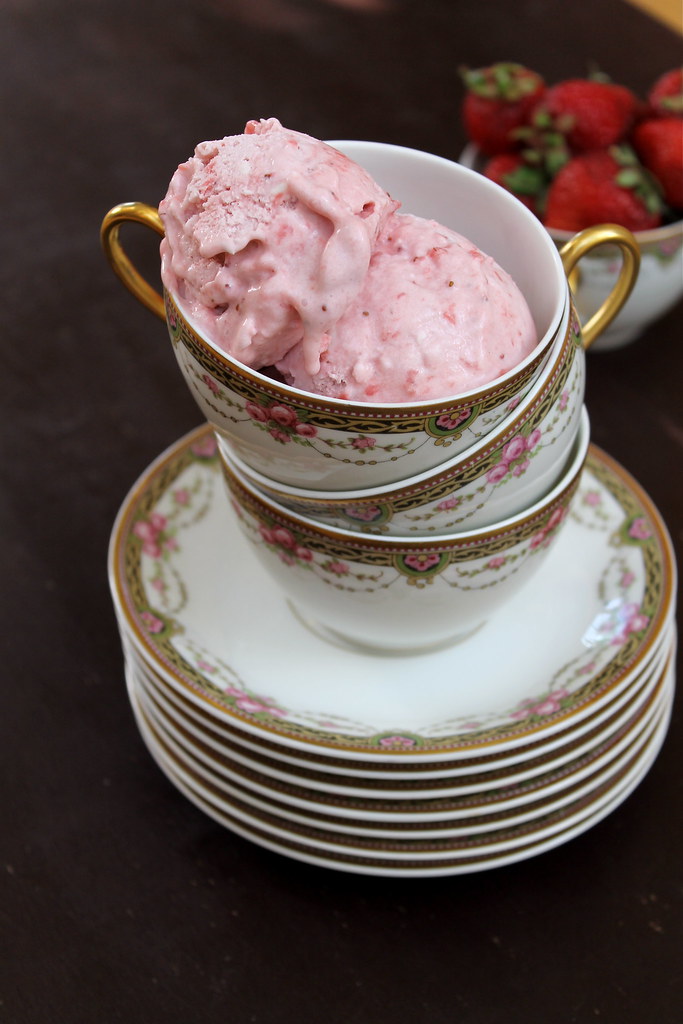
Strawberry Ice Cream - vegan & gluten free

perfect for summer Strawberry Ice Cream - vegan, gluten free | http://www.katesshortandsweets.com

I think I've teased you long enough. 

I'm finally sharing my recipe for vegan Strawberry Ice Cream. Even though I was allergic to strawberries and dairy for most of my childhood, it's one of those dishes that just screams "summer!" to me, along with peach crisptomato salad, and grill pizza. It's not so early in the growing season that strawberries are so precious that each one is savored raw, and "how-dare-you-even-suggest-that-I-could-get-sick-of-these!" is a common thought when reading recipes that cook down pints of them. It's full on Summer, which means beautiful, full-flavored strawberries are everywhere, and it becomes hard to keep up with Mother Nature.

vegan Strawberry Ice Cream from above | http://www.katesshortandsweets.com

Mr Official Taster was certainly happy for me to give this a whirl, and he likes it better than my vegan sangria fruit ice cream. (I like that one better from a economic/fully use your food point of view, but this recipe is more practical for the everyday). In many ways, my vegan jam ice cream is my favorite frozen creation, but I can understand not wanting to give up/sacrifice/repurpose yummy jam.

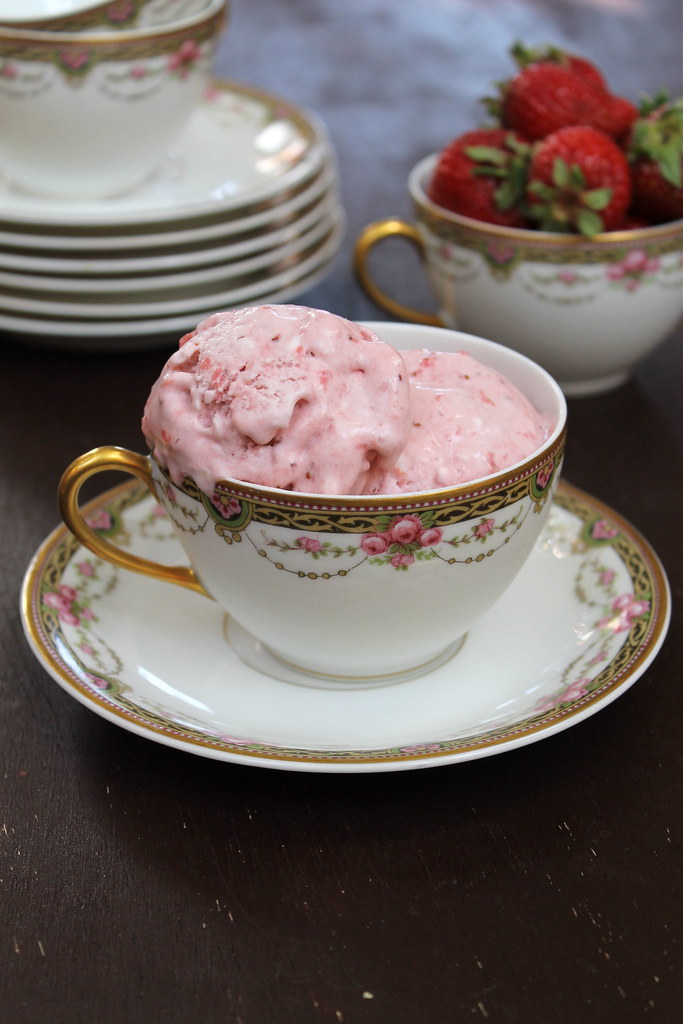
vegan, gf Strawberry Ice Cream | http://www.katesshortandsweets.com

ANYWAY, this jam is fairly simple to put together. The hardest part is remembering to plan for 4-5 hours of chilling time for the base and to already have your ice cream maker bowl frozen. I try to keep my in the freezer in case the ice-cream-making mood strikes, but sometimes actual food takes precedence in the space wars.

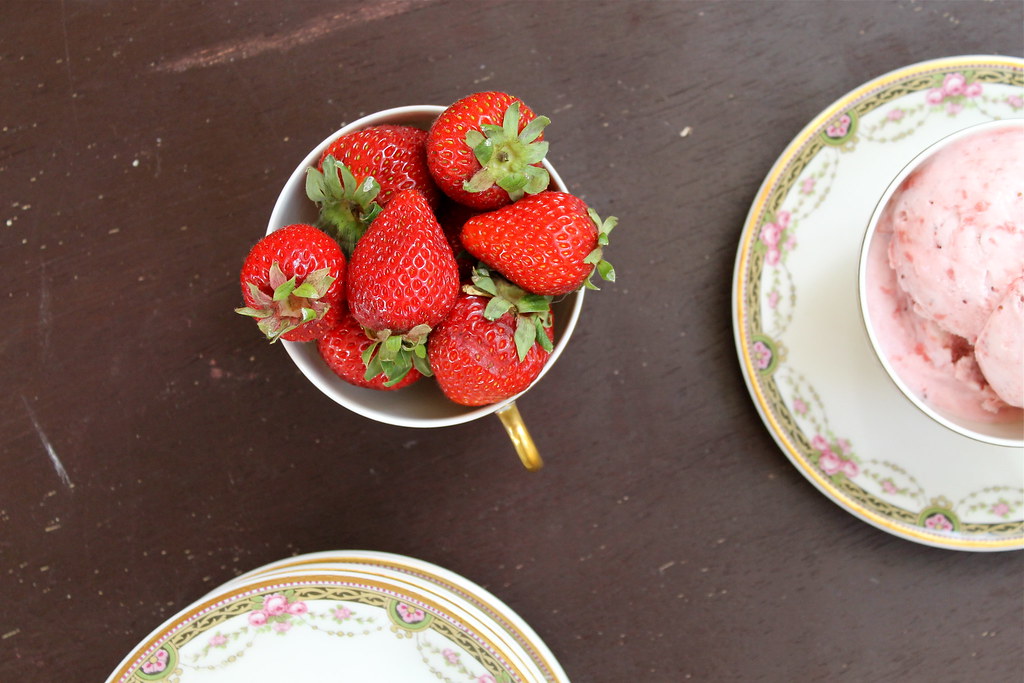
strawberries and ice cream | http://www.katesshortandsweets.com

So go ahead, celebrate summer with this yummy vegan (and gluten free, of course) strawberry ice cream. What dishes scream summer to you? Let's discuss in the comments!

Strawberry Ice Cream celebrates summer!  vegan | http://www.katesshortandsweets.com


Strawberry Ice Cream - vegan & gluten free
adapted from The Kitchn

I have successfully halved this recipe, so if you don't want the temptation of an entire batch, know that it works. Want to add some yummy bits to the ice cream? Add things like chocolate chips or graham crackers in the last five minutes of processing. If you don't need to worry about dairy, white chocolate chips seem like they would be delicious. When I made this recipe, I didn't use the cornstarch the original added, and I also didn't add any liquid sweetener. I liked it just fine. It wasn't super sweet, so if you'd like more sweetness, please add it in.

2 (15-ounce) cans full-fat coconut milk
1/2 cup agave nectar (or honey, although I found I did not need the extra sweetness of either option)
1/4 teaspoon kosher salt
1 vanilla bean, split (or 1 tsp vanilla extract)
1 dry pint (2 cups) strawberries, hulled and quartered
1/4 cup natural cane sugar (I think an equal or smaller amount of honey would work instead, though I haven't tried it)

Make sure your ice cream maker's bowl is thoroughly chilled per the manufacturer's instructions.

Shake the cans of coconut milk thoroughly to combine before opening. Combine the coconut milk, agave (if using) and salt in a saucepan. Bring to a simmer over medium-low heat until all of the ingredients combine smoothly and the mixture is uniformly warmed, about 2 minutes.

Scrape the vanilla bean into the mixture and slip in the pod as well (or add vanilla extract). Cook over medium heat until the mixture has thickened enough to coat the back of a spoon, 6 to 8 minutes. Do not to allow the mixture to boil.

Remove the pot from the heat, discard the vanilla bean pod, and pour the coconut base into a bowl. Cool on the counter for 30 minutes, then cover and chill in the refrigerator for 4 to 5 hours — you really do need the base to be very cold before you process it in the ice cream machine.

While the base is cooling, make the strawberry sauce. Mash the strawberries down in a small to medium saucepan. Sprinkle in the sugar and bring to a low boil. Reduce the heat to simmer and cook for about 5 minutes, or until the berries start to lose their shape and become juicy. Remove from the heat and cool on the counter for a bit. Once slightly cool, blend in a food processor or blender, or with an immersion blender, for just a few seconds until a thick sauce forms (it will be somewhat jammy in consistency). Set aside (or stick in the fridge until you're ready to go).

Churn the coconut ice cream base and strawberry sauce in your ice cream machine following the manufacturer’s instructions. I've never found coconut ice cream to get really hard in a machine - it's always a bit like soft serve in consistency. Enjoy immediately or spread the ice cream into a large loaf pan (or pie pan) and freeze for a few more hours (or overnight) until the ice cream has firmed up completely. Mine froze super hard, so you may need to take it out 10 minutes or so before you'd like to serve it. 

Thursday, July 3, 2014

Strawberry Margarita Jam - vegan & gluten free

farm fresh strawberries http://www.katesshortandsweets.com

I know it's well and truly summer because stone fruits and tomatoes are in. And if it's summer, it's hammer time preservation time. My dehydrator has been humming merrily along (should I post about that? Is anyone interested? comment here or on Facebook), and I've been making batches of jam here and there. We ran out of jam I canned last summer in March or April of this year, so I know I need to increase production this summer. I did give away a lot as presents, and I'm planning on doing the same this year (so get your special requests in early, people).
strawberry http://www.katesshortandsweets.com

Each summer that I've made jam, I've gotten a little more adventurous, and this year I'm actively trying new flavor combinations. This was my first really fun one, and it's a winner. 

I've been studying Northwest Edible's flavor chart and thinking up ways of combining fruit with other flavors I like. If you aren't already familiar with Erica's site, I recommend you give it a shot. She has lots to say and to teach, she's often humorous, and never preachy. 

strawberry jam http://www.katesshortandsweets.com

Like all of my other jams, this one is pectin free. It relies on the fruit's natural pectin, sugar, and cooking out the juices to firm it up. Keep in mind that if you like really firm jam, you will probably prefer jams made with pectin, but you won't be able to experiment as much, and you also won't be able to use less sugar than what the box tells you. For more information, check out this post by Erica.


Strawberry Margarita Jam - vegan & gluten free
inspired by Northwest Edible Life

Depending on how much you cook it down, you should get about 4 half-pint (8 ounce) jars using the measurements below. I always like to prepare a 4oz jar as well, so if there's a little left at the end I can preserve it along with the half-pint jars. If you're swimming in strawberries (or tequila), feel free to double, or even triple the recipe, but this is a nice manageable size.  You’ll notice that I don’t give a cooking time. That’s because cooking times can vary greatly depending on the width of your pot, the power of your stove, the amount of humidity in the air and even how much rain fell in the days before your fruit was picked. Stay close to the stove as you cook your jam and watch closely for changes. Besides putting it on toast, jam makes a great cake filling and fabulous ice cream

Just like with any other jam, you can of course skip the processing and just store the jam in the fridge and eat within a month or so.

2 pounds washed and chopped strawberries (weigh after preparing)
4 to 8 oz (a gently rounded ½ to 1 cup) sugar
1 Tbsp freshly squeezed lime juice (required) + 1 tsp or more for extra flavor
¼ tsp – 1 tsp lime zest
1-3 tsp tequila

In a large pot (with only 2lbs of fruit, I was able to use my large saucepan), gently mash berries and 4 oz sugar together. Cover and let stand for 1 hour or more. If I'm cooking it right away, I like to use this time to prepare my jars, lids & tools, get my giant pot of water heating up, clean up and clear off my (very limited) counter space, etc. You're going to be doing a lot of tasting, so make sure you have a bunch of clean spoons ready. If you'd prefer to break up the jam making, you can refrigerate the pot (or a bowl of the fruit+sugar) for up to 24 hours or so. The fruit will just keep releasing its juices, which is what you want anyway.

Prepare jars and lids for standard water bath canning. I don't pretend to be an expert, so if you're new to this, please do your homework! Read this, and also possibly this and many of these. Knowledge is power (botulism free canning for the win!). 

If you macerated your fruit in a bowl, pour it into a large pot or large saucepan (the wider the better for faster evaporation). 

Bring everything to a simmer. Stir frequently to avoid scorched jam. As your fruit begins to soften, add lime juice (1 tablespoon for every 2 lbs of fruit). Stir in lime zest. 

At this point, if you like smoother jams, you'll want to use an immersion blender to break up fruit. I don't have one, so I just use a potato masher/spoon to break up the fruit as much as I feel like. You can make it as chunky or as smooth as you'd like. 

With a clean spoon, taste your jam (without burning your tongue, please). Decide if it's sweet enough, and add more sugar if you like. You should also decide if it's lime-y enough. Add in more zest and/or juice if you'd like. Trust your taste buds. If you think it's too tart, add sugar. If not, wonderful, you can move along. Keep tasting until it's the right sweetness for you, but be sure to use a clean spoon every time. Remember that the longer your jam cooks, the more concentrated the flavors will become. Keep stirring frequently. 

You can test for set (lots of info here) quite easily- when your preserve is "glossy, a bit darkened and looks slightly thickened"scoop a small amount onto a plate (even better if it's been chilled). Run your finger through the jam. If the finger swipe remains visible or only fills in very slowly, the preserve as reached a soft, spoonable set. If you're good with that (I am) you can move on. If you like a firmer jam, keep cooking down your fruit and keep testing for set (clean spoons!!!). 

Stir in tequila. Start with 1 teaspoon (you can always add more). Taste. Add in more if you'd like. In this final tasting, make sure the jam is sweet enough, and the whole thing tastes good. Add more of one or more components if needed. 

Now it's time to fill your jars! Skim off the foam if necessary, ladle jam into hot, sterilized jars, leaving a 1/4-inch (6mm) head space. Wipe the rims clean and apply lids. Process the jars in a boiling water bath for 10 minutes (full-on boil! simmering doesn't count). Remove jars, and allow to cool on a wire cooling rack or a folded kitchen towel. Listen for the "ping!" of success. When jars are cool enough to touch, check seals. Jam is ready to eat as soon as it is cooled but can also be stored in a cool, dark place for up to a year.

Friday, May 30, 2014

Small Batch Strawberry Jam - vegan, gluten free, and free of just about everything else

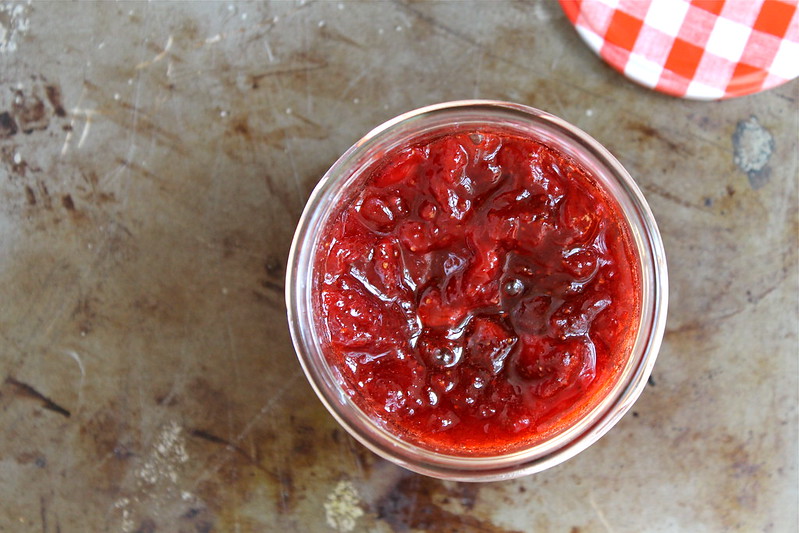
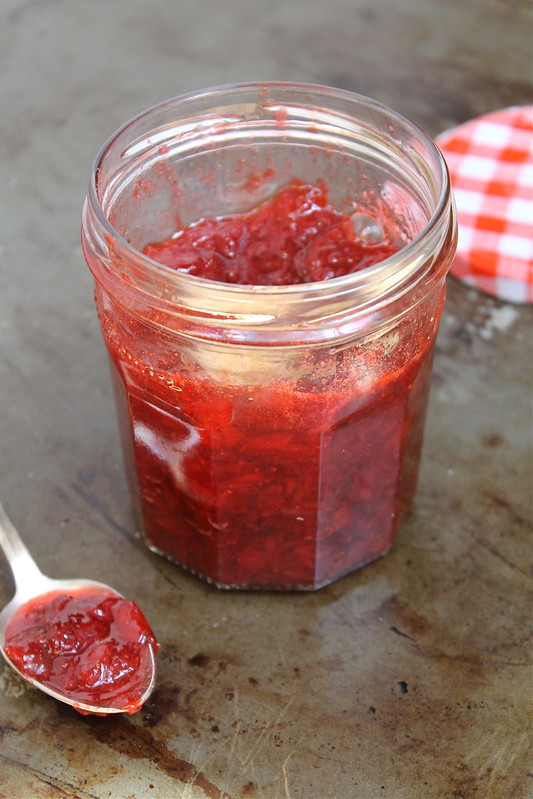
Strawberry Honey Jam - vegan, gf www.katesshortandsweets.com

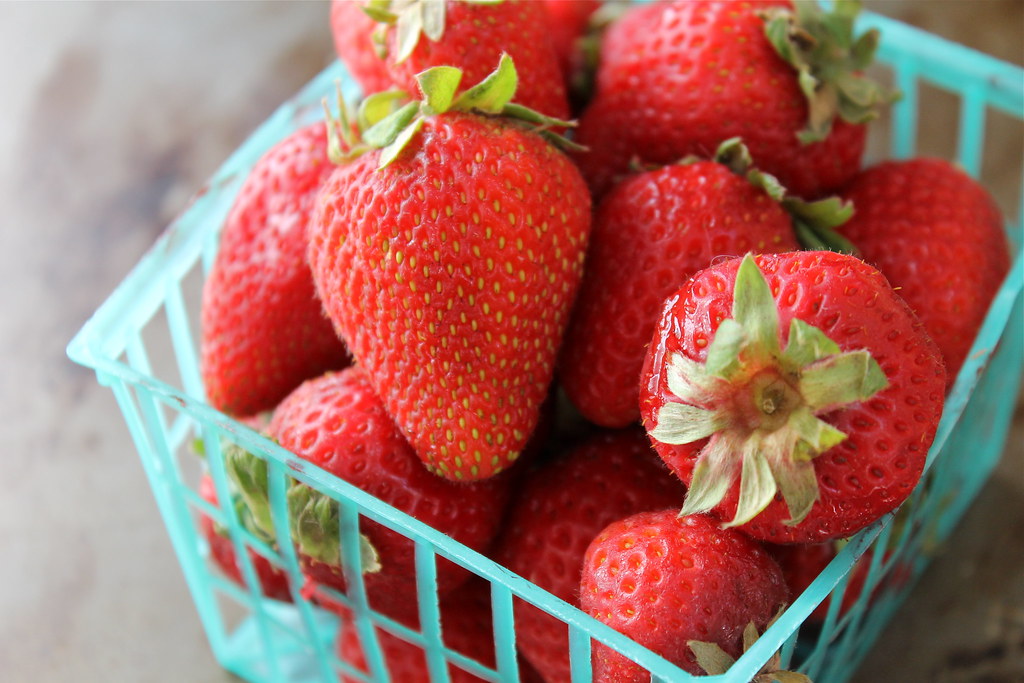
As longtime readers will know, I have a bit of an obsession/problem/interest in regards to farmers' markets. Last week, as usual, I bought a lot of fruit. Possibly more than two people (even with guests) can eat before it passes its prime. And so it came to pass that we had a couple pints of strawberries left that were just a bit too ripe to happily eat. I didn't want to throw them away (shudder), so I decided to make a mini batch of strawberry jam. Mr Official Taster has been on a bit of a pb&j roll lately, and we've just about used up the jams I made last summer, so this seemed like a good solution.

End of market bounty

I started out with the intention of just using up the fruit I had and making a jar or two of jam. I wanted to keep it as simple as possible, so I didn't want to sterilize and get set up for water bath canning. That's the beauty of small batch jams. Use what you have, pour into normal clean containers, refrigerate, and eat. Super simple, and it's a great way to use up aging fruit. Of course, you don't want to use fruit that really is past its prime and belongs only in the compost bin (duh. but it has to be said).

Strawberries for jam

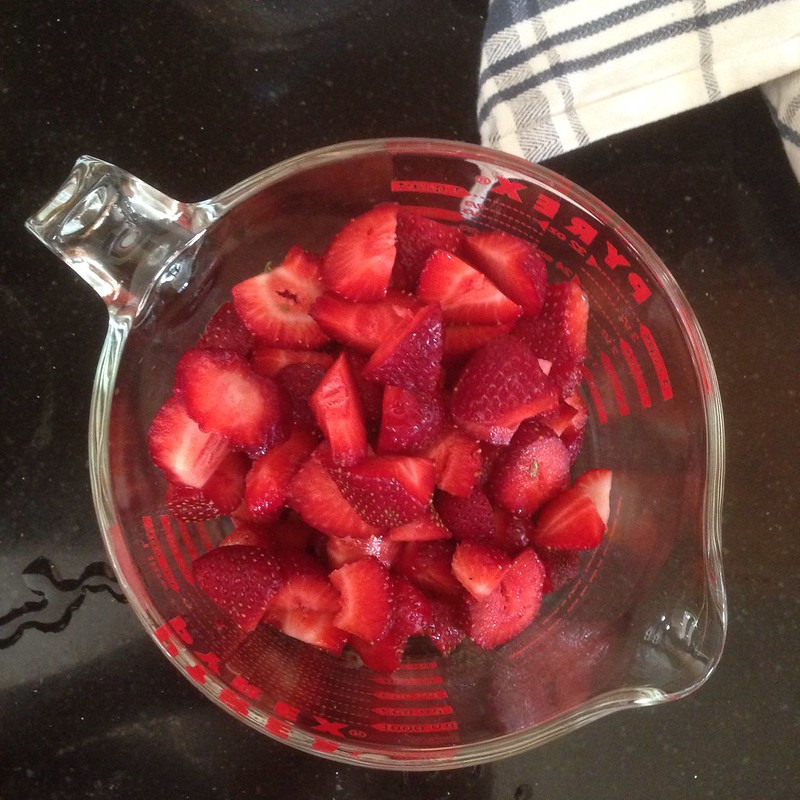
To figure out my ingredient volumes, first I rinsed, hulled, and roughly chopped up the berries. I ended up with about three cups, so I wanted to use a bit less than half that volume of sugar. The lemon is in there to brighten the sweetness, rather than to provide acid for canning. This ratio can translate to lots of other summer fruit, so use this as a template and keep yourself in super seasonal, fresh jam all summer (or if you need to finish up some fruit before heading on a trip). You could also use this process to make small batches of freezer jam.

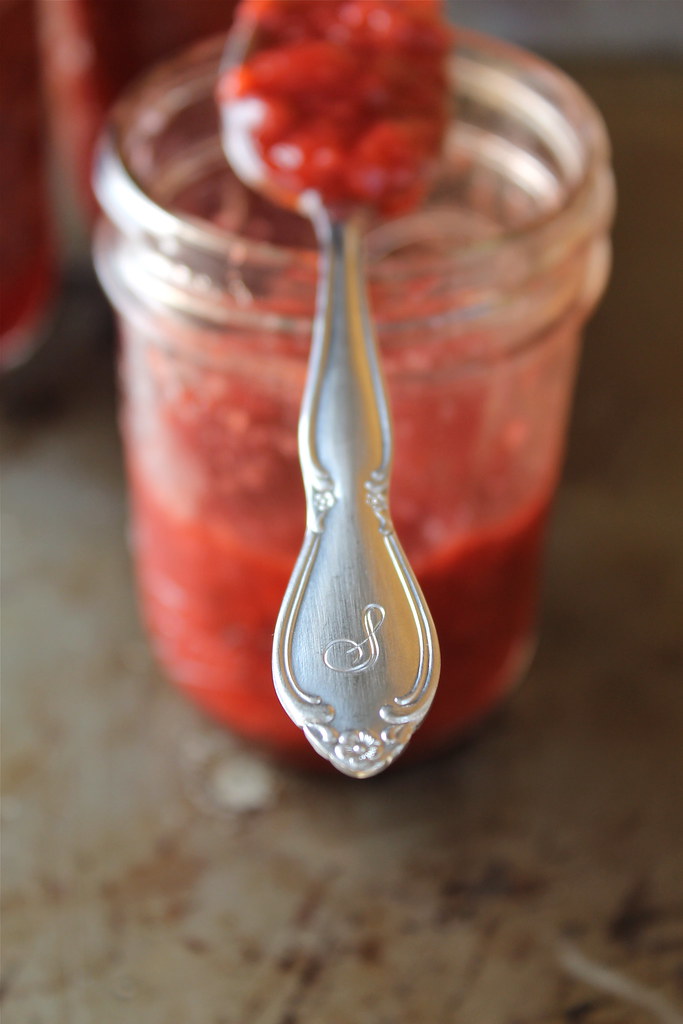
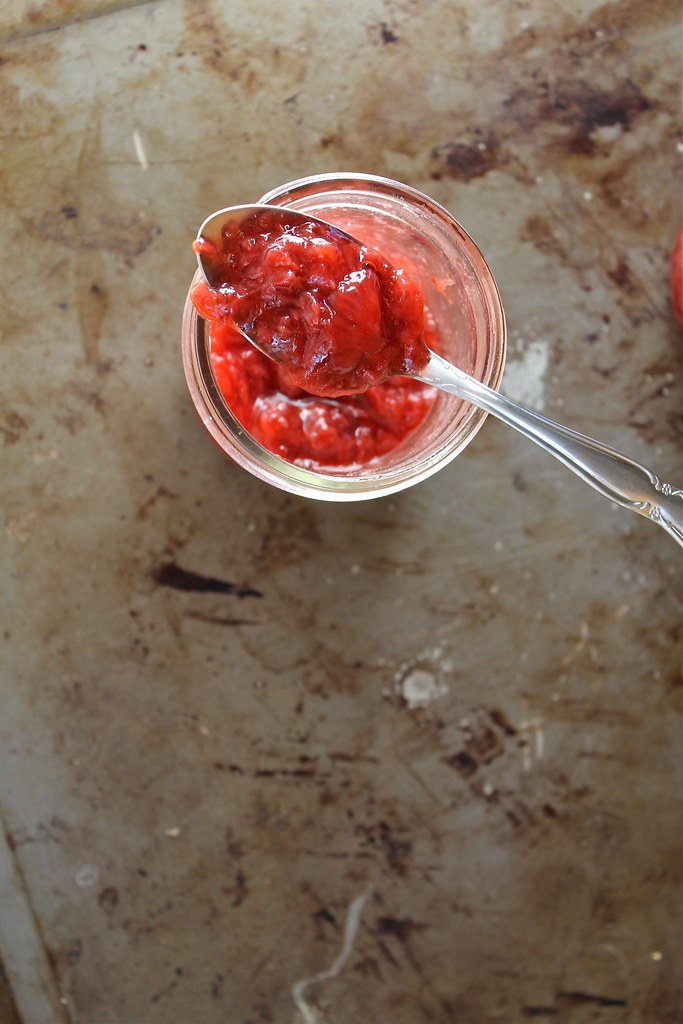
Small Batch Strawberry Honey Jam www.katesshortandsweets.com


Small Batch Strawberry Jam - vegan, gluten free, and free of just about everything else

Important: this is not a tested and safe recipe for canning. I made this small batch with the intention of refrigerating and consuming within a couple of weeks. You could also freeze it. 

Next time I'll probably reduce the sweetness a bit more, but as written, this is quick, easy, and bursting with strawberry goodness. You can skip the honey all together and just use sugar. 

3 C chopped strawberries, picked over and rinsed
scant 1 C sugar
1/4 C honey (for strict vegans use sugar instead)
splash of lemon juice

Add all ingredients to a medium pot or large sauce pan. At this point, I like to stir them a bit and then leave it alone and let the sugar start drawing the juices out of the berries for a bit (10 minutes to several hours) while I do other things. If you are in a rush, skip that part and just keep going.

Over medium heat, bring the mixture up to a boil. Stir frequently and help the jam along by squishing some fruit with your kitchen utensil of choice. Keep a close eye on things, as small batches cook quickly. Mine took about 10-15 minutes. Test for set (or aim for a temperature of 220F). I didn't actually test either the temperature or for set. I just kind of eyeballed it, and it worked out ok. Pour into clean jars, allow to cool, cover and refrigerate. It should last a few weeks in the fridge.
Related Posts Plugin for WordPress, Blogger...