
Now that we are mostly unpacked, it's time to get our (huge, diverse accumulation) of art on the walls. I've had a collection of small photos, cards, and mementos since before Mr Official Taster came along, and it's grown and evolved along with my life. Normally, I do a general layout on the floor and then just guestimate their position on the wall. However, this time I was hanging them in a small space, so I wanted to make sure they would all fit. So I went the OCD route, and I thought I'd share in case you want to as well.


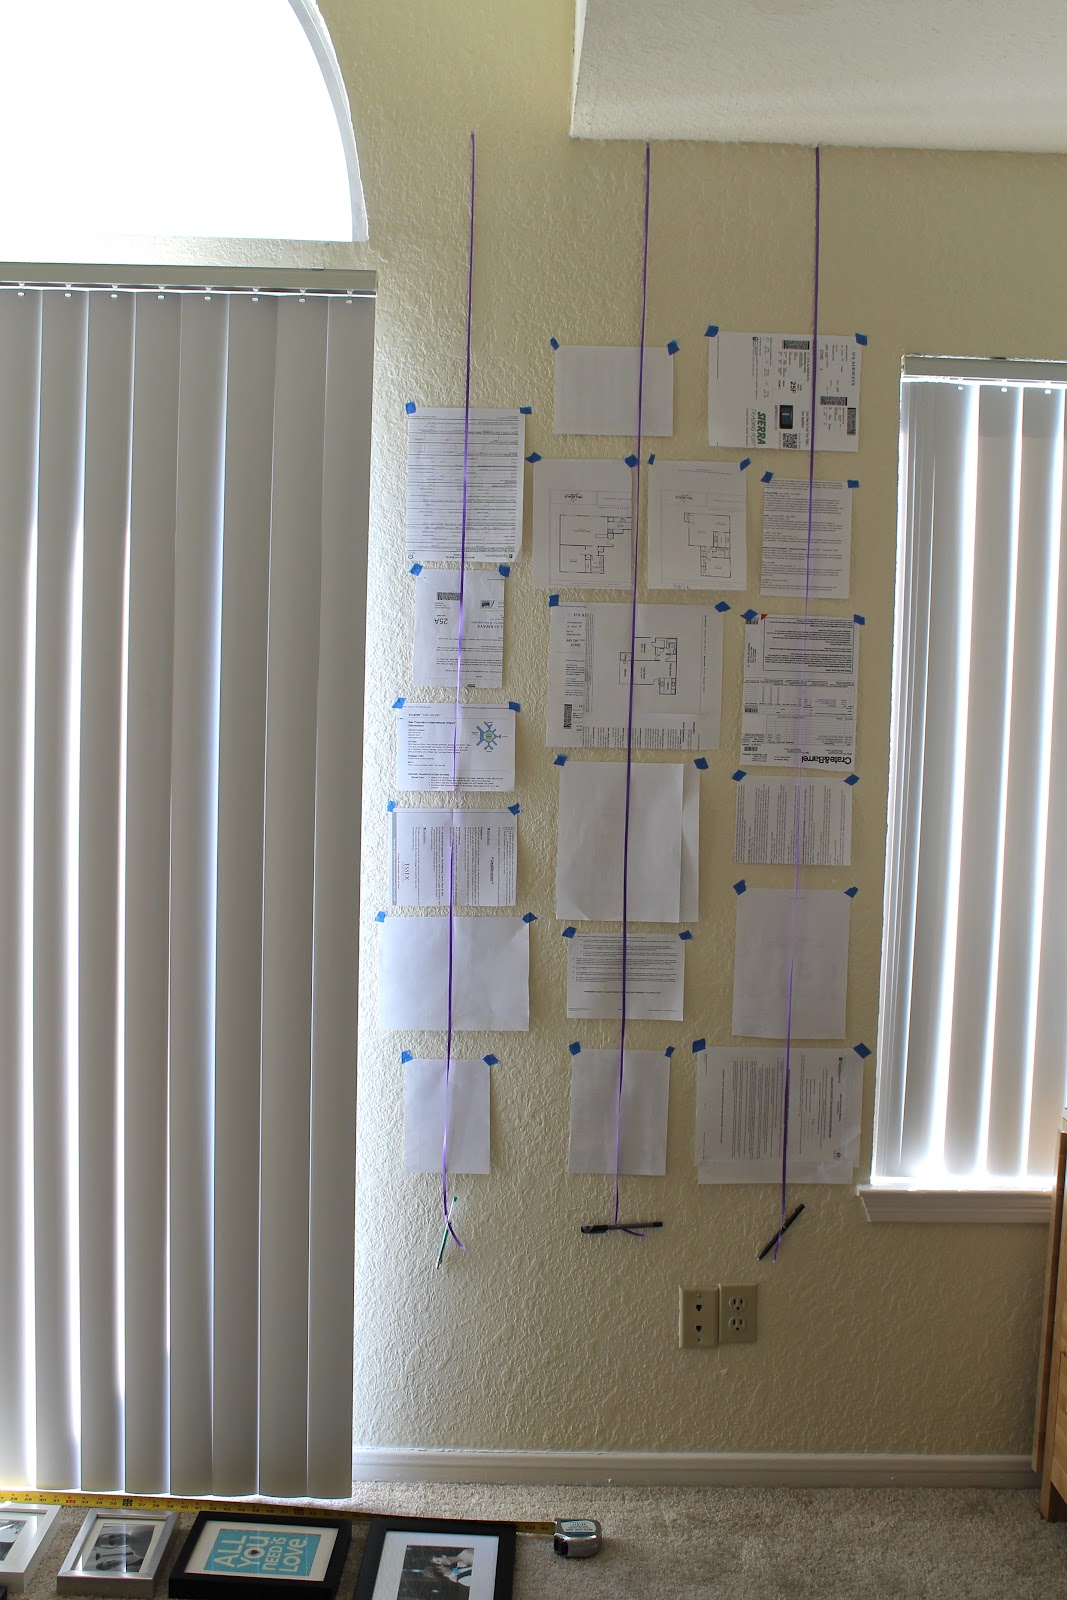
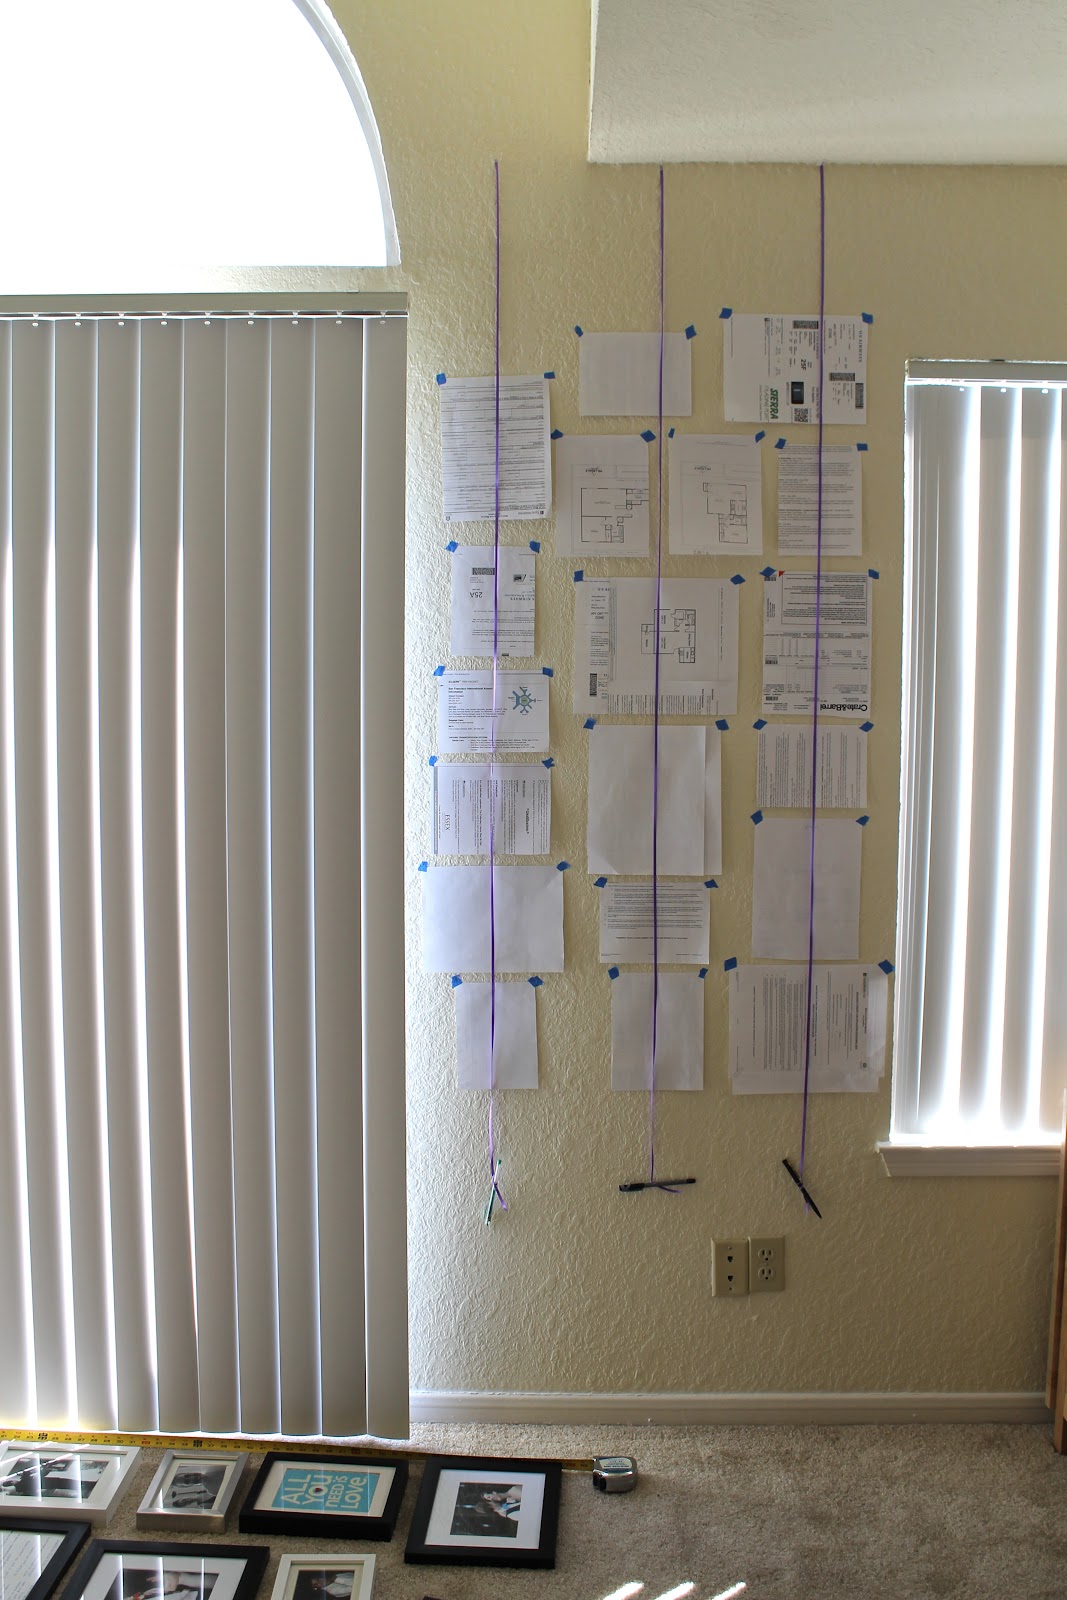

To find the center of each "picture," I simply brought the top two corners of the paper together and creased the resulting center line. I wanted to be able to line up the center of each with my plumblines in order to create columns with the frames.
Then, I needed to figure out where to put the nails. I measured the back of each frame to find out how far below their top edge they hung. For the one pictured above, it was 1/2 in. So, with a ruler, I measured 1/2 inch down and made a mark on the paper.

Then I used this laser level I got Mr OT for Christmas to find the line through that point. Each frame got two nails. I've found that they are much more likely to stay straight with two than with one, but if you just use one you can skip this step. I used my pencil to make marks on the paper along the laser line.

Then all I had to do was hammer in two nails along that line, roughly equidistant from the center.

Then, I tore the paper off the wall but left the nails intact. At this point, all I had to do was transfer my frames from the floor to the wall. and voila!

I think this incarnation turned out pretty well! The large, horizontal one in the middle are our wedding vows, and there are also some wedding photos, friend and family photos, and cards and postcards we like. The frames are from IKEA and Bed, Bath, and Beyond.

I may spread the bottom of the middle column down a little bit, but for now I'm happy not to put any more holes in the wall.


No comments:
Post a Comment