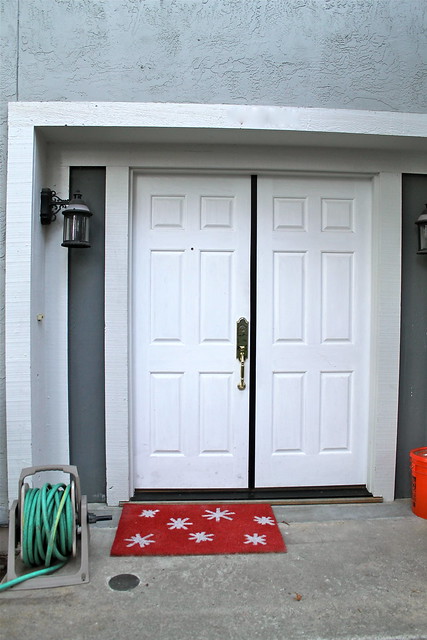
This was one of those posts that was supposed to be up last month, but since I didn't get it up then, you get it now. I was originally inspired by
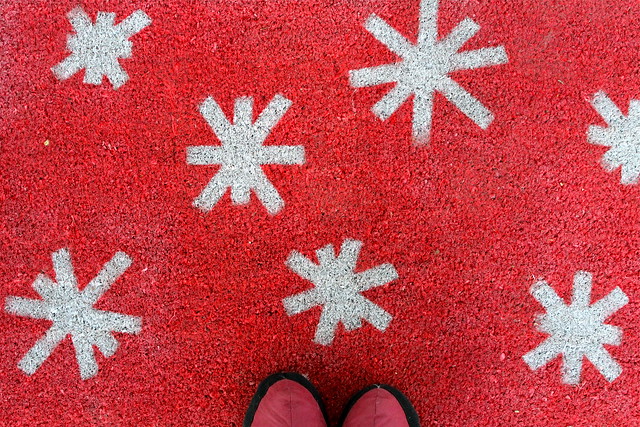
Young House Love to create my own winter/Christmas doormat for our new home. I wanted a bright red mat that spelled out "JOY." But you know what I learned? Js are really,
really hard to make with painters' tape. So I went simpler, and I've still been happy with it. There's probably a lesson in there.
And although this was supposed to be a Christmas post, the you can use this technique to make a door mat for any season or event you'd like (or even no occasion). Add stems and a few leaves and this snowflake design turns into flowers. I think you could make firework-like bursts for the summer holidays or a sun. Birthday candles or a menorah would be pretty simple, and, excluding tricky letters like "J," spell out names, make a monogram, or try simple words.
think: love, fall, boo. Stripes, chevrons, squares, crisscrossed lines/grid are easy straight-line designs. Of course, you could be fancier than painters tape and buy or make a stencil for more elaborate (or, ahem, curved) designs, letters, or even house numbers.
And it's easy. Get your spray paint. Make sure it's a good quality (not the $2 can please) and be sure it is for indoor
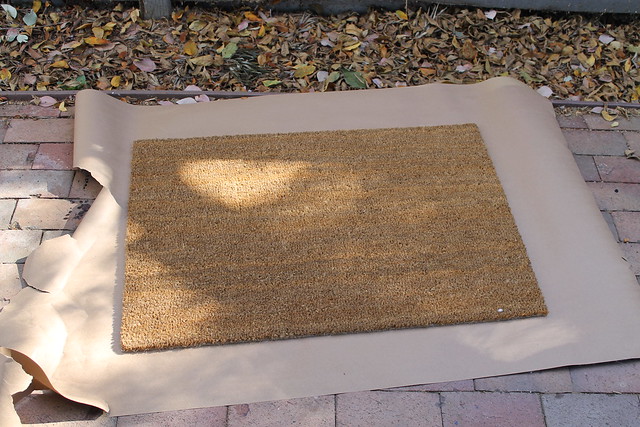
and outdoor use. Otherwise it won't hold up. I used Rustoleum. Start with a blank mat. I picked mine up at
IKEA, but they have similar ones at home improvements stores, as well as places like Target or Home Goods. On a dry, non-windy day (double check your paint can for temperature requirements), spread your mat out on a surface you don't mind getting paint on (like a lawn) or protect your work area with craft paper or newspaper.
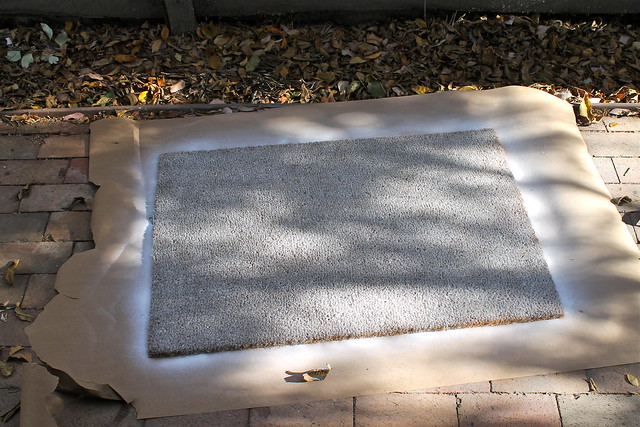
If you're using two different colors, spray your "under" color (in my case white) evenly over the entire surface. It will take you a few passes to make sure you have even coverage. Take your time, but don't worry if it's not perfect.
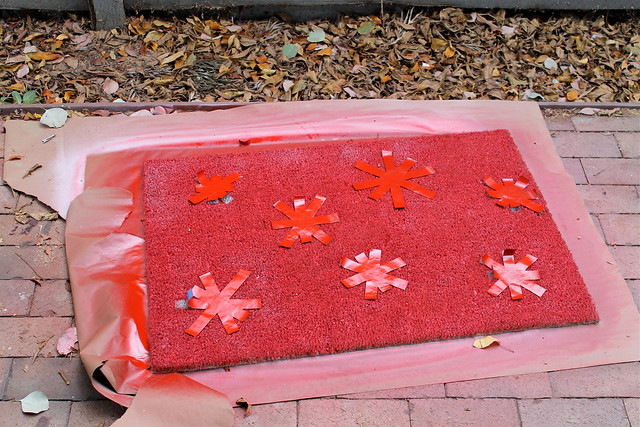
Follow the directions on your spray paint for drying time. I waited a full 24 hours. Tape off your design. I just eyeballed it and tried to make all my snowflakes a little bit different and all slightly different sizes. Remember, the parts you are taping will remain the under color. Be sure to press firmly, especially around the edges for crisp lines.
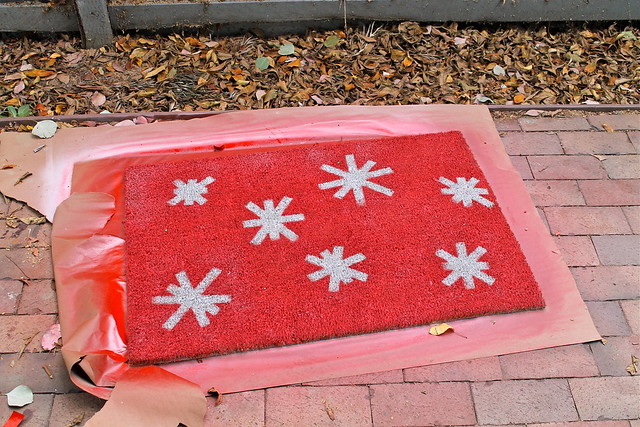
Spray on your top coat. Again, go for even coverage. It's better to go light and have to go over the area another time or two than just pour on the paint. Wait for the paint to fully dry (I waited another 24 hours). Remove painters tape and enjoy!
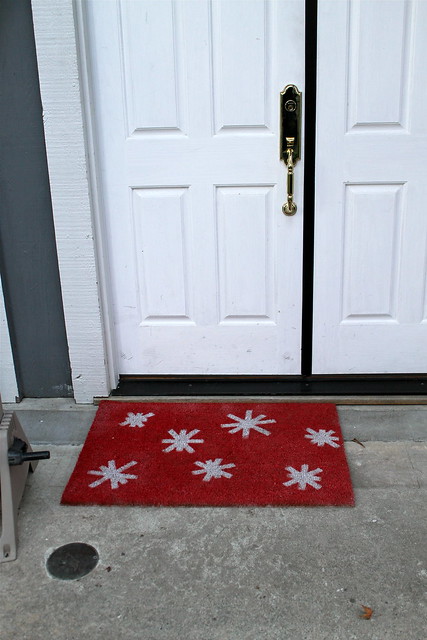
Since we don't have winter weather here in sunny California, my mat didn't have to hold up to rain or snow, but according to
Sherry and John, theirs did.

Have you ever made one of these? What design did you create and how did it hold up?
