Showing posts with label recipes. Show all posts

Thursday, May 22, 2014

Memorial Day Weekend Recipe Round Up

Here are some of my favorite summer/picnic/party recipes to help you plan your weekend. Bon appetit!


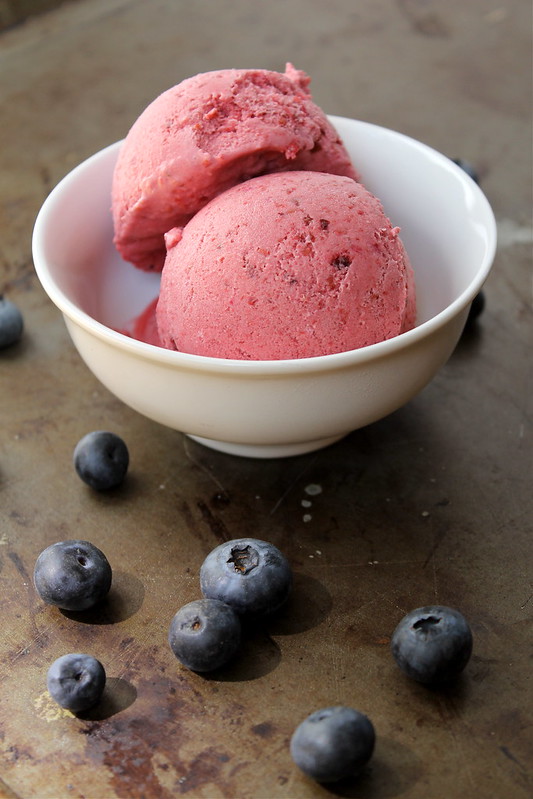
Sangria Fruit Ice Cream
I know I just posted about it, but I'm repeating myself for a reason. Sangria Fruit Ice Cream is delicious!

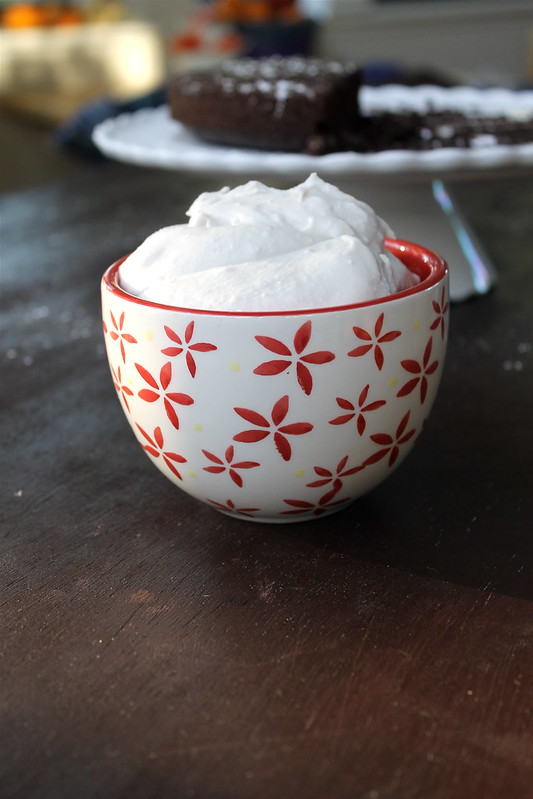
Coconut Whipped Cream (vegan & gluten free)
Coconut Whipped Cream - because a party just isn't a party without whipped cream

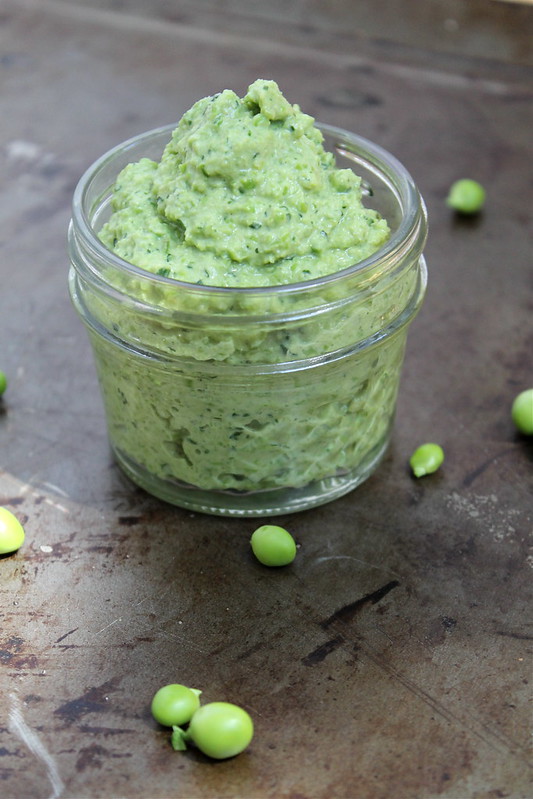
Fresh Pea Hummus, vegan & gluten free
Fresh Pea Hummus - great with chips or on a sandwich

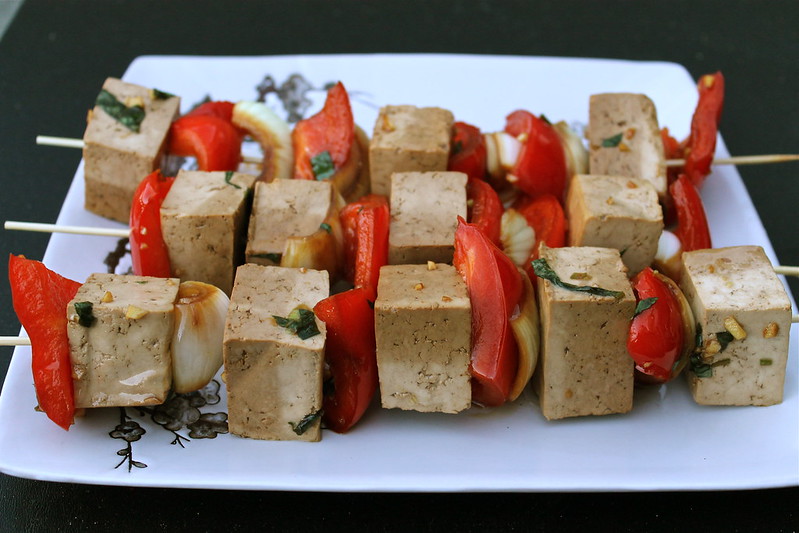
soy sauce marinade for tofu, veggies, or meat
Soy Sauce Marinade for tofu, veggies, or meat

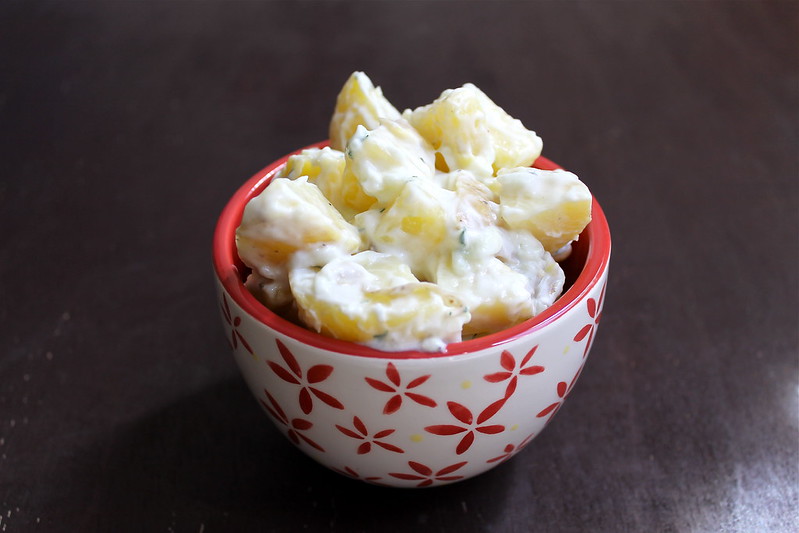
Tzatziki Potato Salad
Tzatziki Potato Salad - just mind the temperature! Don't leave it out more than 4 hours

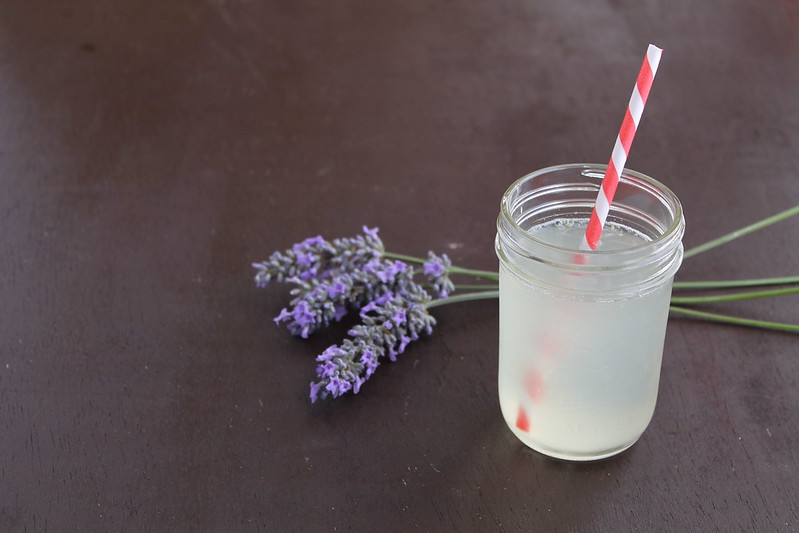
nice and tangy lemonade
Sweet Tart Lemonade - perfection


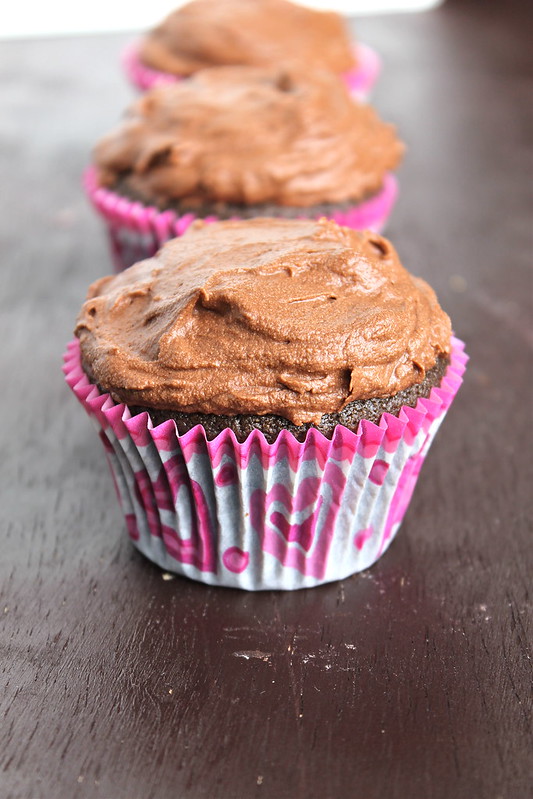
Chocolate Cupcakes with Chocolate Buttercream Frosting
Chocolate Cupcakes with Chocolate Frosting - a classic

How are you celebrating this weekend?

Tuesday, May 6, 2014

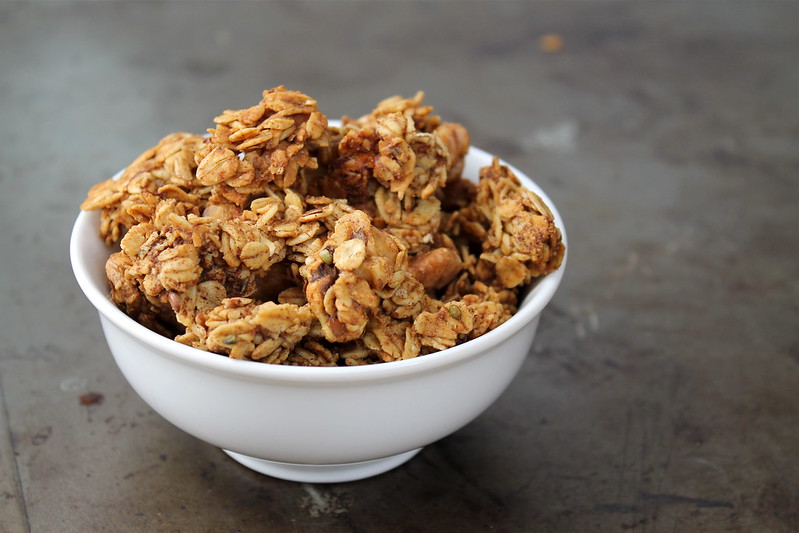
Banana Bread Granola – vegan, gluten free & refined sugar free

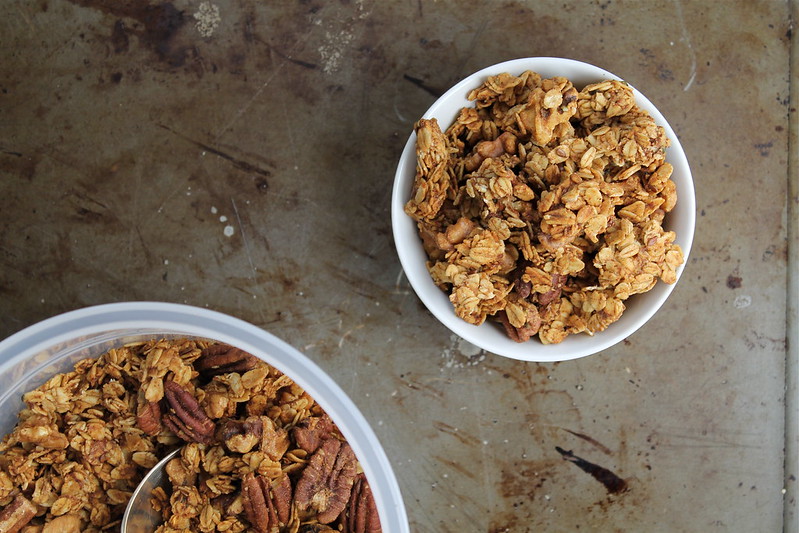
vegan & gluten free Banana Bread Granola

This granola, man, has it been weighing on me. It took me several tries over the course of several weeks (months!) to get it right. I think it was actually cold out when I started this experiment. hmmm

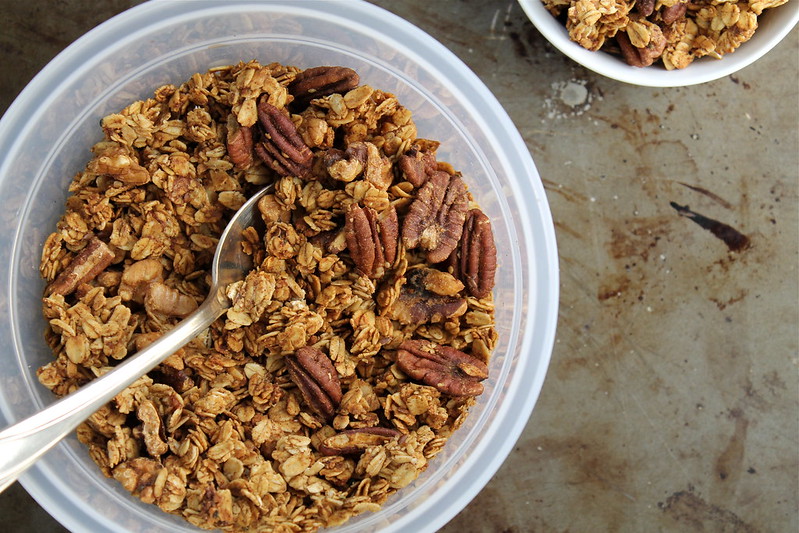
Banana Bread Granola - vegan, gluten free & refined sugar free

Nevertheless, I'm so glad I plodded along. It was such a tease - the idea of it, the smells emanating from the oven, and then the taste, not quite right. But I persisted (and ate some burned granola along the way), and this weekend's batch confirmed my last recipe test and proved blog worthy.

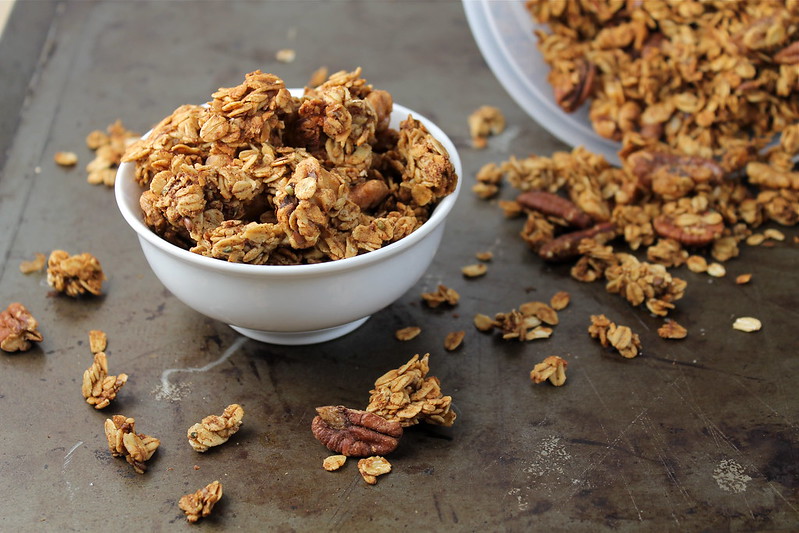
Banana Bread Granola - vegan, gf, and refined sugar free
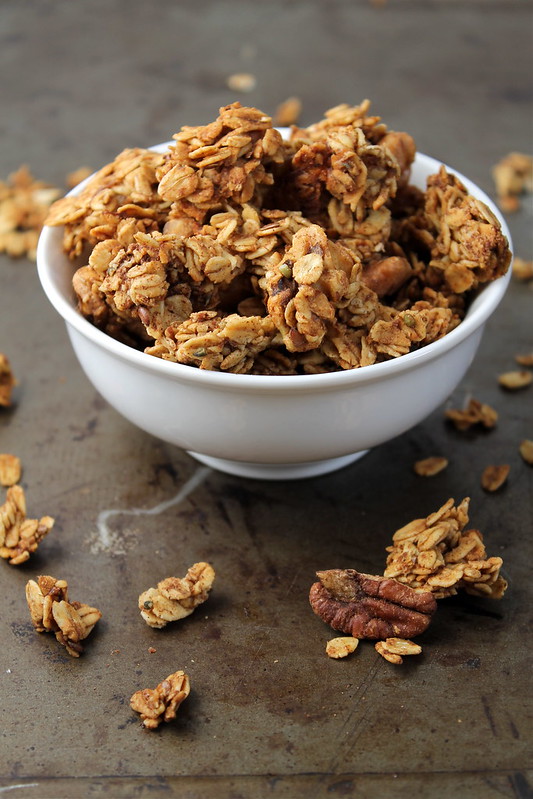
Banana Bread Granola

Dear readers, believe me when I tell you: go make this. You won't be sorry. It's excellent, quick and easy in the morning with almond milk, and it's also pretty great as a snack. There's no refined sugar (unless you so choose), and it's full of whole grain, protein, fiber, and omega goodness. Perhaps you have a trip in your future? It packs well and will not earn you a glare or a pat down at security. They might be jealous, though.

vegan, gf Banana Bread Granola


Banana Bread Granola – vegan, gluten free & refined sugar free
adapted from Minimalist Baker

Below is what I use but feel free to pick and choose your add-ins or come up with some of your own. The various seeds and the wheat germ are completely optional, but I include them for nutrition. The sugar? Doesn't need it one bit. I argued with myself, but ultimately left it in the ingredients list so you can make your own decision. To start, you could try just 1 or 2 tablespoons. I also never needed to add in the extra tablespoon of liquid sweetener. As for oil, so far I like coconut oil best, but olive oil also works has the added bonus of not needing to melt. The recipe should work with just about any kind of oil you prefer; it's really just a matter of taste.

3 C rolled oats (GF for gluten free eaters)
¾ C walnuts
½ C pecans (I’ve also used hazelnuts)
3 Tbsp raw sugar (totally optional)
½ tsp sea salt or ¼ tsp table salt
1 Tbsp cinnamon
¼ tsp nutmeg
1 Tbsp flax seed
1 Tbsp hemp seeds (optional)
1 Tbsp wheat germ (optional – skip for gluten free)
¼ C coconut oil (see note)
1/3 C + up to additional 1 Tbsp maple syrup, agave or honey if not vegan
1 tsp vanilla extract
1 medium ripe banana, mashed (~1/2 cup)


Preheat oven to 275F.

Using a large spoon or spatula, mix the oats, nuts, sugar if using, salt, cinnamon, nutmeg, and any seeds/wheat germ you're using together in a large bowl. If there's a fine coating of cinnamon on everything, it's well mixed.

In a small saucepan over medium low heat (or carefully in the microwave should also work), warm the coconut oil, maple syrup (or agave or honey) and vanilla extract. Once liquidy, remove from heat and whisk in banana puree until well combined. Pour over the dry ingredients and mix well.

Spread the mixture evenly onto one or two baking sheets (I lined mine for easy clean up, but Minimalist Baker did not) and bake for 75-90 minutes, gently turning occasionally, until golden brown and nearly crisp. I like to crack open the oven door now and then to let out some of the steam (accumulated moisture). I don’t know if doing so helps the granola crisp up faster or not, but it feels like it should.

Once the granola is visibly browned, remove from the oven and gently toss just a bit to let the heat escape. Cool completely (it will crisp up as it cools) on the baking sheet or in a heat-safe bowl. Store in a container or jar with an air-tight seal – it should keep for a couple weeks.

Monday, March 3, 2014

Steel Cut Oatmeal Round Up

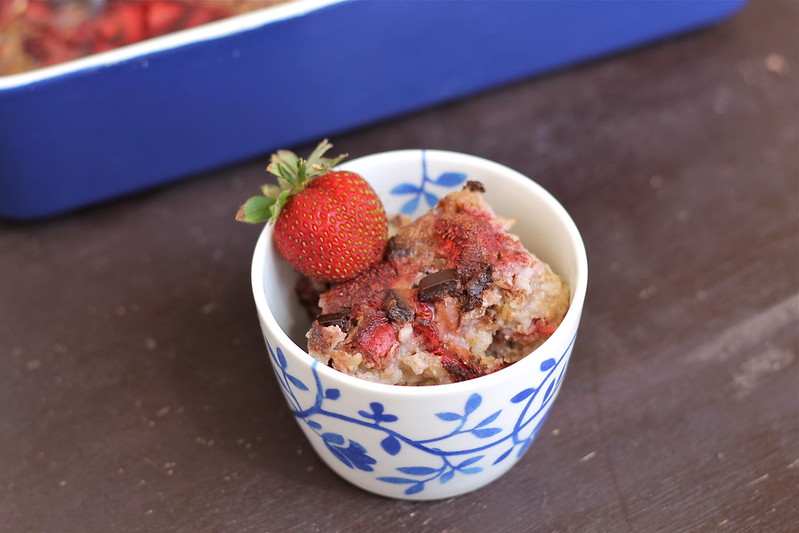
Baked Steel Cut Oats with Strawberries, Bananas, Almonds, and Chocolate
I woke up this morning with the clear notion that I wanted steel cut oats for breakfast. This is not normal for me, so I guess the craving was my body's way of telling me I need more...fiber?...in my life. I enjoyed mine with maple syrup and fresh strawberries (oh? no fresh strawberries? Be jealous of us Californians!), but I also looked around for some further inspiration. Et voila, here are some of the best that I found.

Saturday, September 25, 2010

Corn and Tomato Scramble

As promised, today's post is this delicious, delicious side I made to go with the pesto ravioli. But to see "side" and automatically consign this scramble to "just a boring side" would be really unfair. It's fantastic. Seriously, go find fresh corn and tomatoes and make this tonight. Where I am, at least, both of these vegetables are in season and just right.

As in previous occasions, when I try a recipe from Gourmet, I didn't make a single change to the original, and so I'm simply linking you over to their recipe.

It's fast and delicious, easily halved or doubled, and the leftovers are great. It's excellent (eggcellent) scrambled with eggs, and I imagine it would be tasty as a version of bruschetta.

Why aren't you getting your veggies yet?

Friday, September 24, 2010

Pesto Ricotta Ravioli

If the thought of making homemade ravioli intimidates you, read on. If not, read on anyway. It might be fun.

Saturday was a gorgeous day and the perfect afternoon for the weekly farmers' market. The one closest to me is literally down the street, about 5 blocks away, and happens twice a week. Good deal! Unfortunately, Wednesday afternoons I'm tied up at school, but Saturday afternoons usually work out. This week, Official Taster and I walked away with tomatoes, oranges, scallions, corn, grapefruit, and plums for a grand total of $12.50. I was able to put the corn, tomatoes, and scallions to work right away, and I'll be posting that recipe in the next few days. (It was fantastic. Be sure to come back for it!)

Anyway, back to ravioli. I wanted to make some, but I also was a little wary. So I got some won ton wrappers at the grocery store (they're in the refrigerated section) and used those to wrap up some ricotta-pesto goodness. After I made about 30, I froze them to help them keep their shape during the cooking. The ones I didn't cook are still in the freezer, and should be good for quite a while. I discovered that making ravioli this way is still time consuming, but probably less than making the pasta from scratch, especially since I don't have a ravioli maker. Official Taster thought the texture of the won ton was a little odd since he's used to won tons being fried, but I thought they turned out well. I might try steaming them next time instead of boiling them because they were very sticky once drained. I had to be very careful removing them from the colander and getting them to plates. The pesto sauce you see in the bottom photo? That's actually the insides of a couple ravioli that broke as I tried to unstick them.

Pesto Ricotta Ravioli
1 package won ton wrappers, found in the refrigerator section of the grocery store
1 C ricotta cheese
3 ice cubes worth of pesto, at room temperature
2 garlic cloves (optional)
1/4 C romano cheese (optional)
salt

1. Line 2 baking sheets with parchment paper. Stir together ricotta cheese, garlic, romano cheese, pesto, and sprinkling of salt.
2. Place 1 won ton wrapper on your work surface, spoon some of your mixture (approx 1 Tbsp) in the center of wrapper. Use your finger to brush water onto the edges, fold wrapper in half and line up edges, and pinch to seal. Or use a second wrapper instead instead of just one folded. Repeat with your remaining ingredients. Arrange in a single layer on your baking sheets and freeze at least 30 minutes.
3. Bring a pot of salted water to boil. Add ravioli- stir to help keep them from sticking. Cook about 2 minutes, or until tender. Drain, serve, and enjoy!

Notes:
I didn't make a sauce to go with these since I just used the insides of broken raviolis to spread over the top. This recipe is easily variable- just omit the pesto and add a different tasty amendment. If I were to make a sauce for this, I would choose something light that doesn't overpower the pesto taste. Experiment and let us know your results!

Frozen, uncooked ravioli can be stored for up to a month

Monday, July 5, 2010

Recipe Organization

I recently switched the way I organized my recipes, but I'm wondering what other ways you use. For many years, I used folders in which I could stash my growing collection of newspaper clippings, print outs, magazine pages, and index cards. These happily multi-colored folders were divided into broad categories, which made filing relatively easy, but the finding and using of recipes didn't work as well. I got into the habit of finding a few go-to recipes in each category that I would use several times. Those would remain near the front of a folder and therefore accessible. I wanted to be able to be easily inspired by all of my recipes for dessert or salad or bread.
So I took the plunge and completely changed my recipe organizing tactics, and, so far, I'm really happy about it. I completely emptied the folders and then re-organized the recipes into more specialized categories. For instance, "Desserts" got divided into
  • cookies
  • bars
  • meringues
  • brulee, custard, pudding
  • candies
  • cake
  • crisp, crumble, pie
  • desserts and fruit (a catchall for the rest- crepes, baklava, various sorbets, hot chocolate, etc)
Then I put everything into plastic sleeves, *borrowed* a binder Official Tester no longer used, put everything in the order I wanted it to be in, and then used dividers to separate the sections. Finally, I used some cute paper to label the binder and make it look prettier on my bookshelf. Voila! A new and improved recipe collection! I really like the ease of browsing, and if I want to use a recipe, I simply take the whole page out of the binder and the plastic sleeve protects the information inside from my sometimes overenthusiastic mixing.

What about you? How do you organize? Are you a collector of clippings, even, or do you just use cookbooks? Has anyone found a great computer program we should know about? Share your thoughts below!

Related Posts Plugin for WordPress, Blogger...