
Have you been inspired to purchase a bizzillion pounds of fruit and make jam yet? Maybe this one will do it. During my jamboree (pun totally intended), I also made some plain ole raspberry jam, only this time I cut the sugar waaay back. Instead of nine cups of raspberries and six cups of sugar, I used just three. And, people, it was life-changing. Of course I love sweet things, but with less sugar, the pure taste of the ripe raspberries really came through, and there was just a hint of the fruit's natural tang. Heaven.
So with that success in mind, I looked at Northwest Edible's Signature Jam Flavor Maker Chart and decided that not only did I want to add some zing to my next raspberry experiment, I wanted to cut back the refined sugar further and use some honey in its place.
Guys, this is good. Possibly my best jam, like ever (I'm excluding fruit butters here, because those are just...transcendental). When you first taste it, there's a mild, smooth sweetness from the honey, followed by a burst of raspberries at their prime, followed by just a touch of lemon zip. Oh. My.
Go make this. I guarantee you won't be disappointed.

Earlier in Jam Week:
-Red & Black Raspberry Jam and why I don't use pectin
-Raspberry Peach Jam and it's secret, glamorous name
-10 of my tips to make your next trip to the farmers' market your best one yet

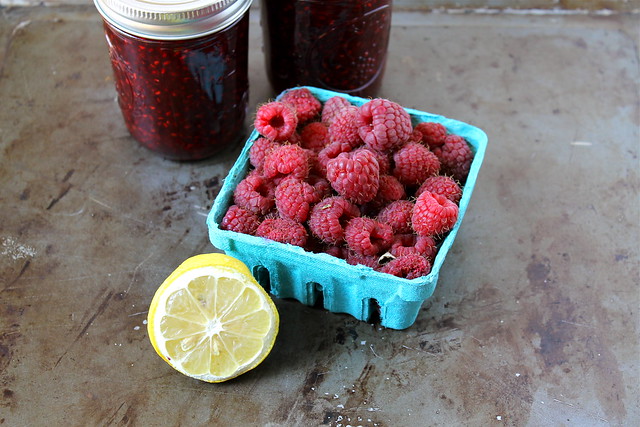
Raspberry Honey & Lemon Jam - vegan, gluten free, and free of just about everything else
adapted from me but inspired by Northwest Edible Life
Depending on how much you cook it down, you should get 5-6 half-pint (8 ounce) jars using the measurements below. Feel free to halve this, but I wouldn't double it. Here's why. Here is a great article specifically about jam setting. You’ll notice that I don’t give a cooking time. That’s because cooking times can vary greatly depending on the width of your pot, the power of your stove, the amount of humidity in the air and even how much rain fell in the days before your fruit was picked. Stay close to the stove as you cook your jam and watch closely for changes. Besides putting it on toast, jam makes a great cake filling.
9 C raspberries
2-3 C sugar
1-2 C honey
1-2 C honey
1/4 C lemon juice
1/4-1/2 tsp lemon zest
1/4-1/2 tsp lemon zest
In a large pot, gently mash berries and sugar together. Let stand for 1 hour or so; I like to use this time to prepare my jars, lids & tools, get my giant pot of water heating up, clean up and clear off my (very limited) counter space, etc.
Add honey to your pot, and bring to a boil over medium-high heat; stir in lemon juice and lemon zest.
Boil rapidly, stirring often until the jam begins to thicken. With a clean spoon, scoop out a bit of jam, allow to cool, and taste. Add more sugar, honey, or lemon zest if necessary. If you taste it again, be sure to only use a clean spoon. (FYI, for this particular batch, I used 1 1/2 C of honey, 2 C sugar, and 1/2 tsp lemon zest). You can test for set if you'd like, or aim for a temperature of 220F.
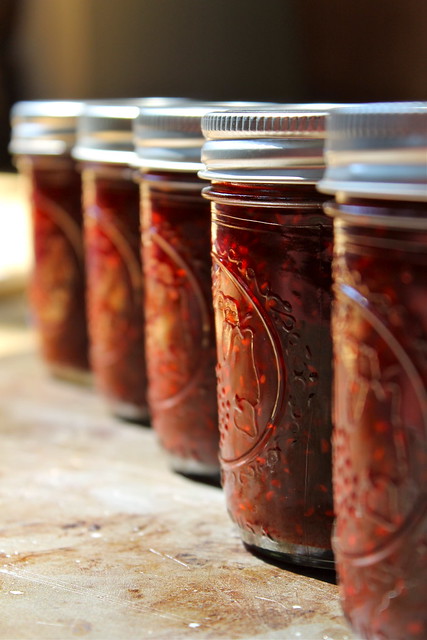
Skim off the foam if necessary, ladle jam into hot, sterilized jars, leaving a 1/4-inch (6mm) head space. Wipe the rims clean and apply lids. Process the jars in a boiling water bath for 10 minutes. Remove jars, and allow to cool on a wire cooling rack or a folded kitchen towel. Listen for the "ping!" of success. When jars are cool enough to touch, check seals. Jam is ready to eat as soon as it is cooled but can also be stored in a cool, dark place for up to a year.
Now I am plotting to go find a flat of raspberries ASAP...
ReplyDeleteyes! my eve-ile plan is working! bwahaha
Deletehave fun :)