
Be not afraid, ye who enter here.
Seriously, guys? I'd really like to somehow free the American population from their fear of bread. (Yes, I know this sounds rather grandiose.) I can't speak first-hand about other countries, but I suspect they have less fear. (Yes? No? Anyone?) I get that this is a multi-level fear, so let's first get this out of the way: carbs are not the devil. Sure, if all you ate was bread, you'd probably contract scurvy. And sure, if all you ate was bread, avoided scurvy, but never got up from the table, you'd probably gain some weight. But I'm pretty sure some fruit and maybe a walk around the block would solve those problems. So, let's agree to agree here. Good Bread is wonderful.
Side rant: bad bread is not worth your time, caloric intake, or money. However, Good Bread with capital letters is wonderful.
OK, onto to the next fear: yeast. Also, that bread is a magical, mystical being that has its own unpredictable mind. That there's no use even trying to make yeast bread because the yeast will act all puckish and just do what it wants. All of these fears? Unfounded, I say.

A well-written, tested (i.e. not just made up) recipe and good ingredients should be all you need. For this specific bread you need flour (all-purpose is just fine, but for more flavor and healthy stuff, white whole wheat and whole wheat are lovely), yeast, oatmeal, salt, oil, maple syrup (or sugar), and water. That's it. Nothing exotic or scary. As long as you remember that yeast is a living organism, and will perform it's best if treated well (no boiling alive here, please), you will be just fine. Follow the directions, use your sense and your senses, and your home will smell amazing and your carb-loving self will thank you.

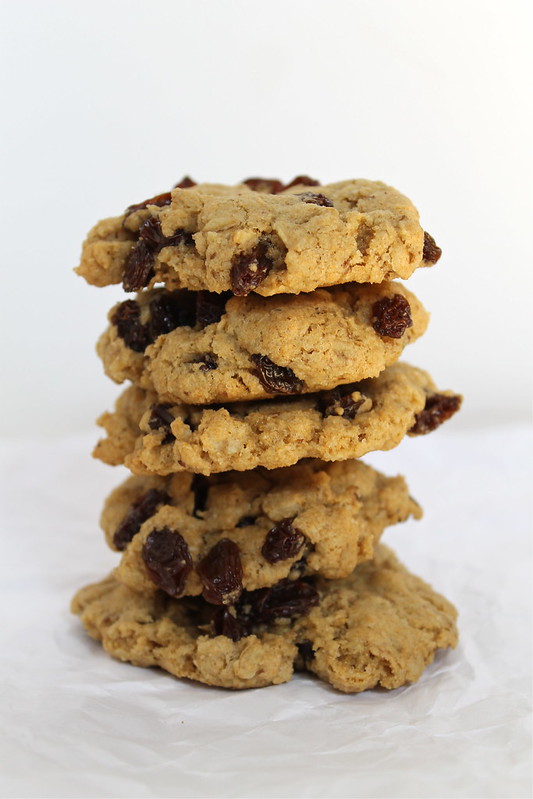
Still nervous? Try the even easier Oatmeal Bread, No Knead Whole Wheat Bread, or English Muffin Bread.

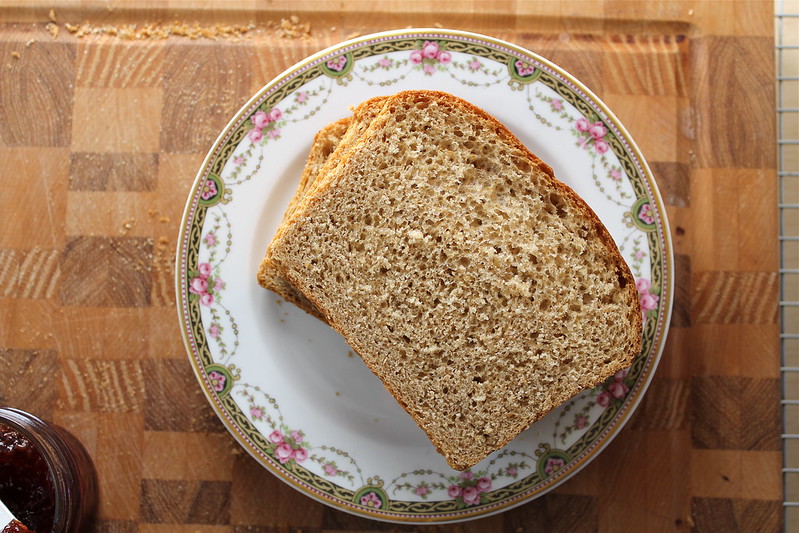
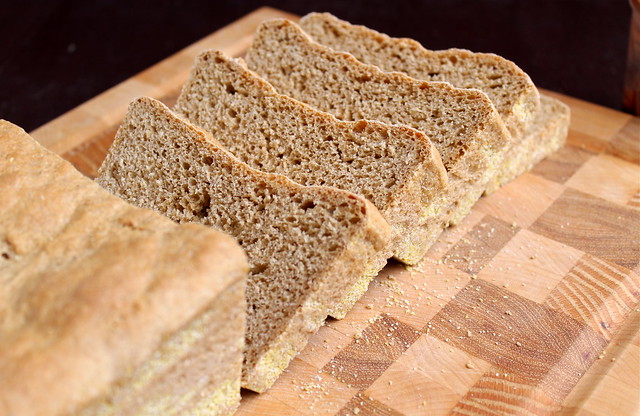
Whole Wheat Maple Oatmeal Bread - vegan
adapted from King Arthur Flour
The boiling water in this recipe serves the dual purpose of softening the oatmeal and helping the sugar/syrup dissolve. I cannot emphasize this enough: do not add your yeast too soon or you will kill it and your bread will not rise. Lukewarm is all that yeast can handle. In place of the maple syrup/brown sugar, you could be fancy and use maple sugar instead (as the original recipe calls for). I suspect (though I haven't tried it) that you could add a tiny bit of maple syrup a little bit at a time to regular sugar, mix thoroughly, and create your own maple sugar.
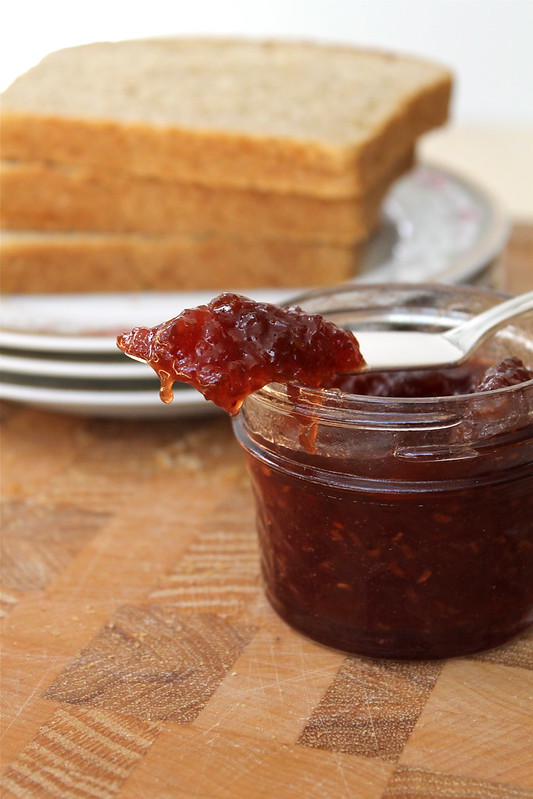
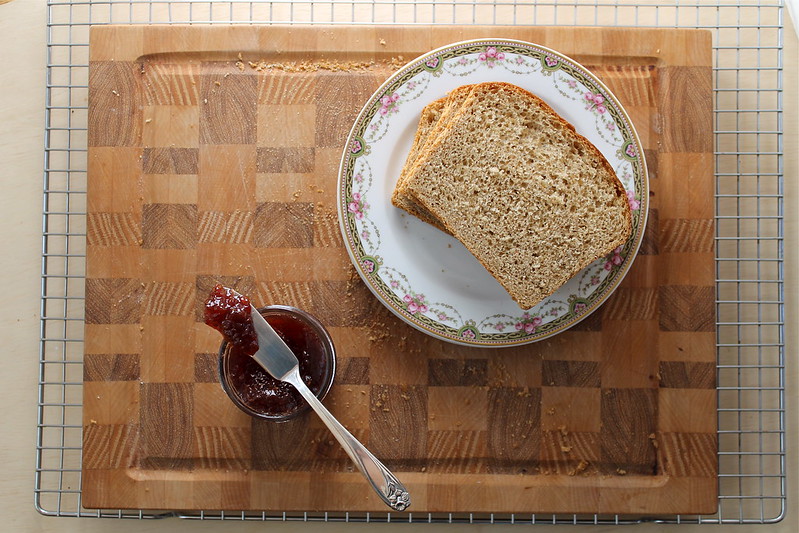
This recipe yields two loaves of bread, but you could certainly halve the recipe and only make one. But for pretty much the same amount of time and effort, make two, and then share or freeze your second loaf (assuming you don't eat the first one within a day or two). I slathered on some of my Raspberry Peach Jam, but there are no bad choices.
2 C boiling water
1 C rolled oats, traditional or quick (not instant)
1/2 C maple syrup or brown sugar (I use half maple syrup & half sucanat)
1/4 C vegetable oil (I use olive)
1 Tbsp kosher salt or 2 1/2 tsp table salt
1 tsp ground cinnamon (optional, but delicious)
1 Tbsp instant or active dry yeast
1 1/2 C whole wheat flour
4 C all-purpose or white whole wheat flour plus more (possibly. see below)
In a large mixing bowl or the bowl of your stand mixer, combine the water, oats, maple syrup or brown sugar, oil, salt, and cinnamon. Let cool to lukewarm, about 10 to 15 minutes. If you get as antsy as I do, stir a few times, but DO NOT add yeast until it's lukewarm. Too hot, and you'll kill your yeast.
Add the yeast and flours, stirring to form a rough dough. Knead (about 10 minutes by hand, 5 to 7 minutes by machine) until the dough is smooth and satiny. If you used maple syrup (or if it's a dry day), you will need to add extra flour a little bit at a time to achieve a nice texture and help the dough form a ball. When fully combined and you're kneading, the dough shouldn't be very sticky. You should be able to handle it without it sticking to your hands. I used half sugar and half maple syrup and added an additional 1/2 - 3/4 cup of flour.
Remove the dough from the bowl, scrape any remaining dough from sides, mush into dough, and form into a ball. Place dough in the bowl upside down (seam side up), and then flip it over so the seams are on the bottom. This way, you've easily coated the surface with the oil. Cover the bowl with lightly greased plastic wrap (or a shower cap. That's my favorite method), and allow the dough to rise for 1 hour. Since the dough is warm to begin with (from the boiling water), it should become quite puffy.
Gently punch down the ball, divide the dough in half, and shape each half into a loaf. Place the loaves in two greased 8 1/2" x 4 1/2" bread pans.
Cover the pans with lightly greased plastic wrap (again, or a shower cap) and allow the loaves to rise until they've crowned about 1" over the rim of the pan, about 60 to 90 minutes.
Bake the loaves in a preheated 350°F oven for 35 to 40 minutes, tenting them lightly with aluminum foil after 25 minutes to prevent over-browning. Remove them from the oven when they're golden brown and the interior registers 190°F on a digital thermometer. A more traditional (if less scientific) way is to tap on the loaf on the bottom - it should sound hollow. The sides should also be pulling away from the sides of the pan.
Turn the loaves out onto a rack to cool. Store at room temperature, well-wrapped, for several days; freeze for longer storage.


 Vegan Banana Bread


